Before You Start: DS-160 Tips
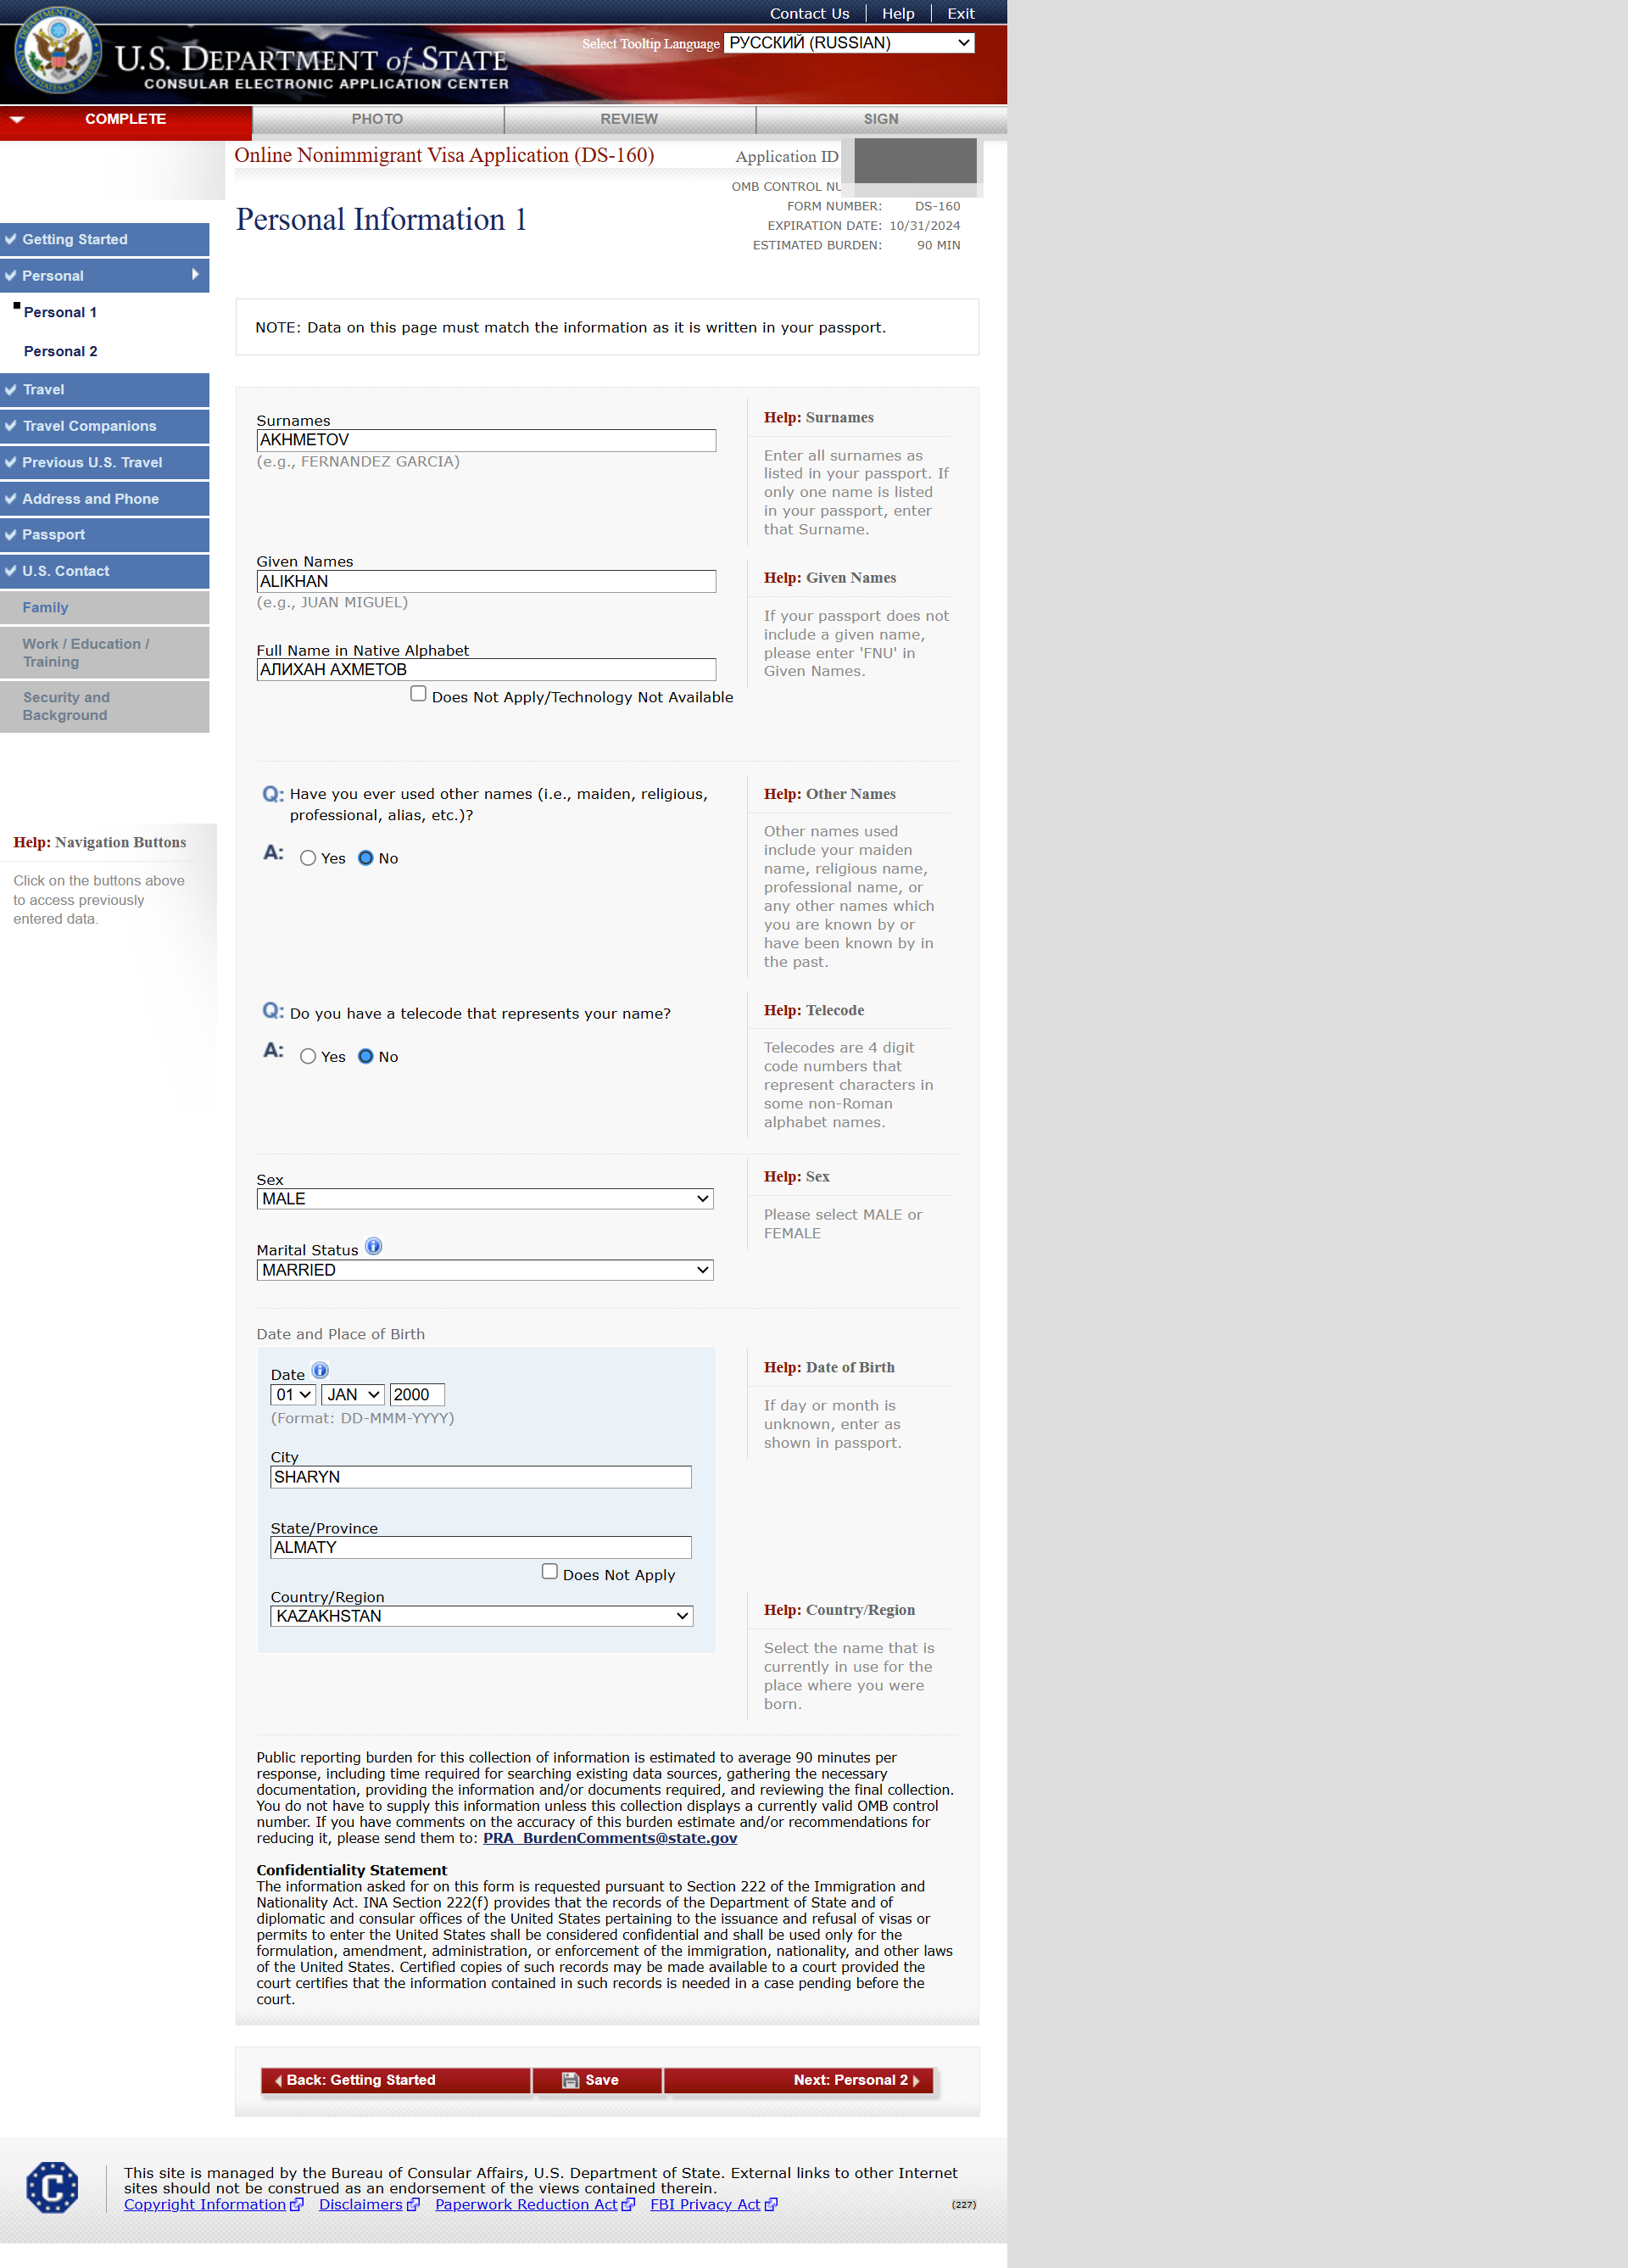
- Use English letters only. Not "São Paulo" write "Sao Paulo". Not "Eskişehir", write Eskisehir
- Write down your Application ID and security question — see Step 2.
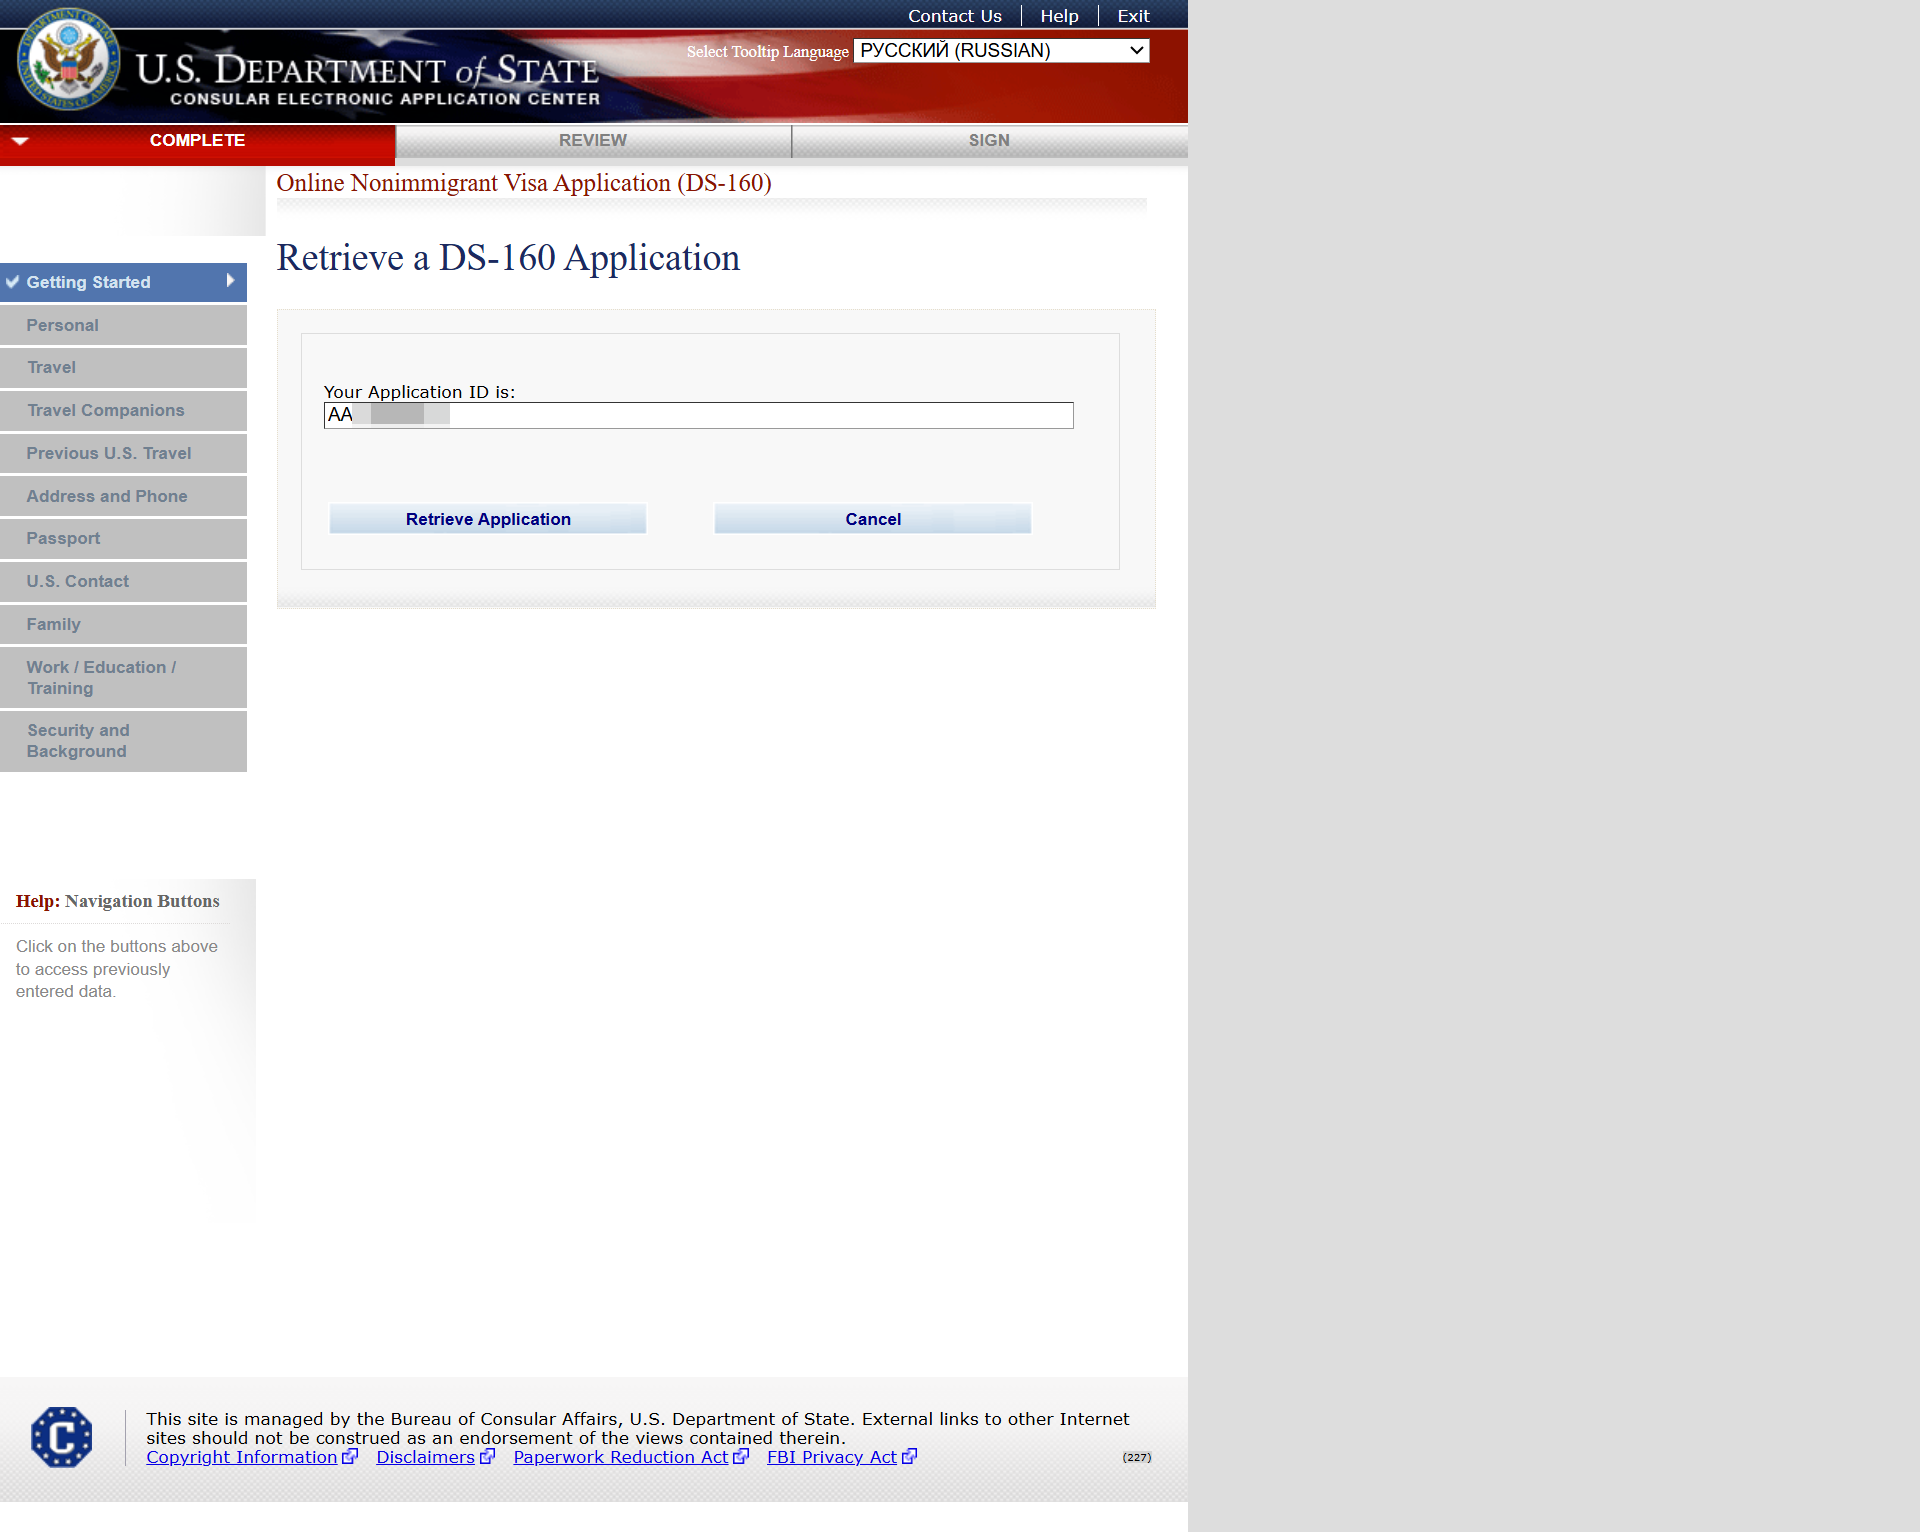
- You can retrieve your DS-160 using your Application ID and the security question you set up. See Step 2.1 in our guide.
- Get a digital visa photo ready (2×2 in, white background, no glasses). Check the photo requirements here.
- Have your passport and travel details handy (dates, U.S. address, contact).
- Save often — the form times out if you wait too long.
- Answer every question (don’t skip). If unsure, pick the best truthful option.
- You can submit multiple DS-160 forms. The one which you refer in you appointment shall be correct one.
- If you had to change DS-160 after having an appointment, call embassy/consulate to change it - they helped me once.
- Worst case scenario, take your updated submitted DS-160 with you to the interview and explain situation there, I sure they will help you.
DS-160 Step-by-Step Instructions (with screenshots)
Step 0: Go to the Official Website
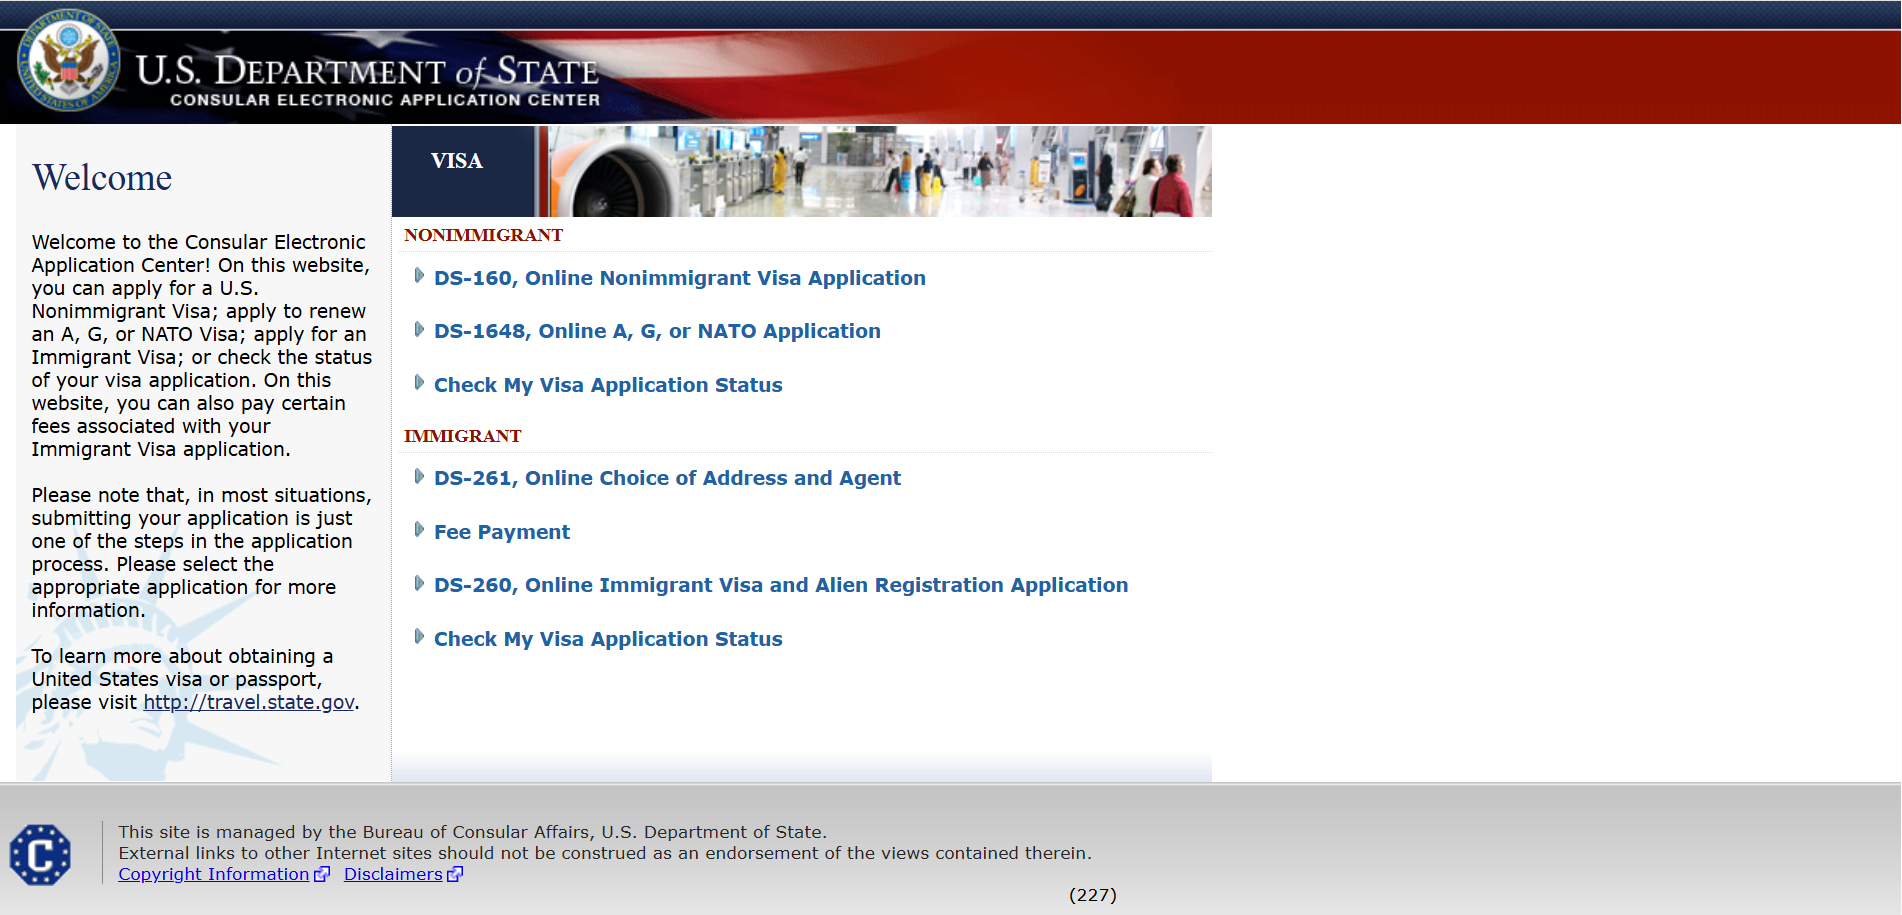
Visit ceac.state.gov to begin your application.
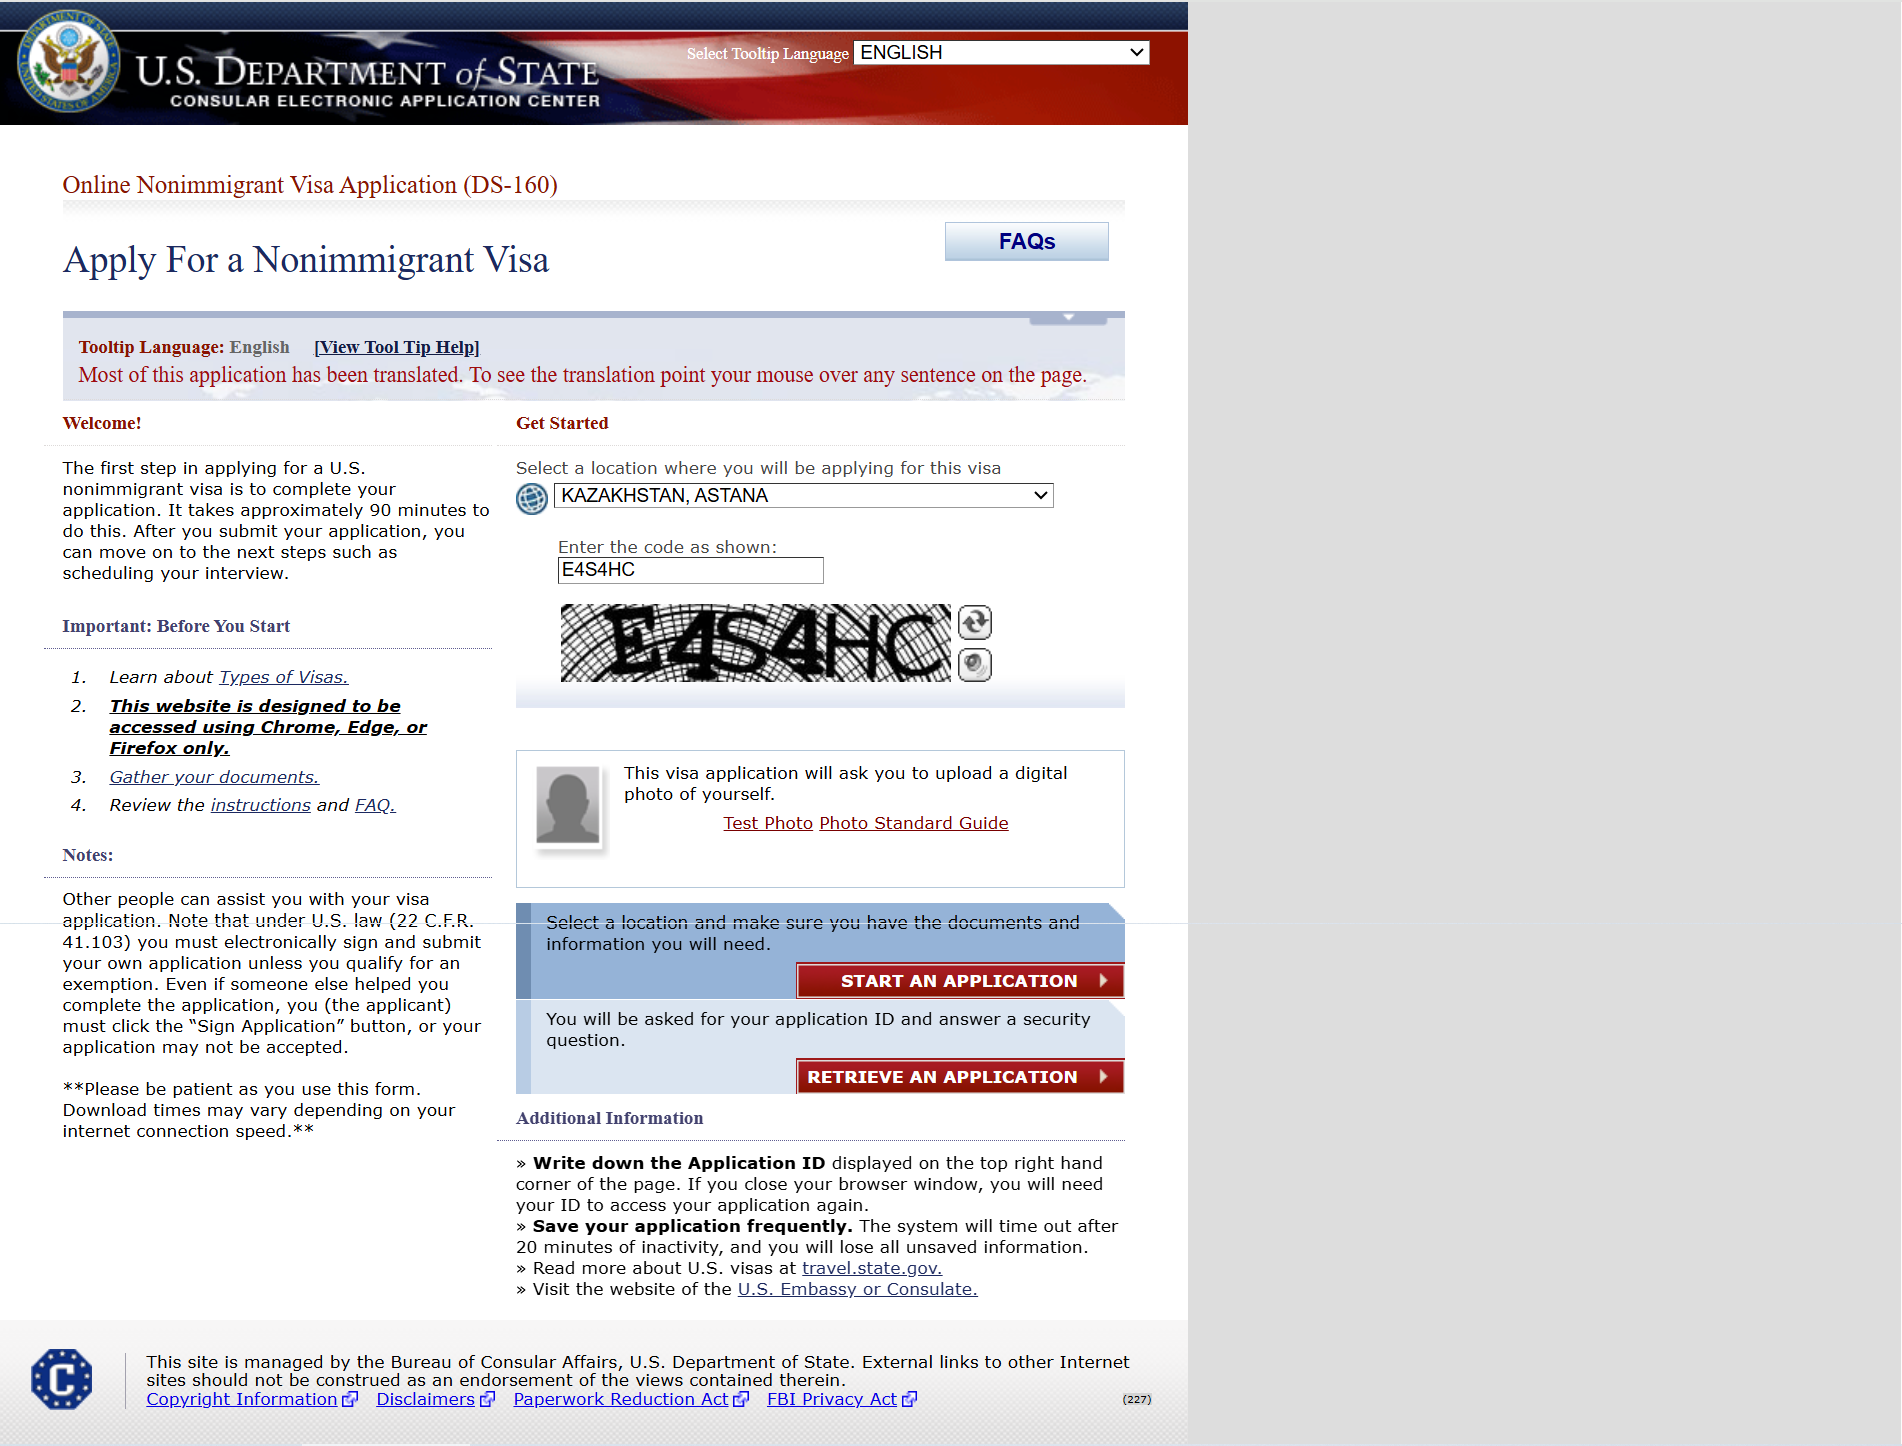
Step 1: Start the Application Form
From my experience, reps in US embassy call center allowed to change the city, without changing the DS160 form.
But I think it is on embassy discretion.
The form accepts both upper case and lower cases.
If you are starting new application, clich START AN APPLICATION.
If you are retrieving your existing application, click RETRIEVE AN APPLICATION
Good Luck in your application!
Step 2: Create Security Question & Answer
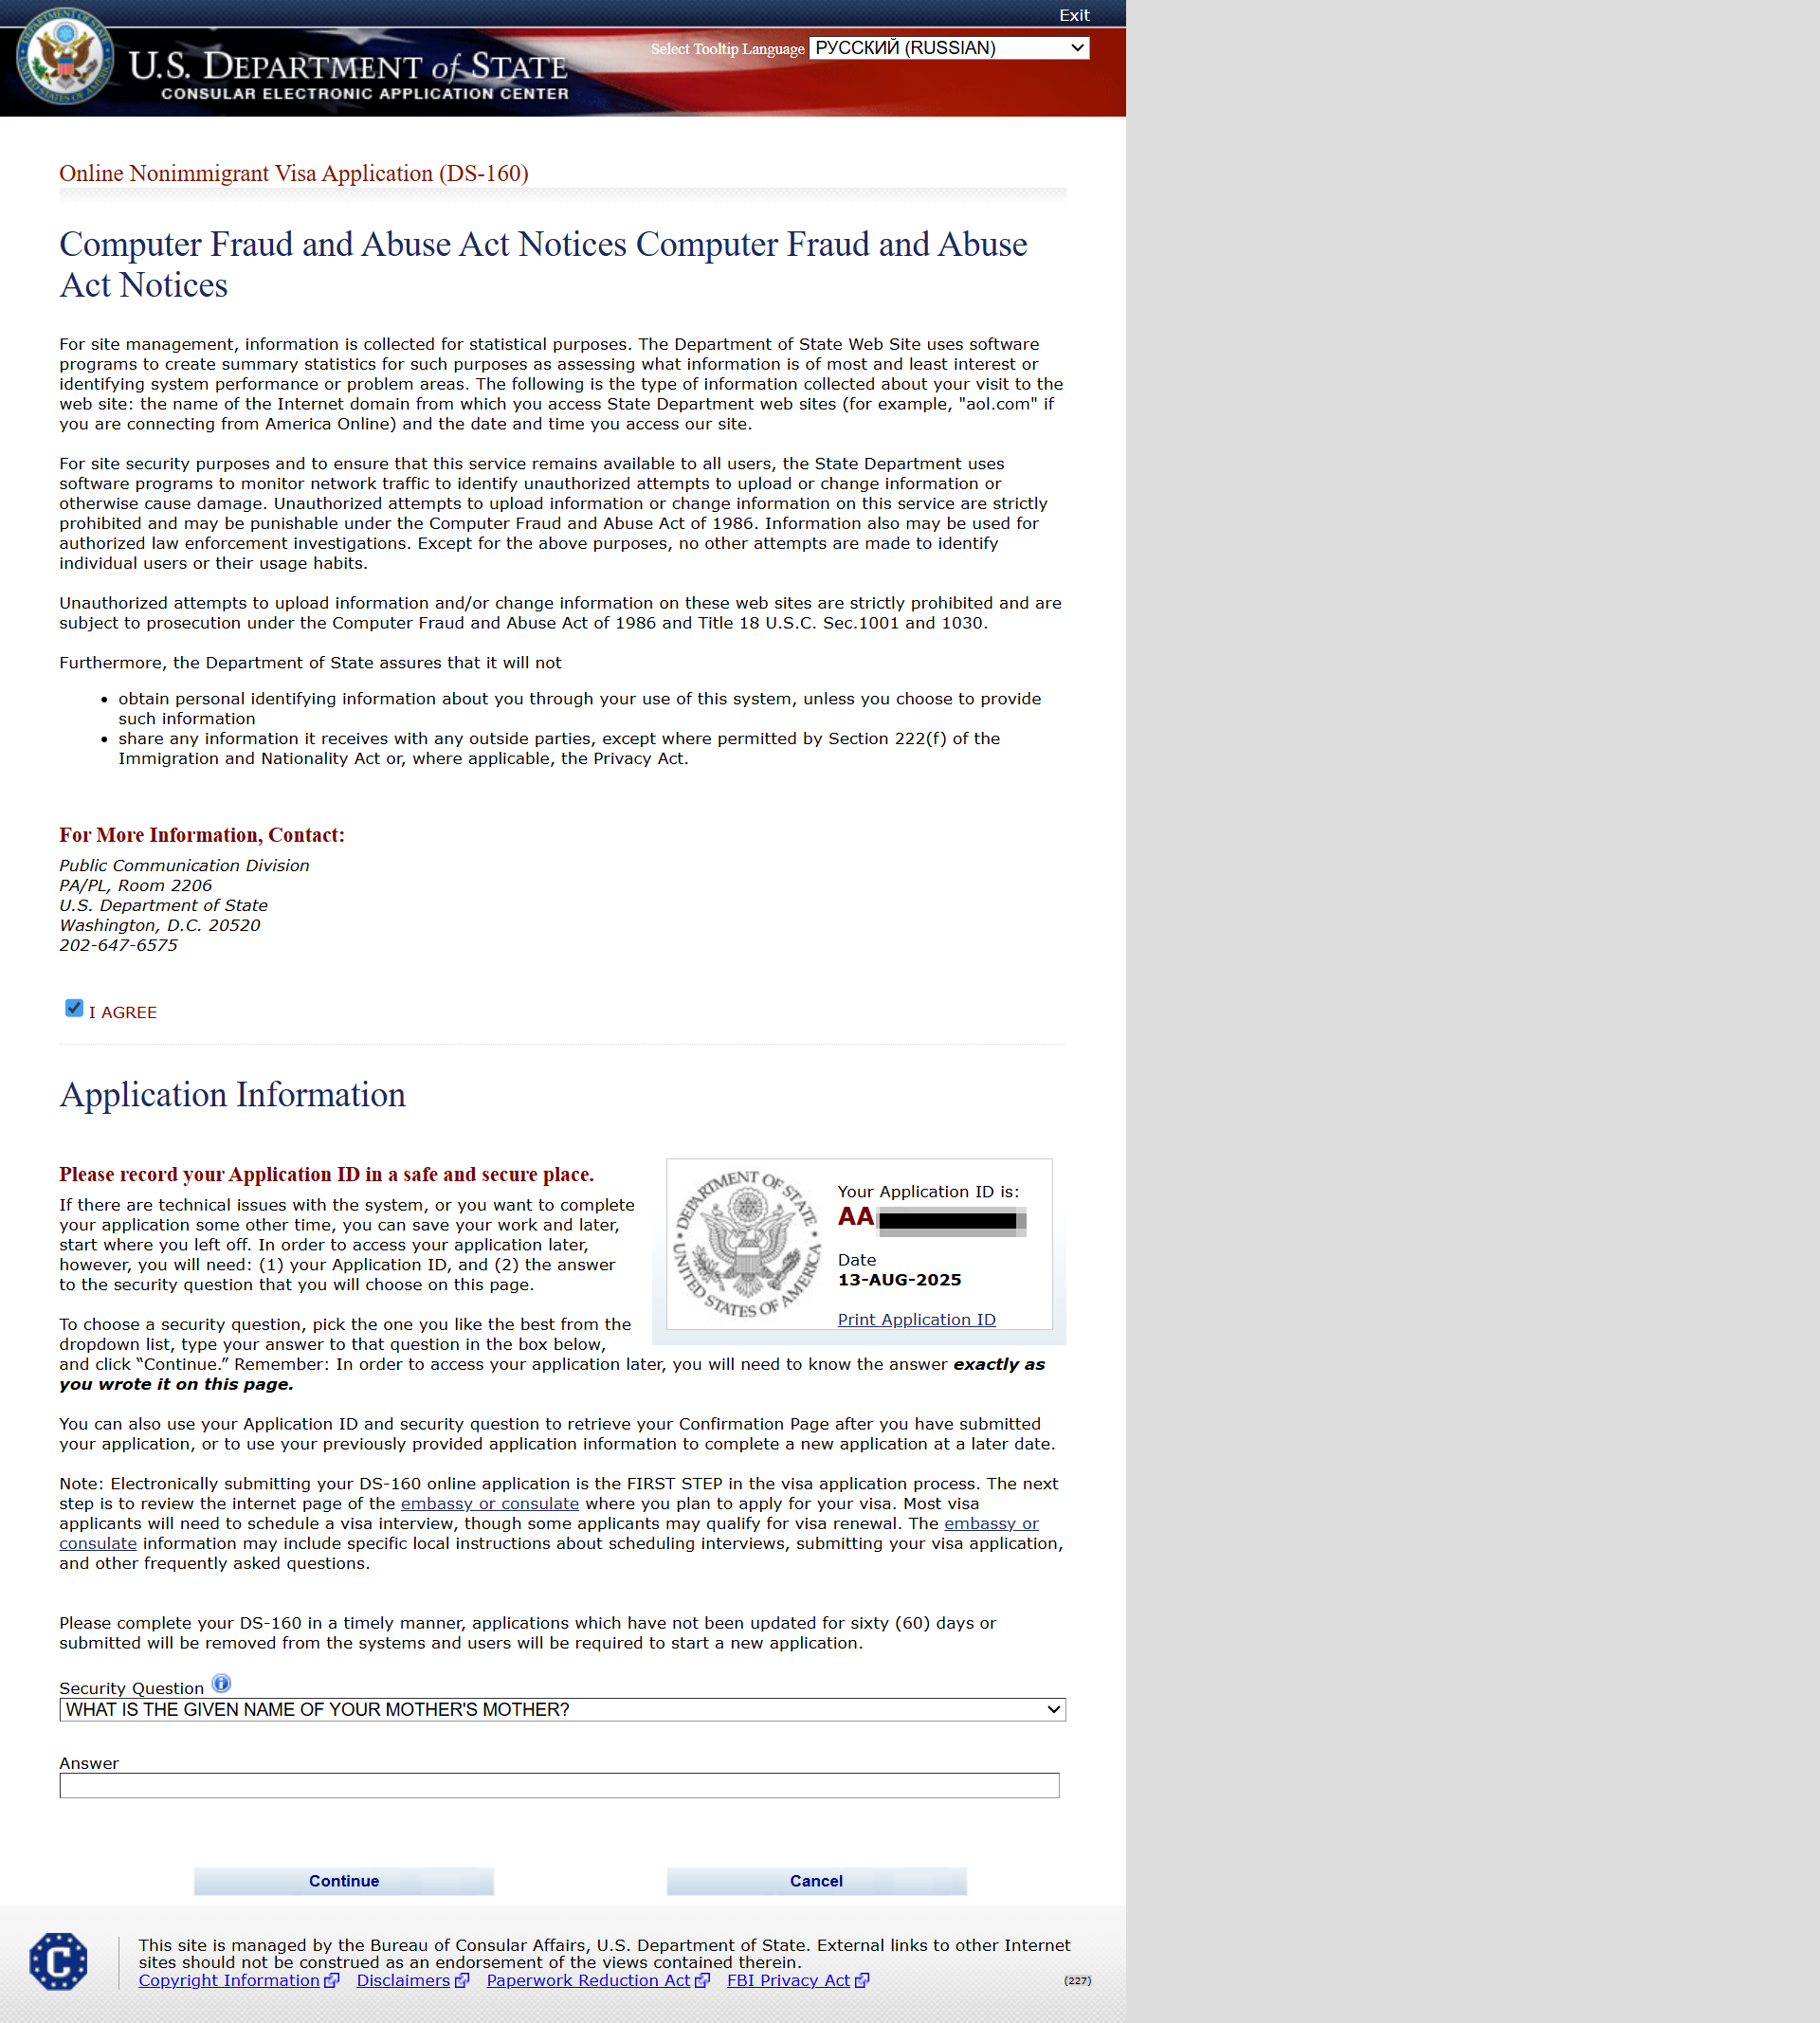
Save application ID and security answer!
Step 2.1: How to Retrieve Your DS-160 Application
Go to ceac.state.gov/genniv.
Choose location and enter code similar to Start Application form
Click RETRIEVE AN APPLICATION afterwards
Step 2.2: Retrieve an Existing Application (optional)
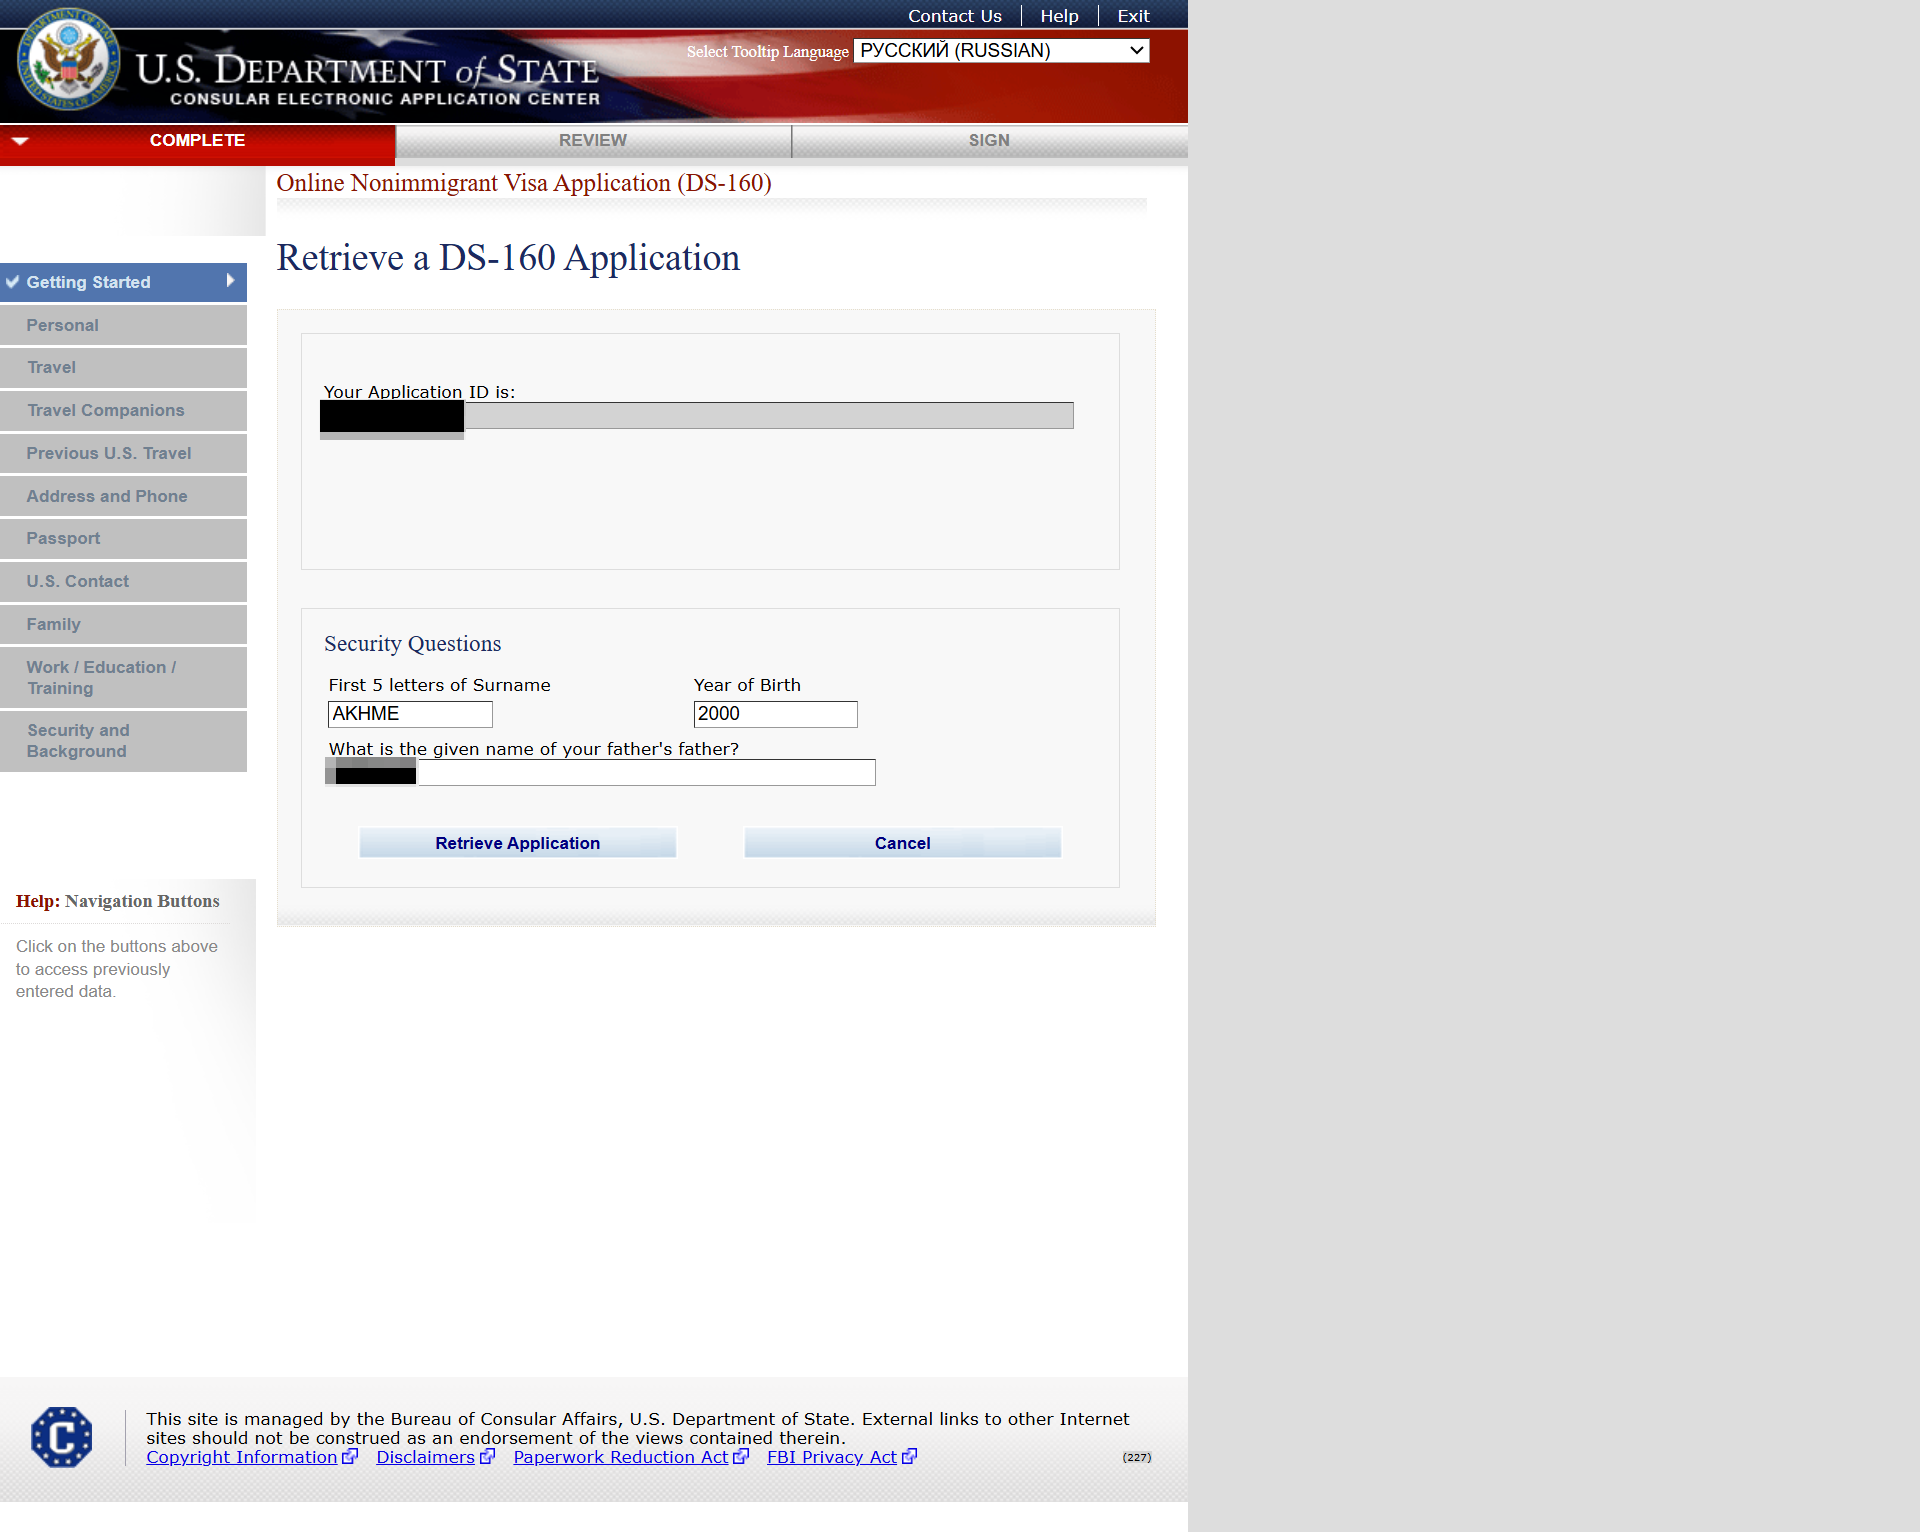
If surname is shorter than 5 letters, no problem - type as it is.
Step 3: Personal Information – Part 1 (Name, DOB, nationality)
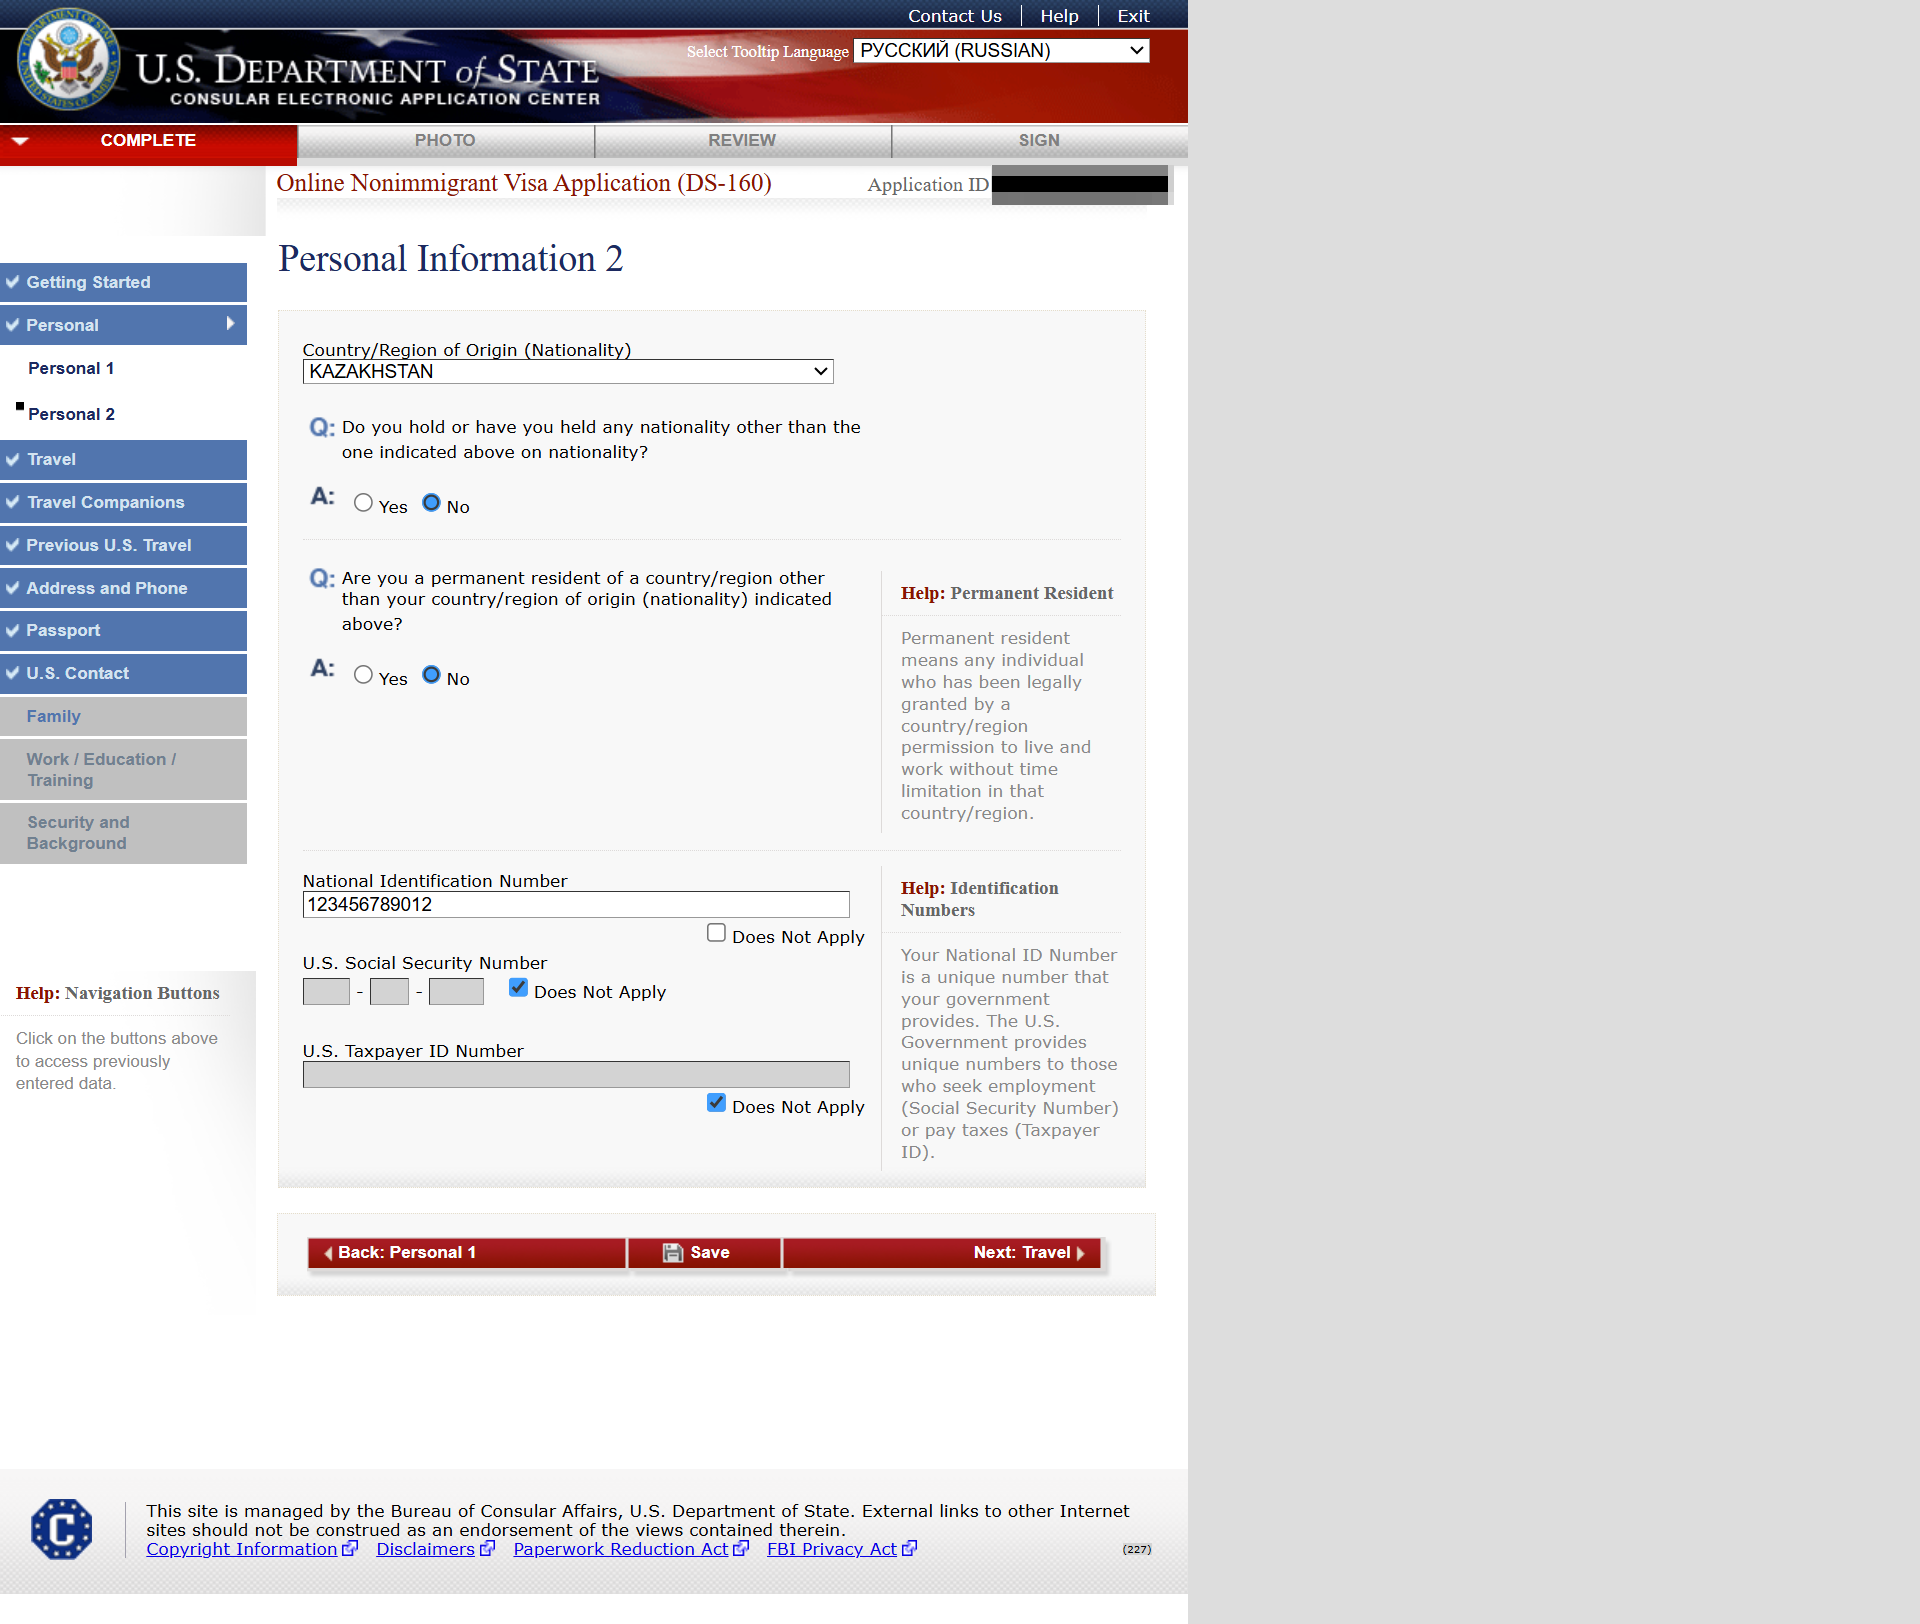
Step 4: Personal Information – Part 2 (Passport, ID numbers)
Step 5: Travel Information (Purpose of trip, dates, US contact)
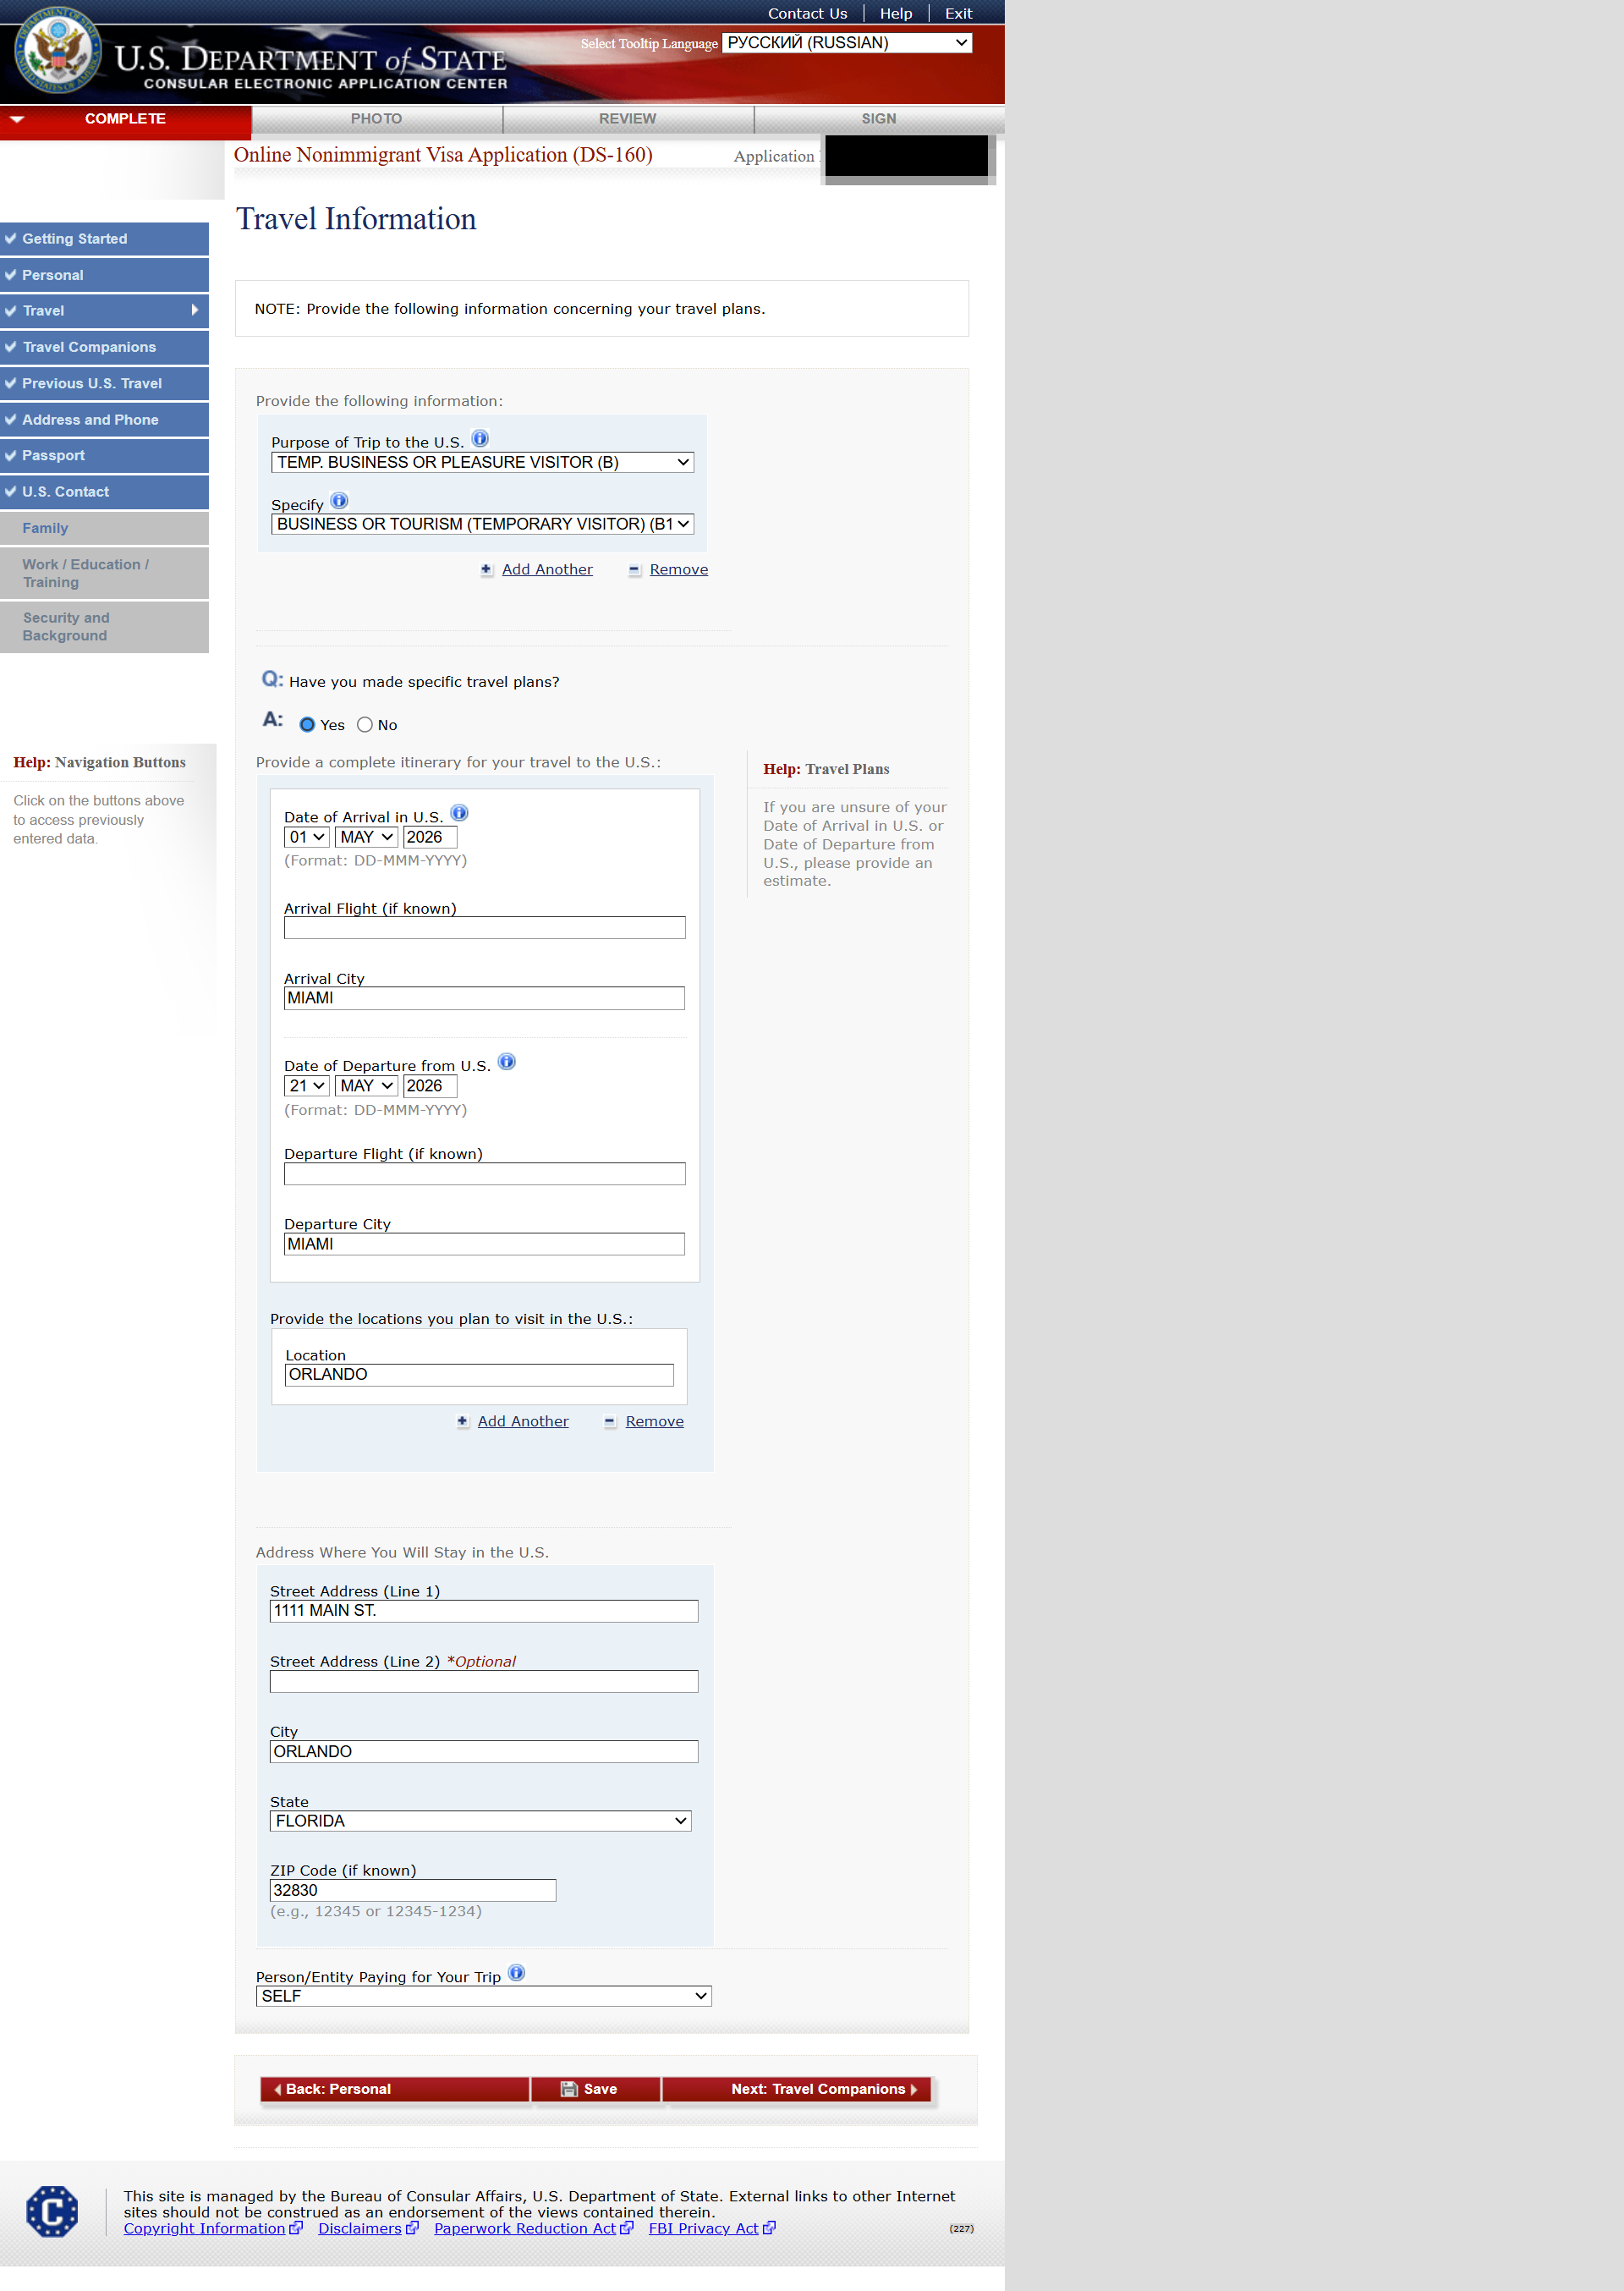
However it might be good to add, but take a step to make proper plan.
Where are you planning to go? Do you have flight there? Where you are going to stay?
If it is hotel, find the address and put it here. Book hotel with free cancellation, so you don't pay without visa on hand.
If someone is paying for you, provide detailed information on person.
Step 6: Travel Companions (family or group)
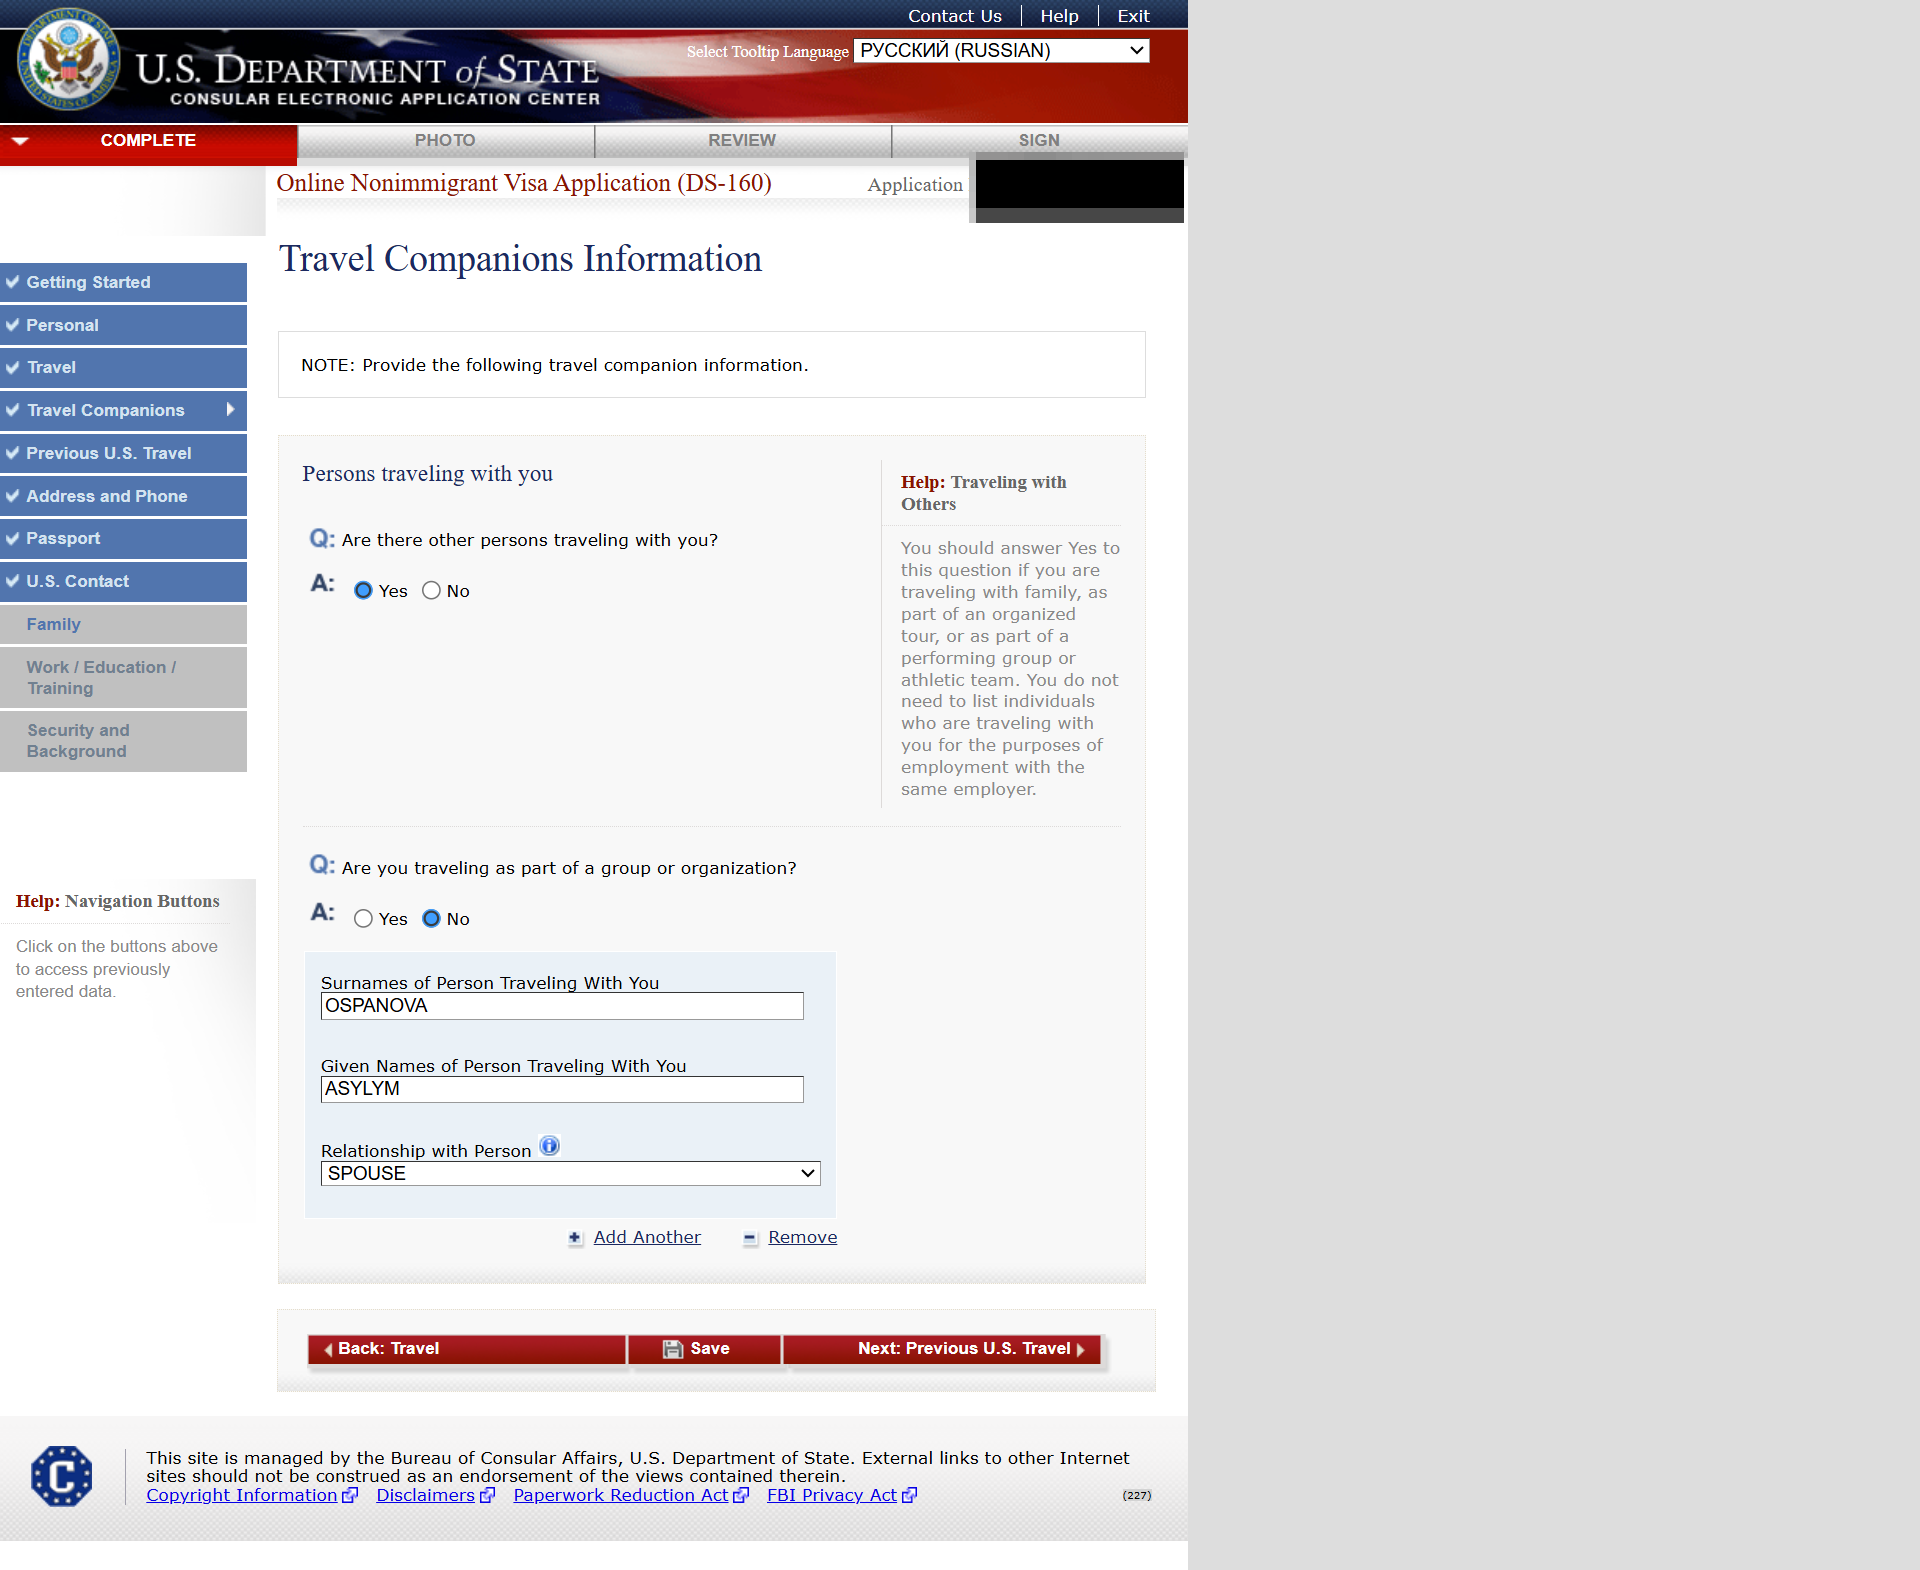
In my application, there was wife and 4 kids.
I think, group here means if you are traveling as a part of tour or something like that.
Step 7: Previous US Travel Information (visas, entries, refusals)
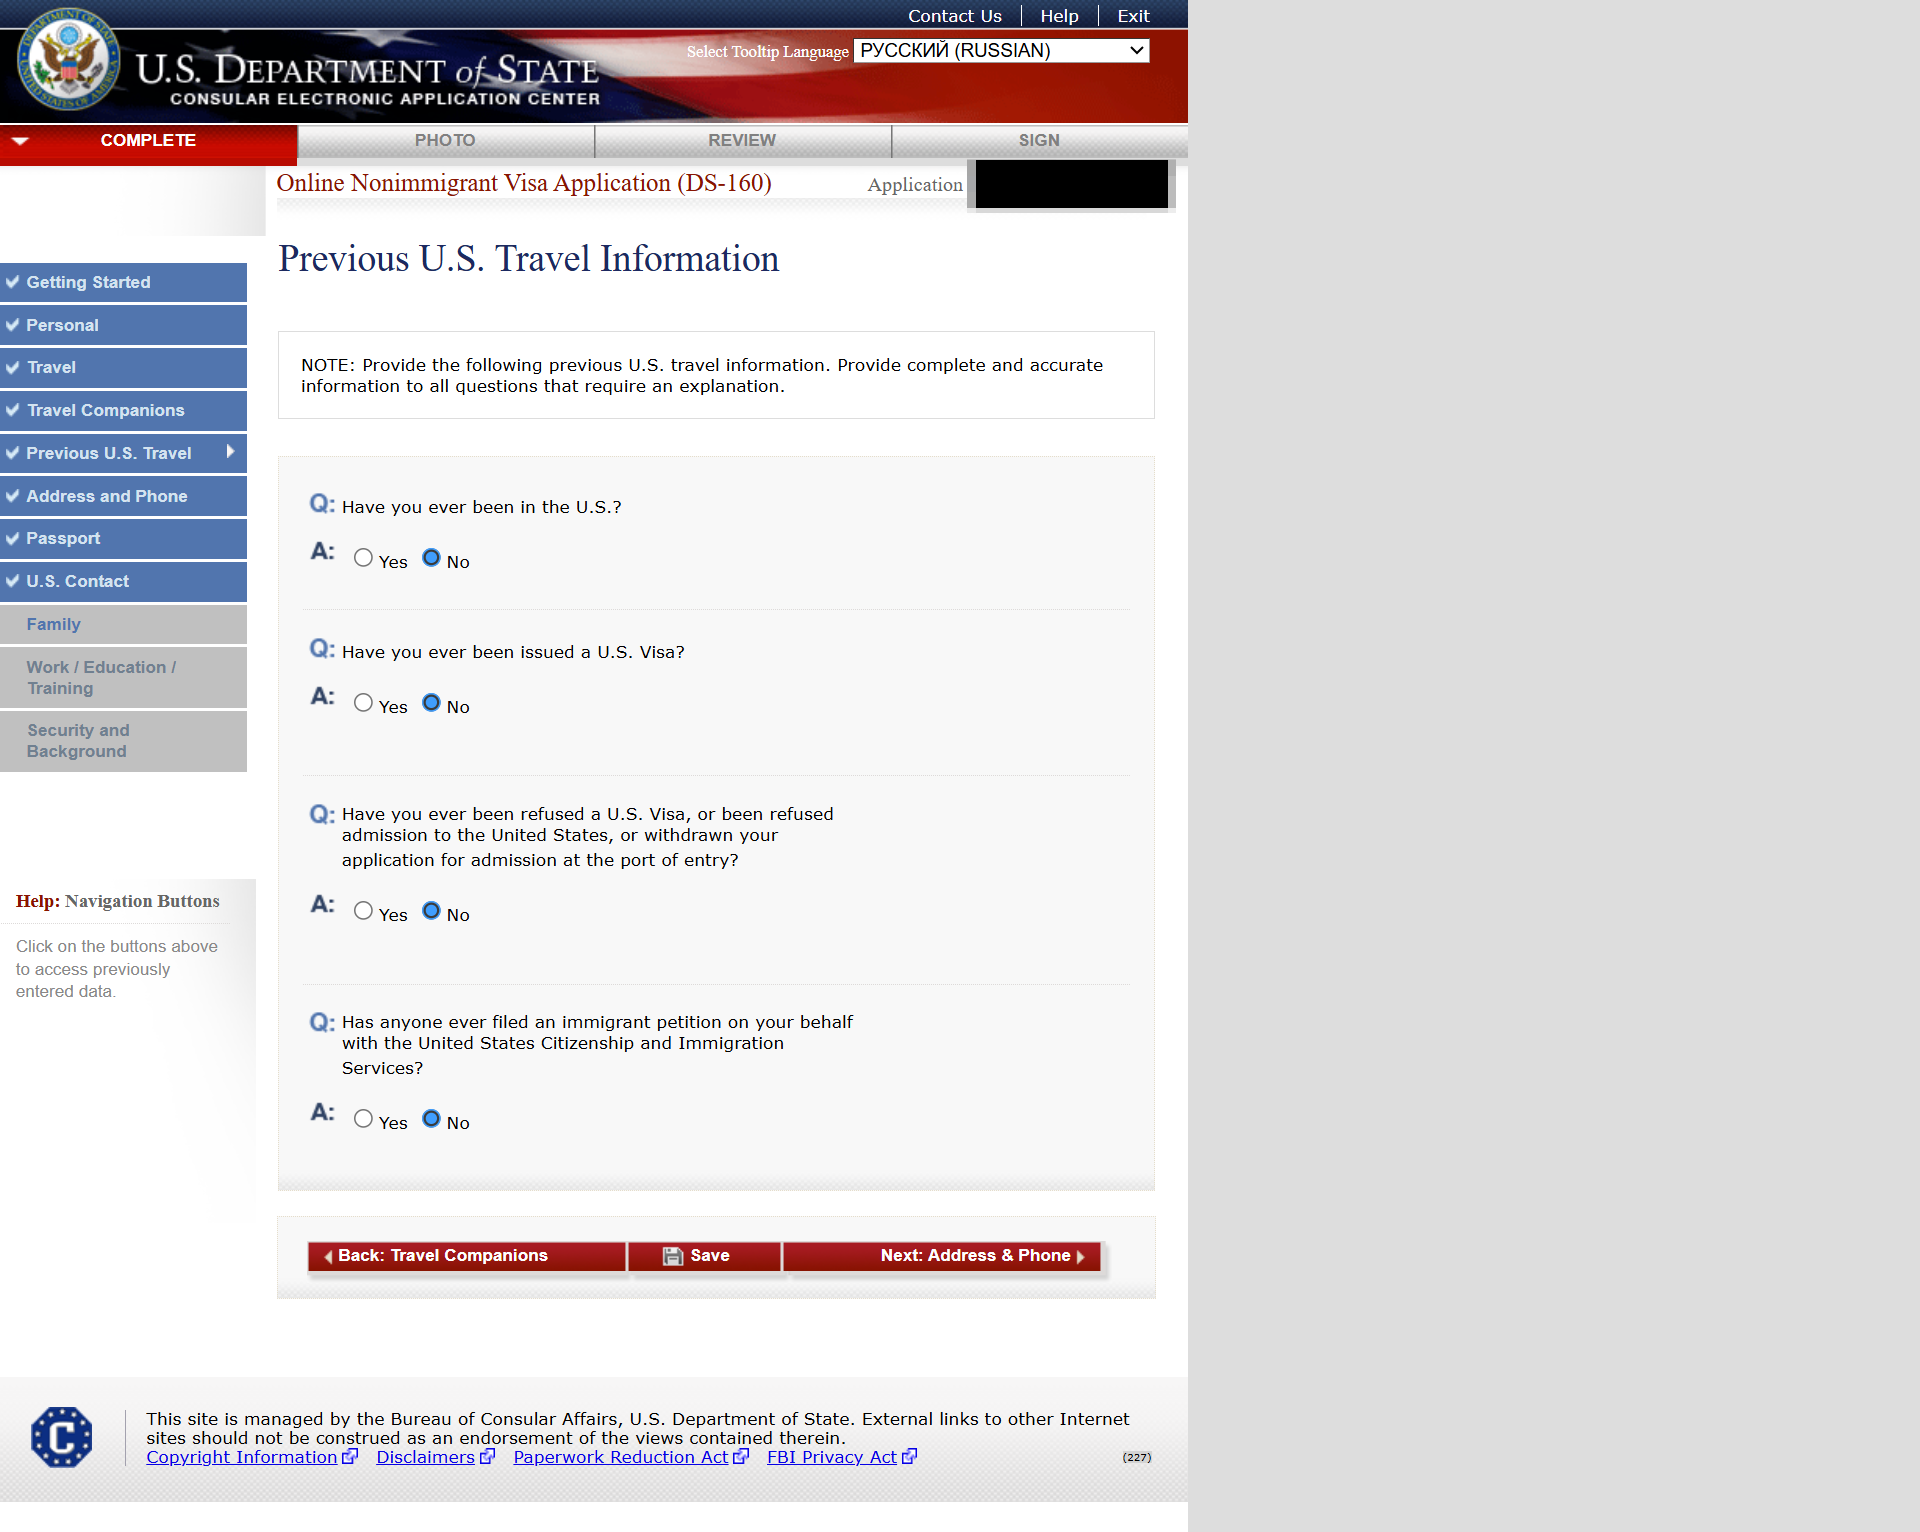
Provide details if you had refusal.
Step 8: Address & Phone Information (home address, mailing, phone, email)
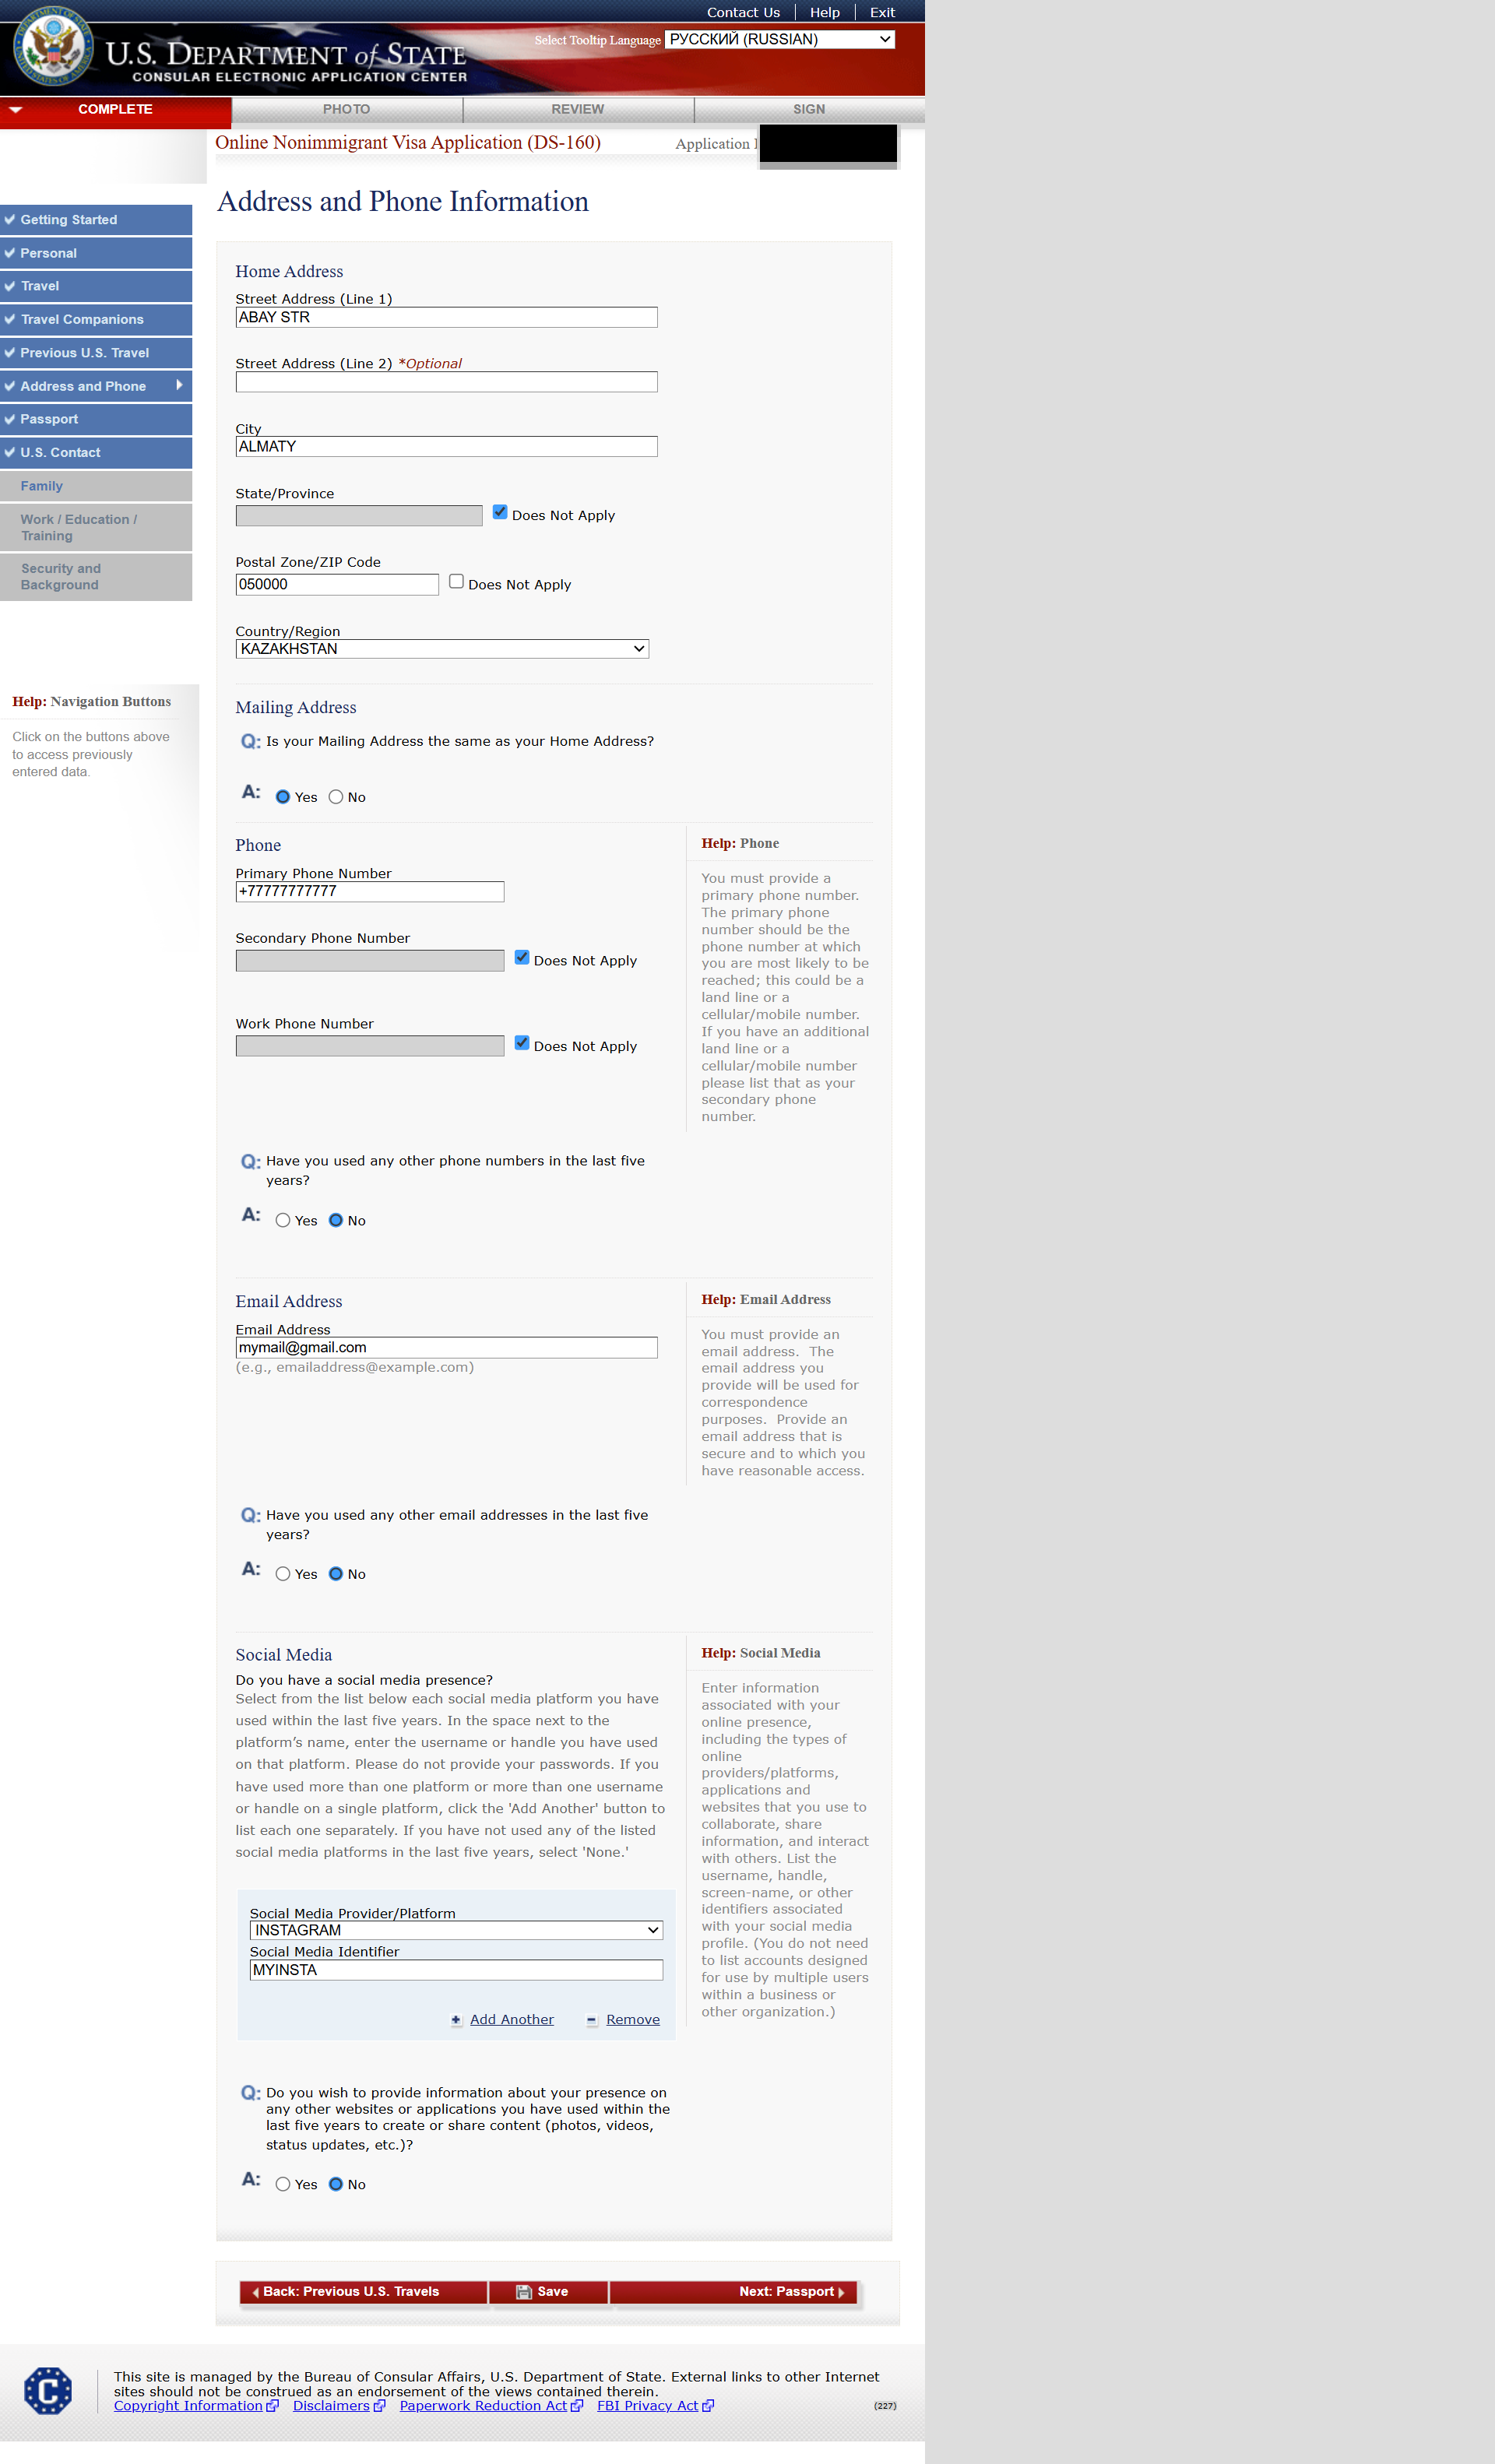
From my experience Abai str. 15/2 didn't work, but Abay str. 15-2.
Social media is optional—only add what you’re comfortable sharing.
Step 9: Passport Information (passport type, number, issue/expiry dates)
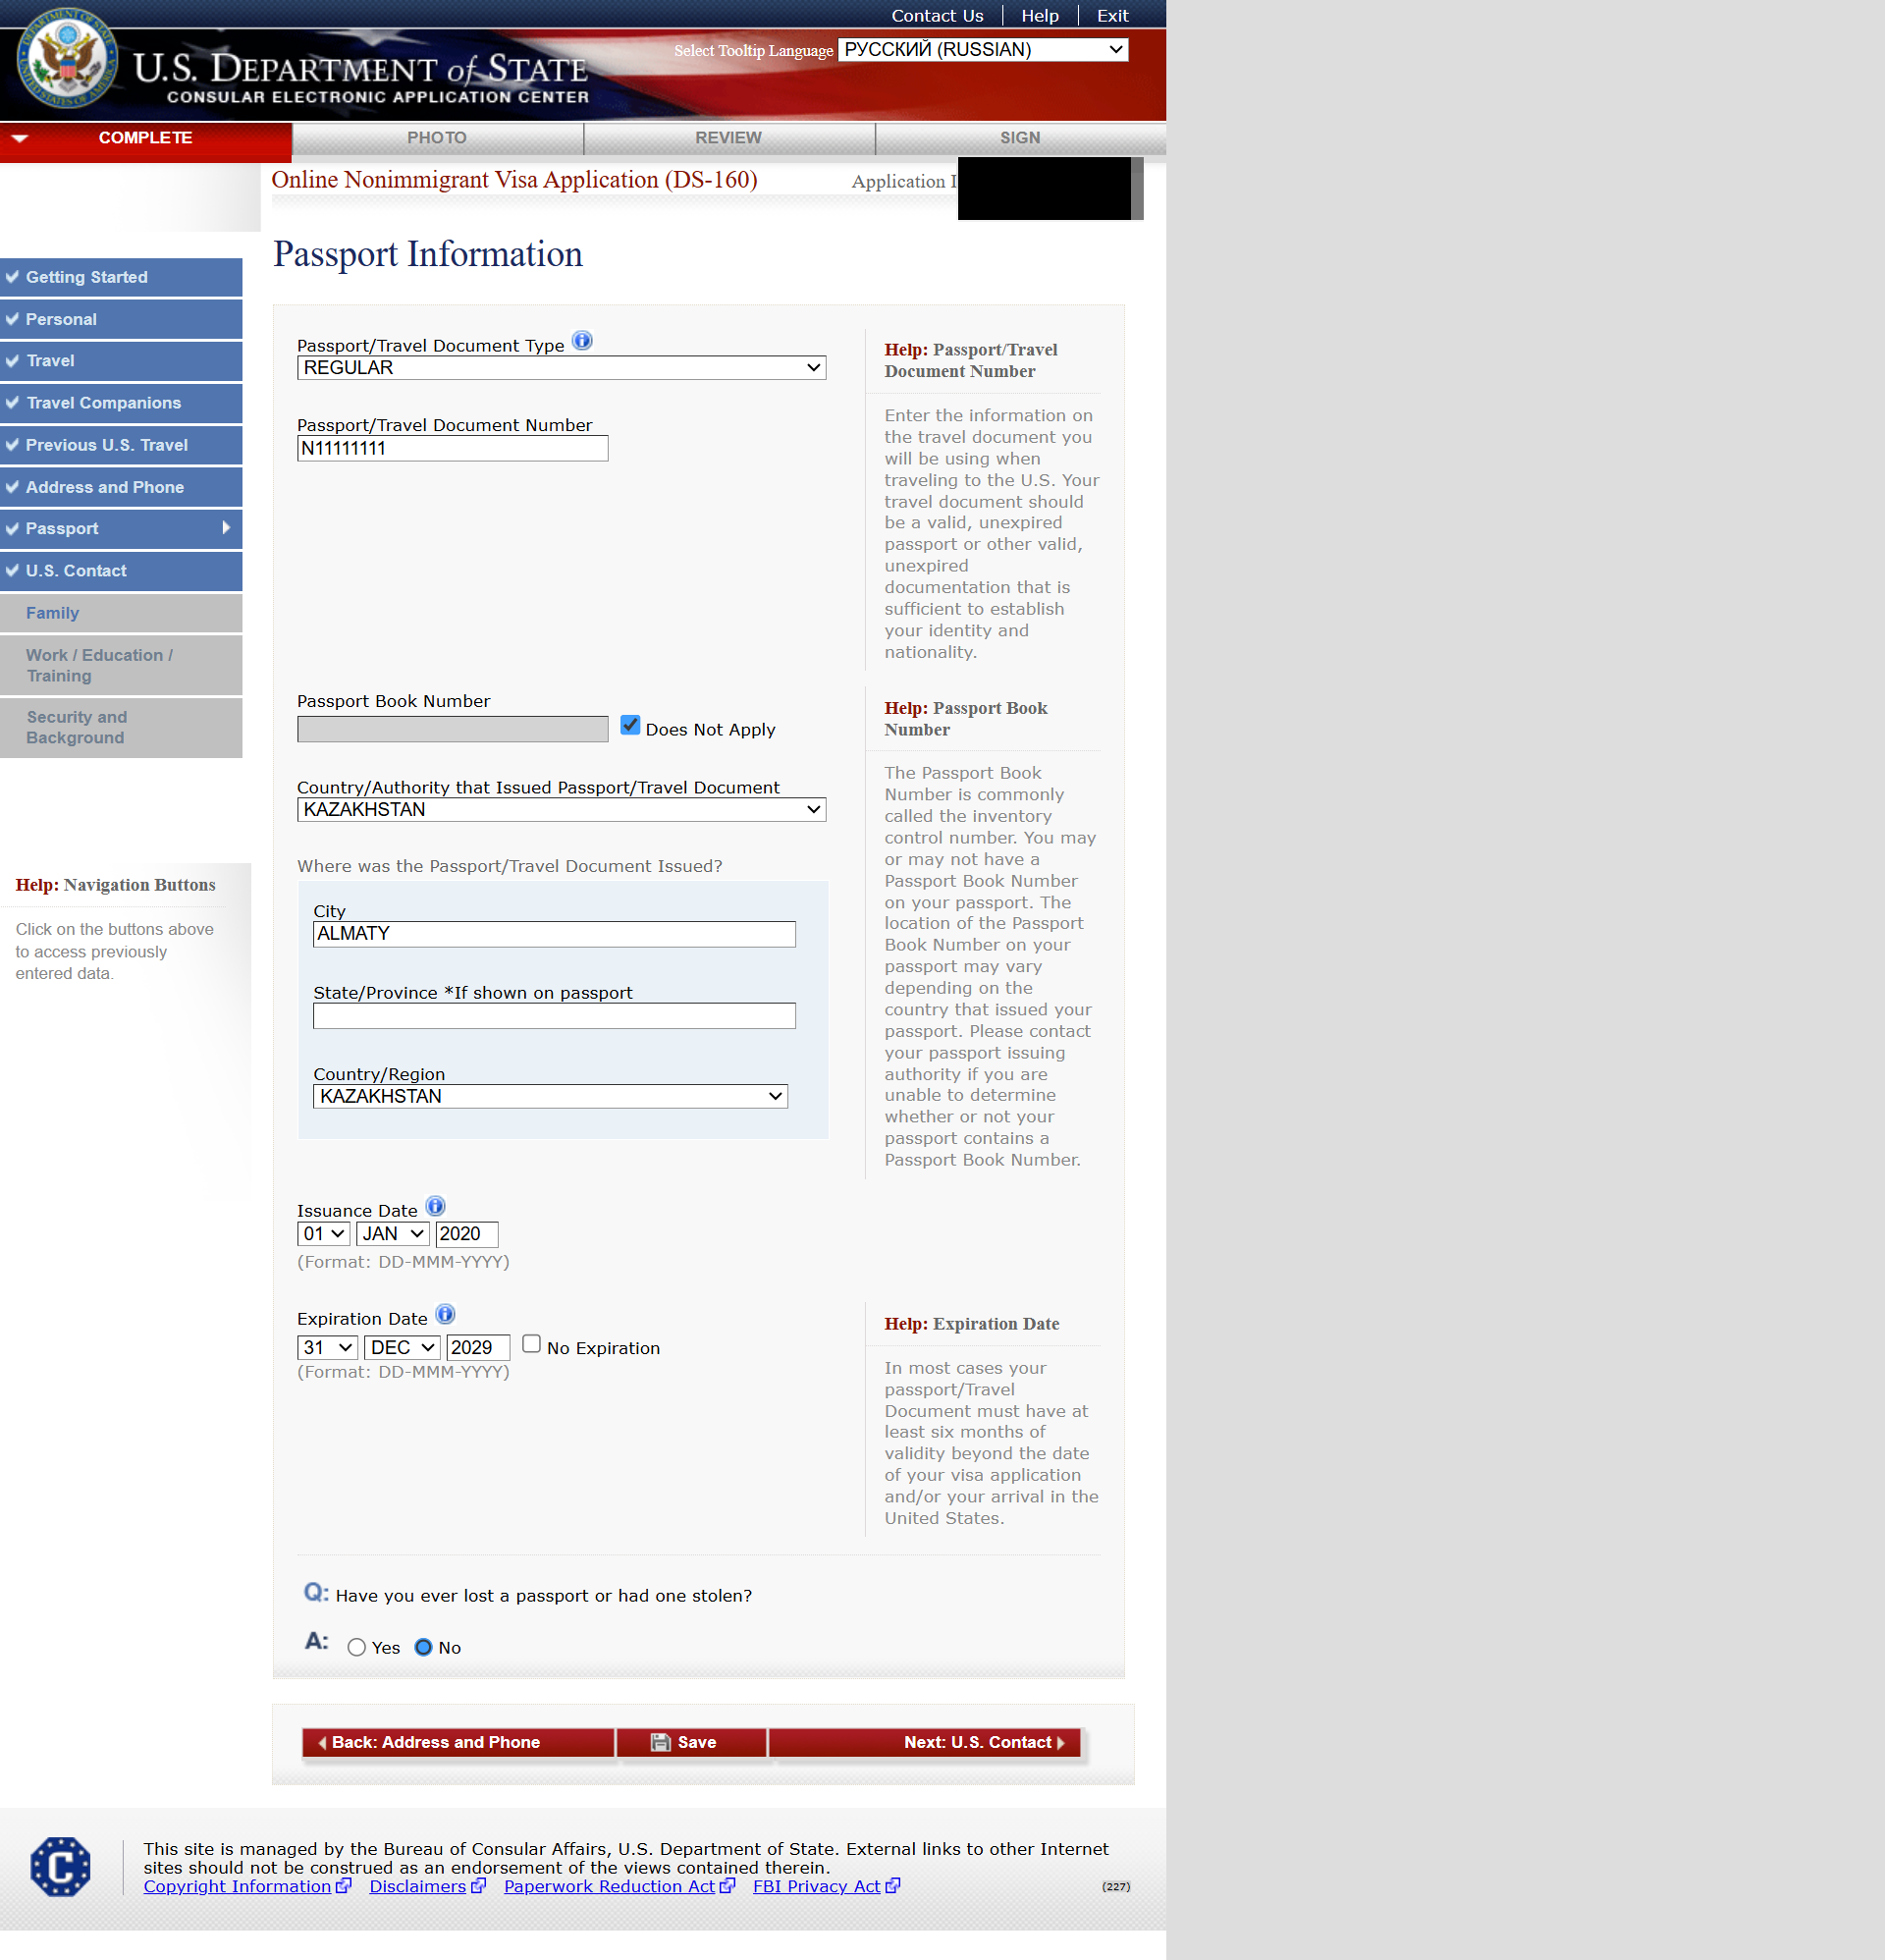
If you are not diplomat or government representative, then highly likely you have international regular passport.
Double-check number and issue/expiry dates.
Step 10: U.S. Contact Information (contact person, organization, address)
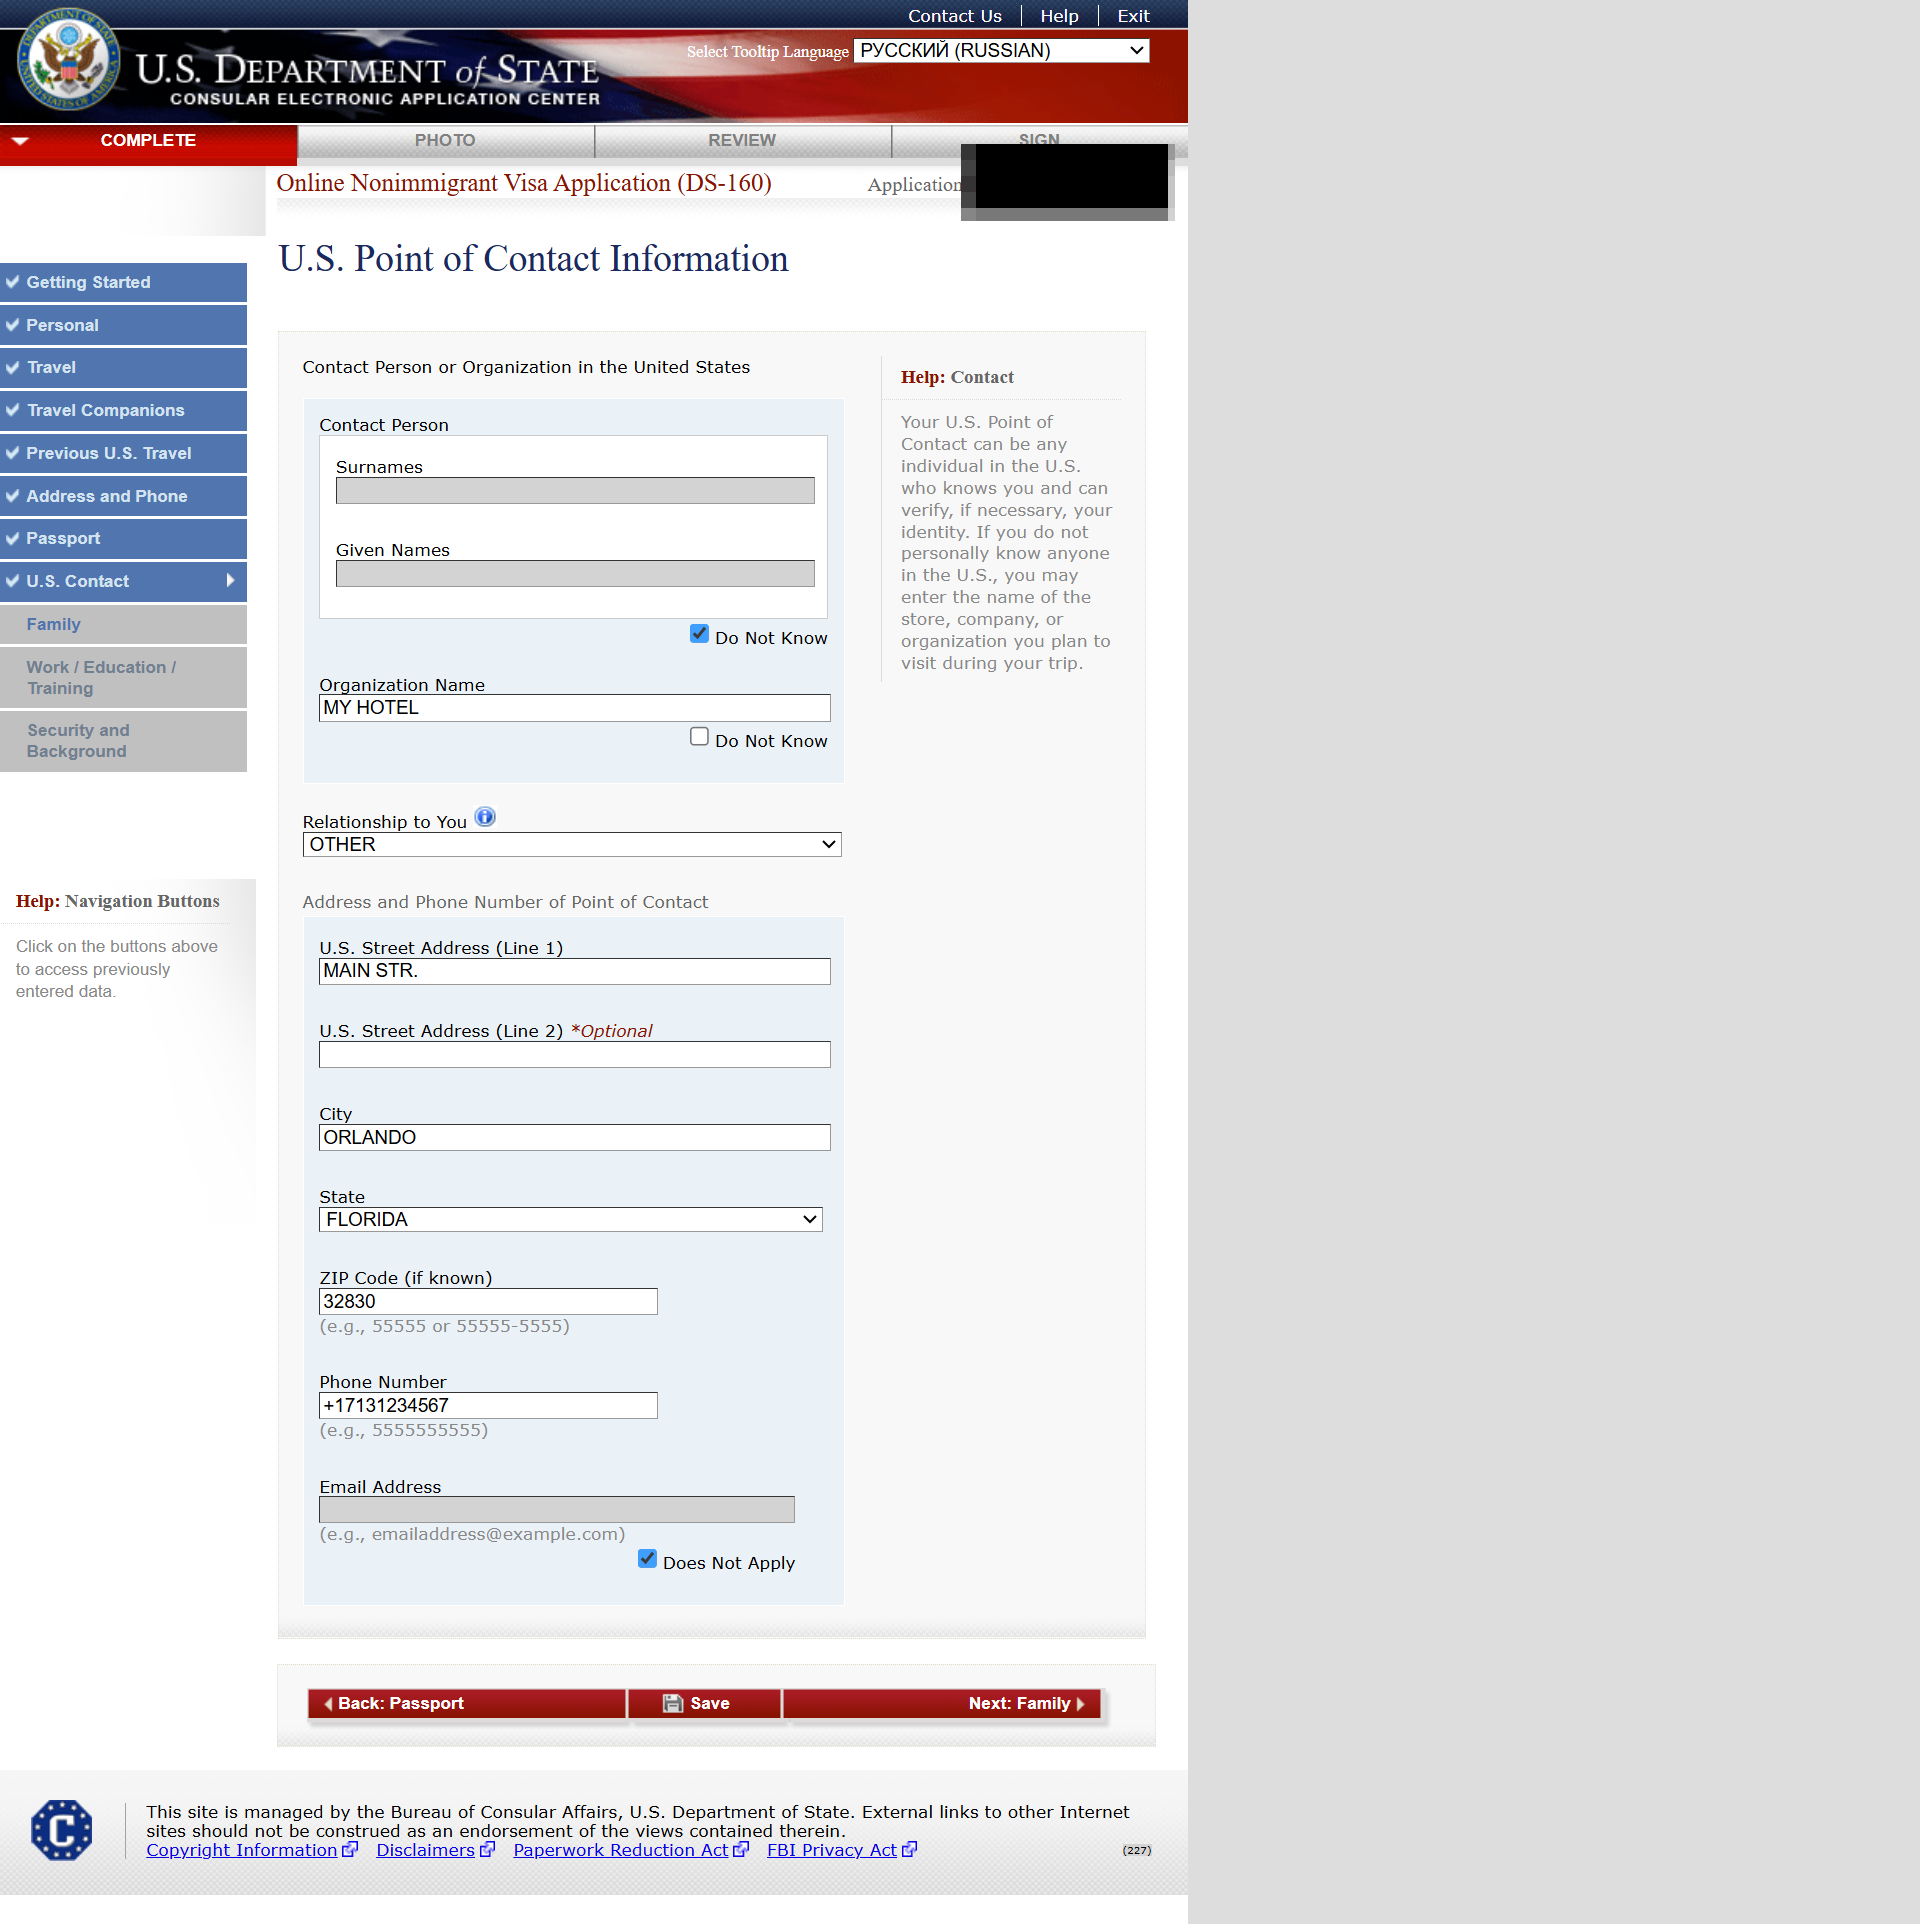
If you have a U.S. host, enter their name and address.
Step 11: Family Information – Part 1 (parents’ names, birth dates)
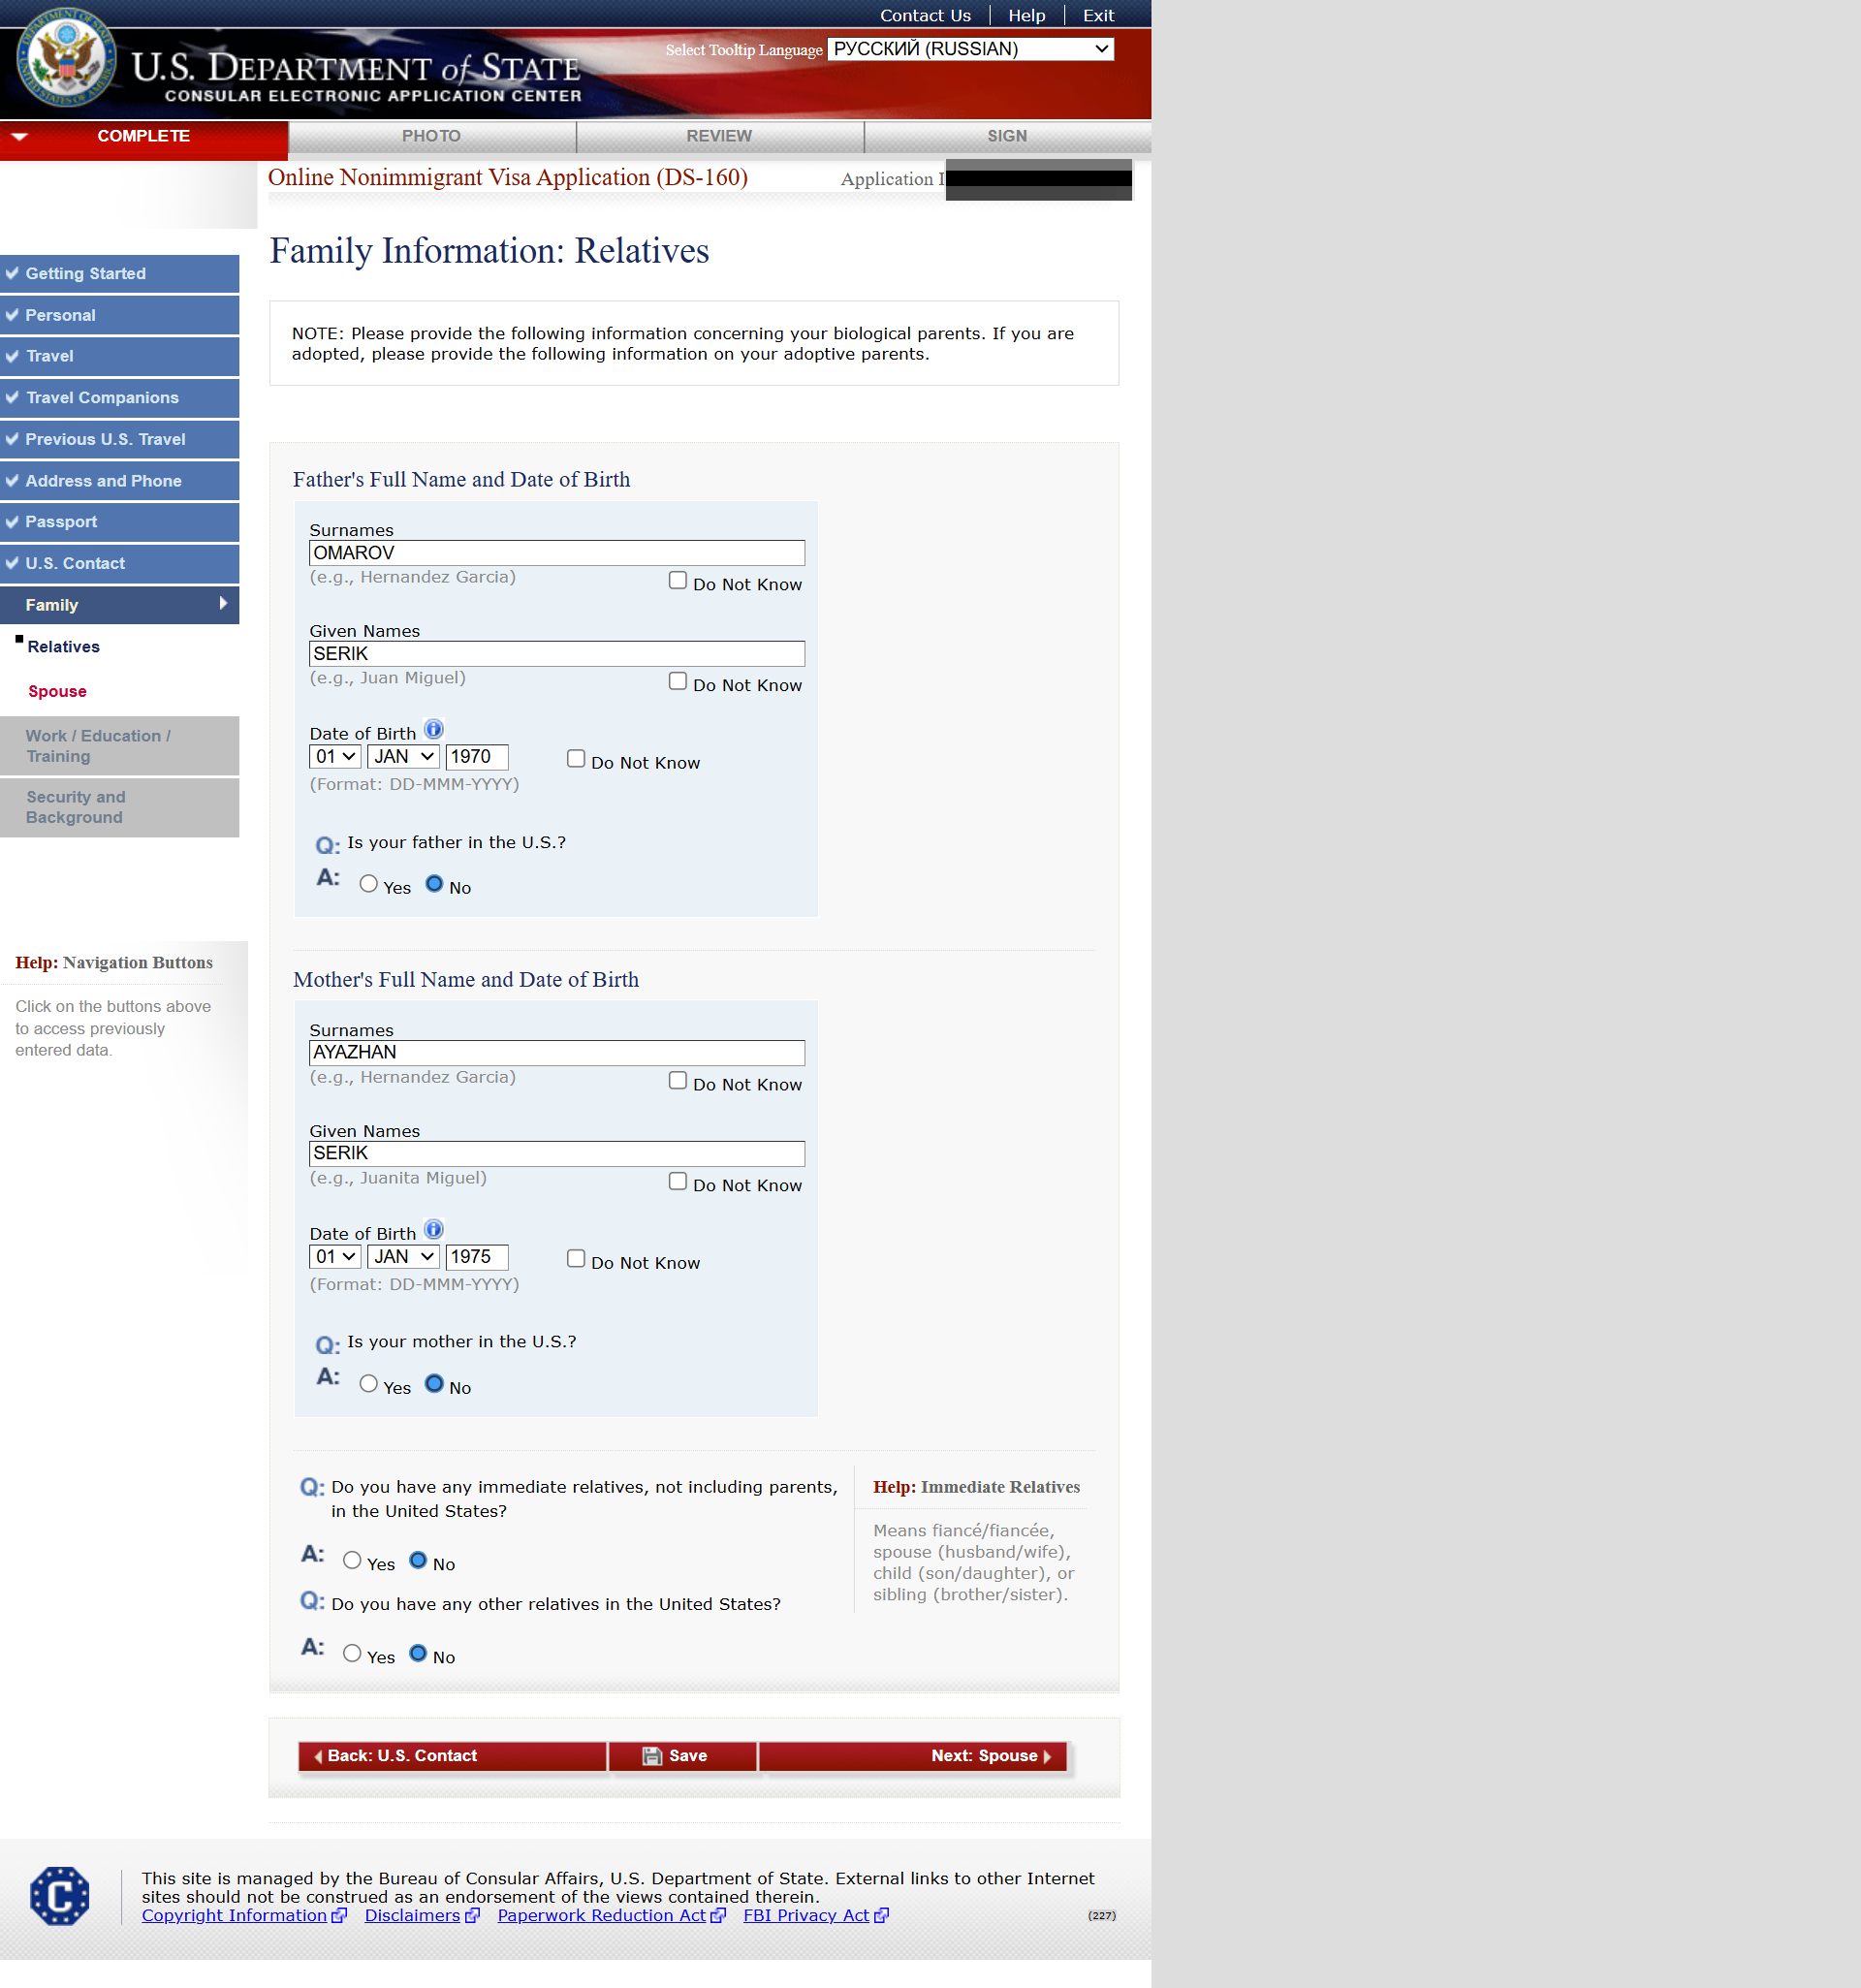
Step 12: Family Information – Part 2 (spouse, children if any)
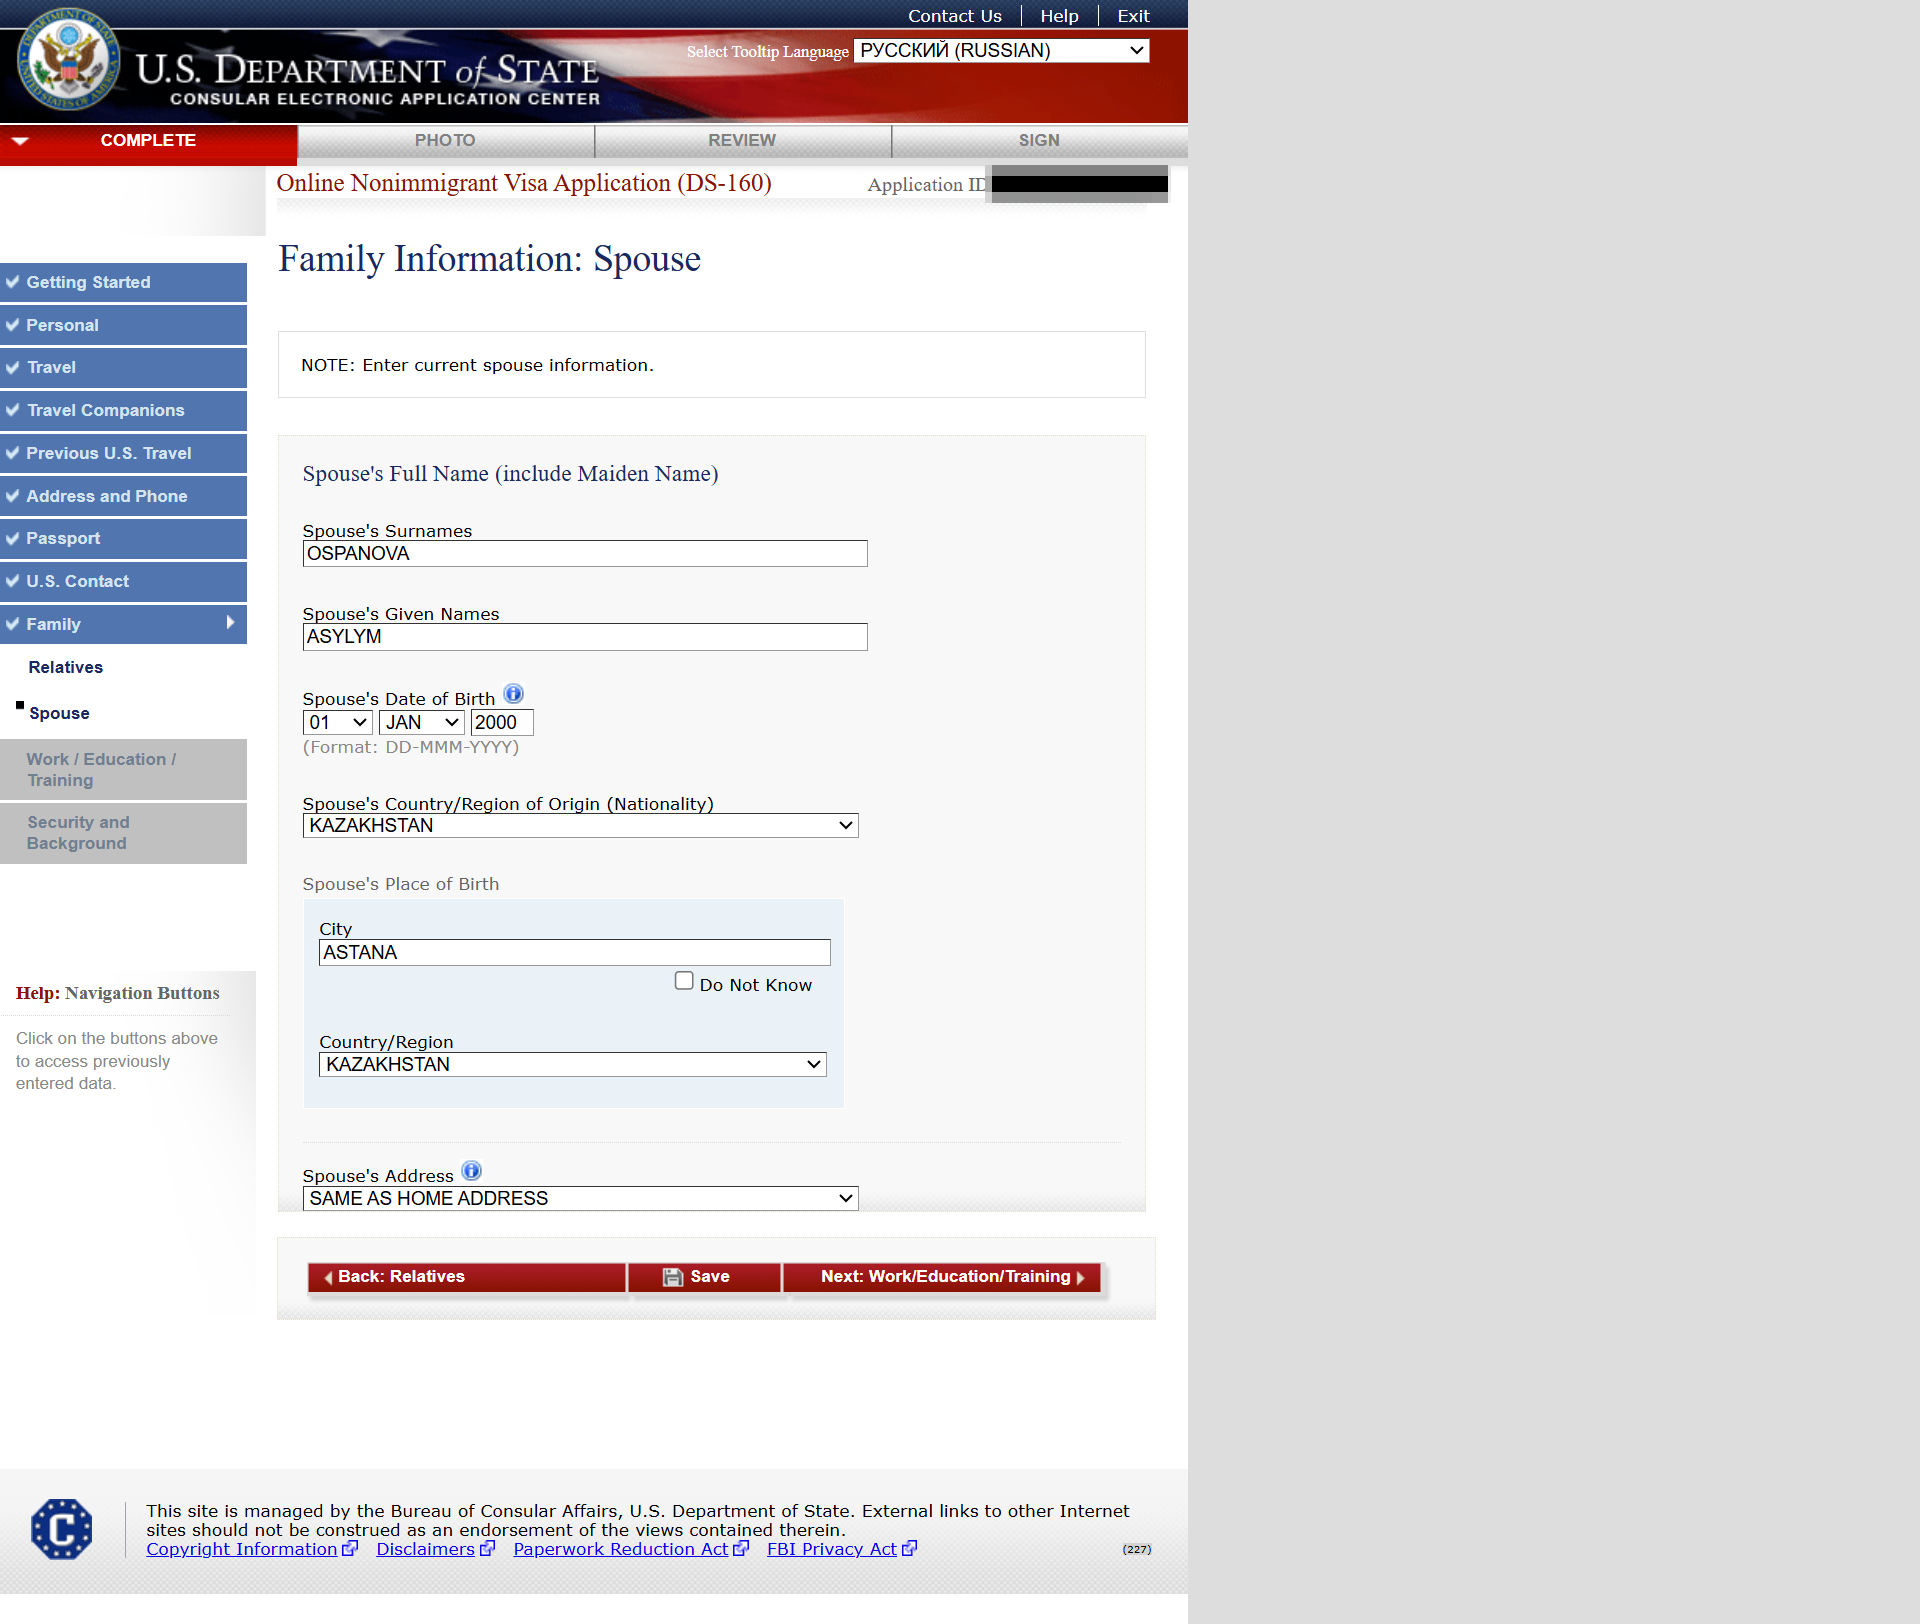
Add your spouse and all kids, if you have.
Step 13: Work / Education / Training – Part 1 (current job/school)
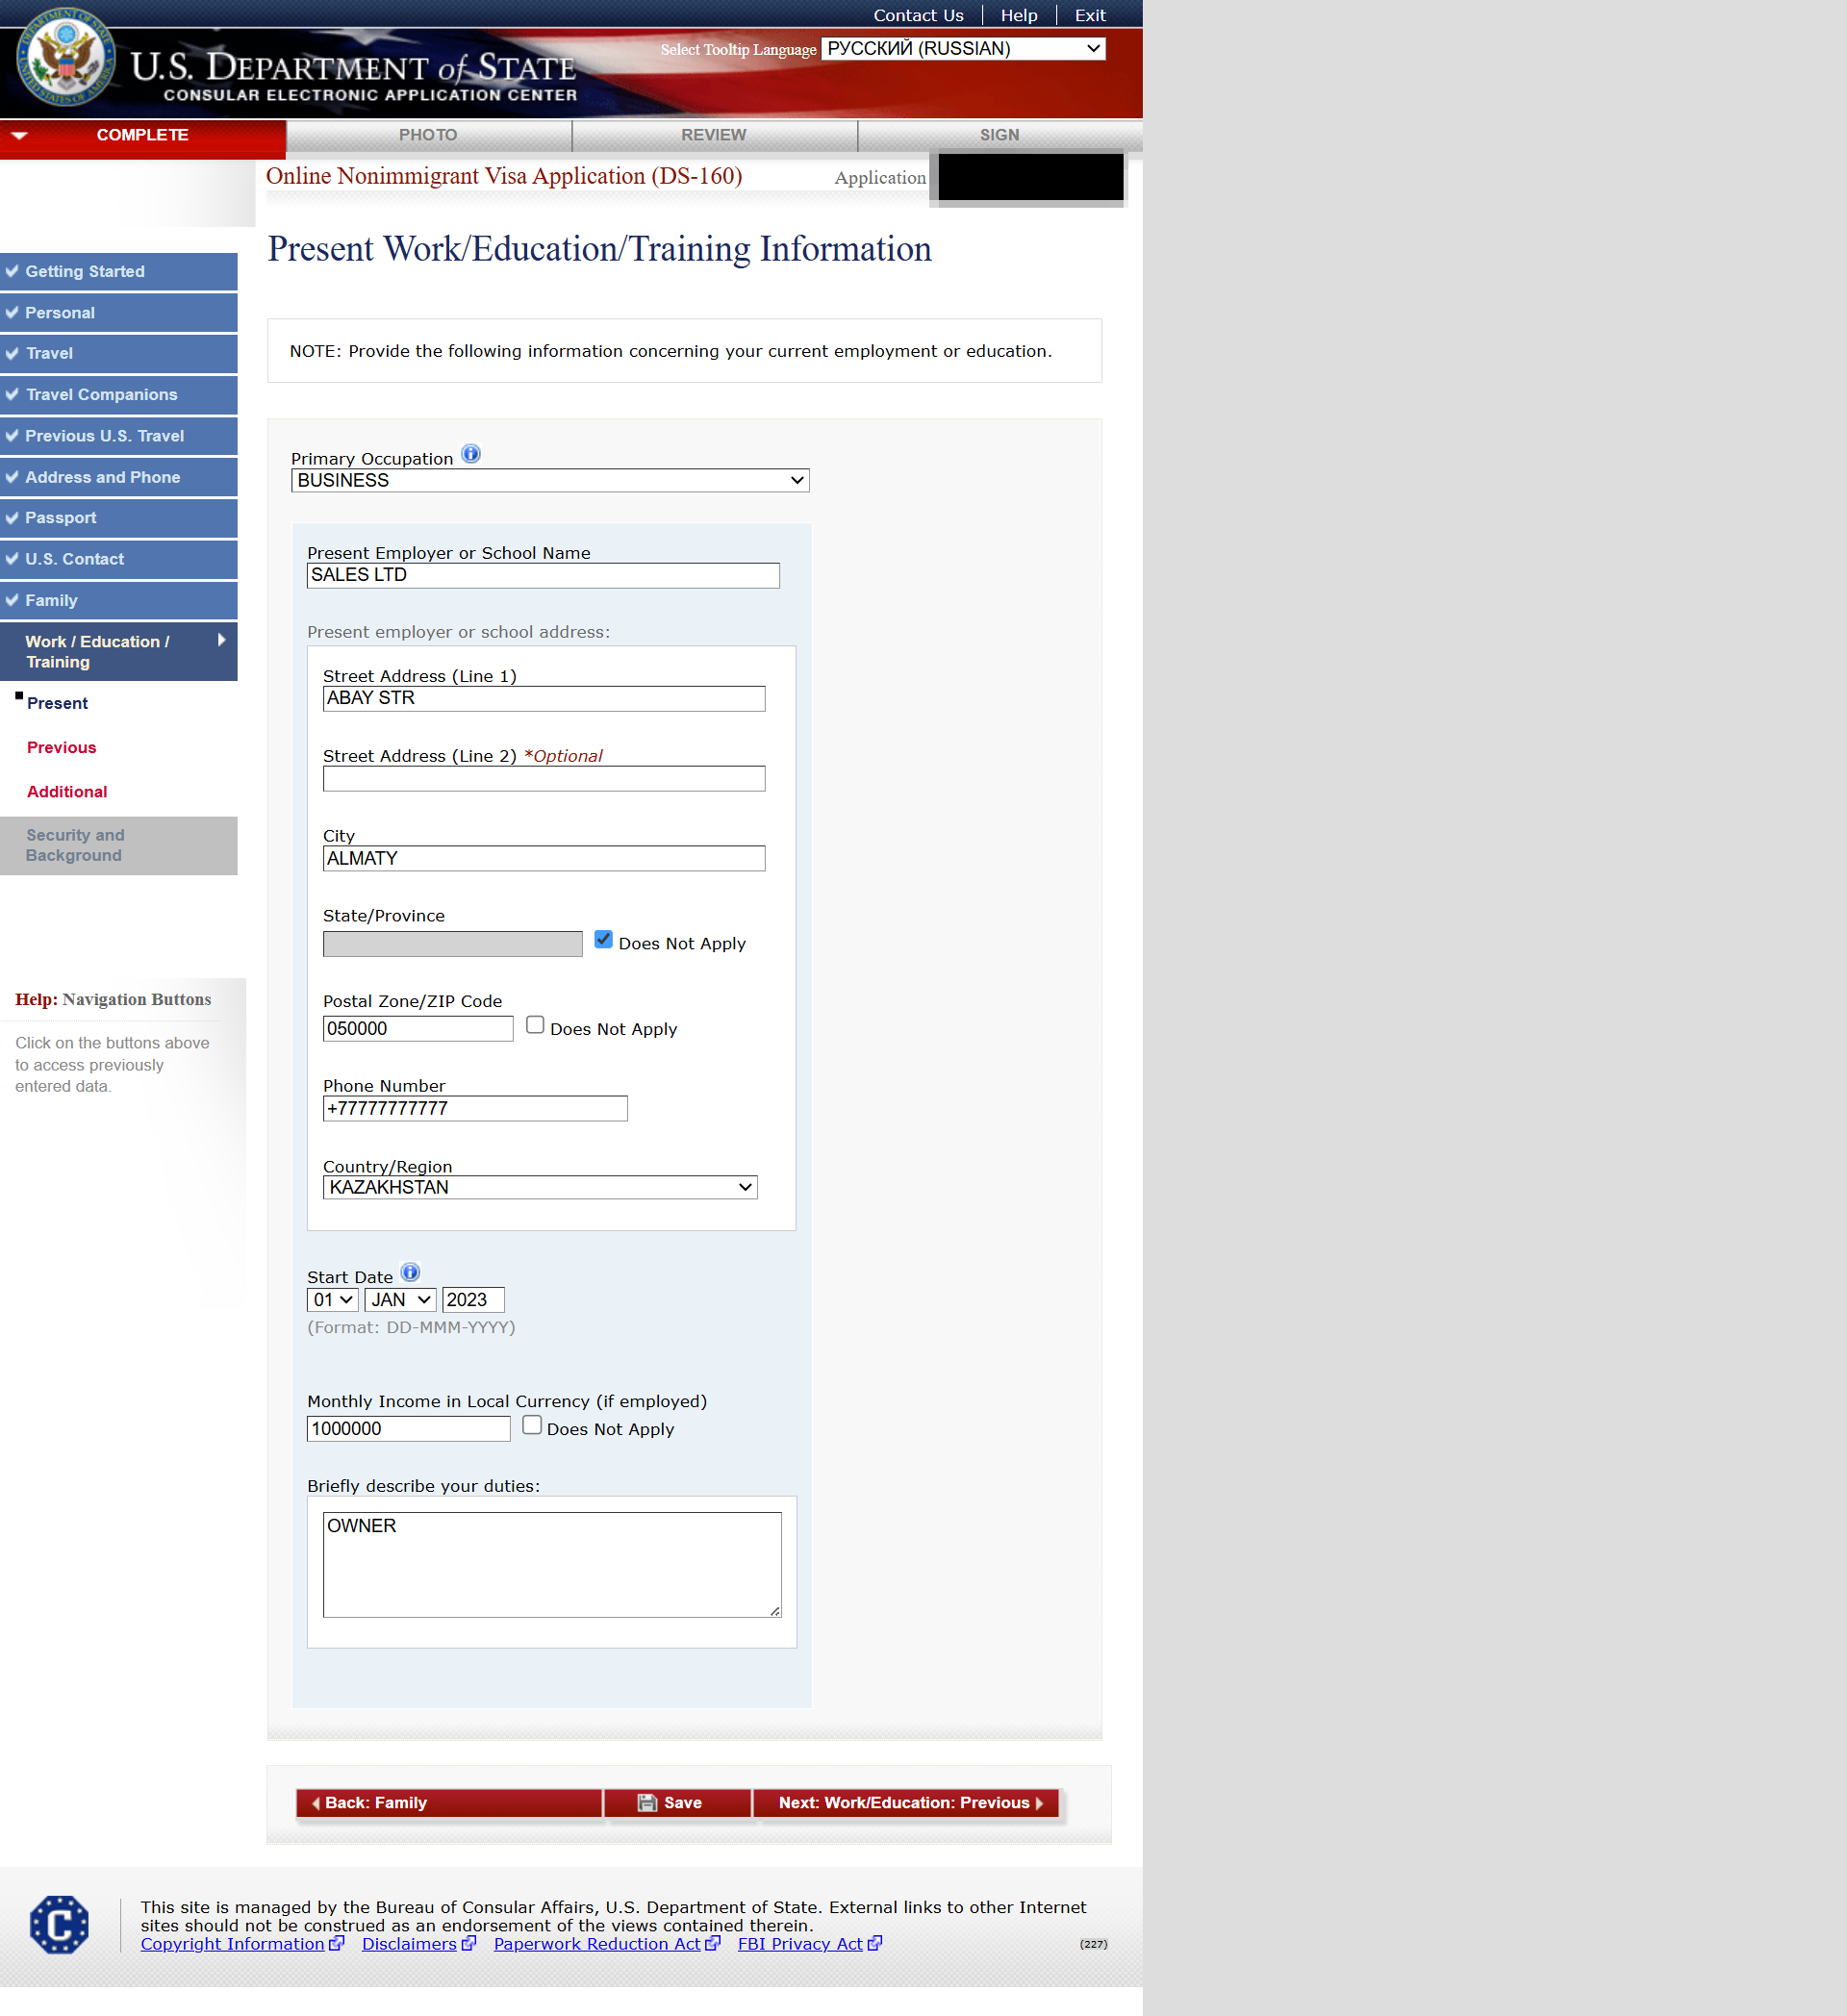
As a part of documents, you may take official confirmation paper from work, which will have your salary as well.
Also bank statement as a proof of funds.
Step 14: Work / Education / Training – Part 2 (previous jobs, schools, travel)
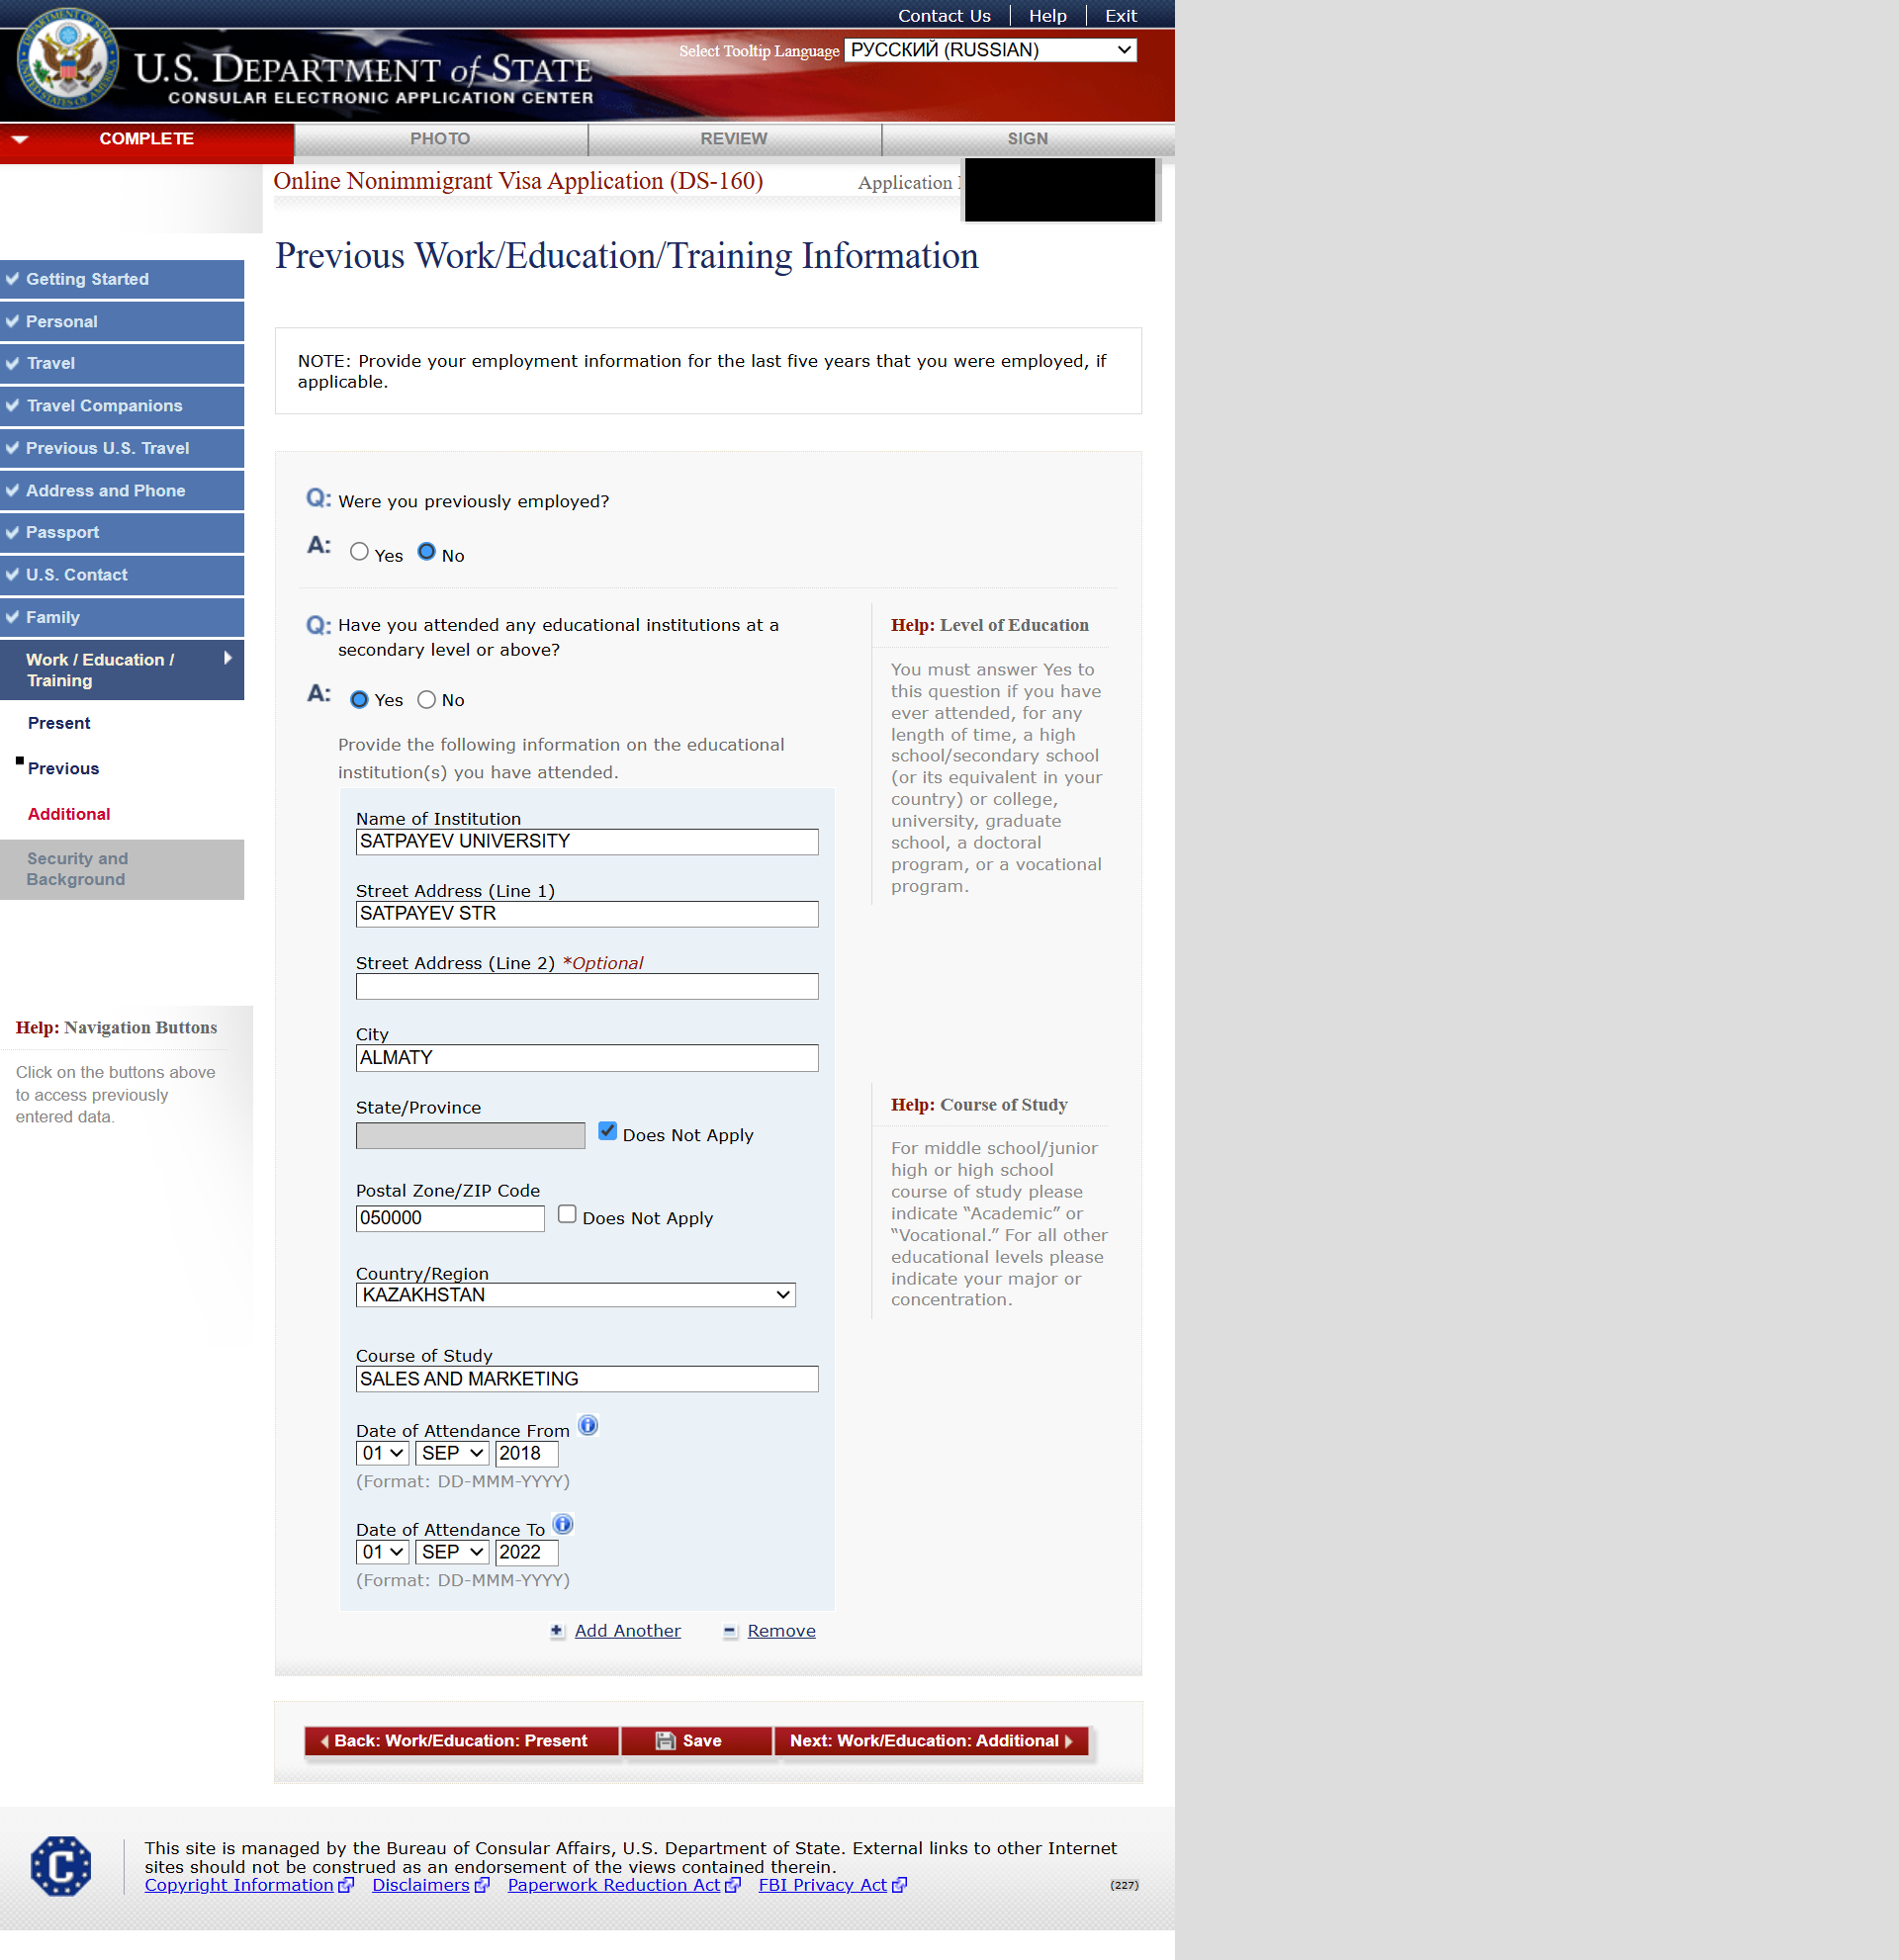
Volunteer roles are fine—only if real.
Step 15: Work / Education / Training – Part 2 (additional information)
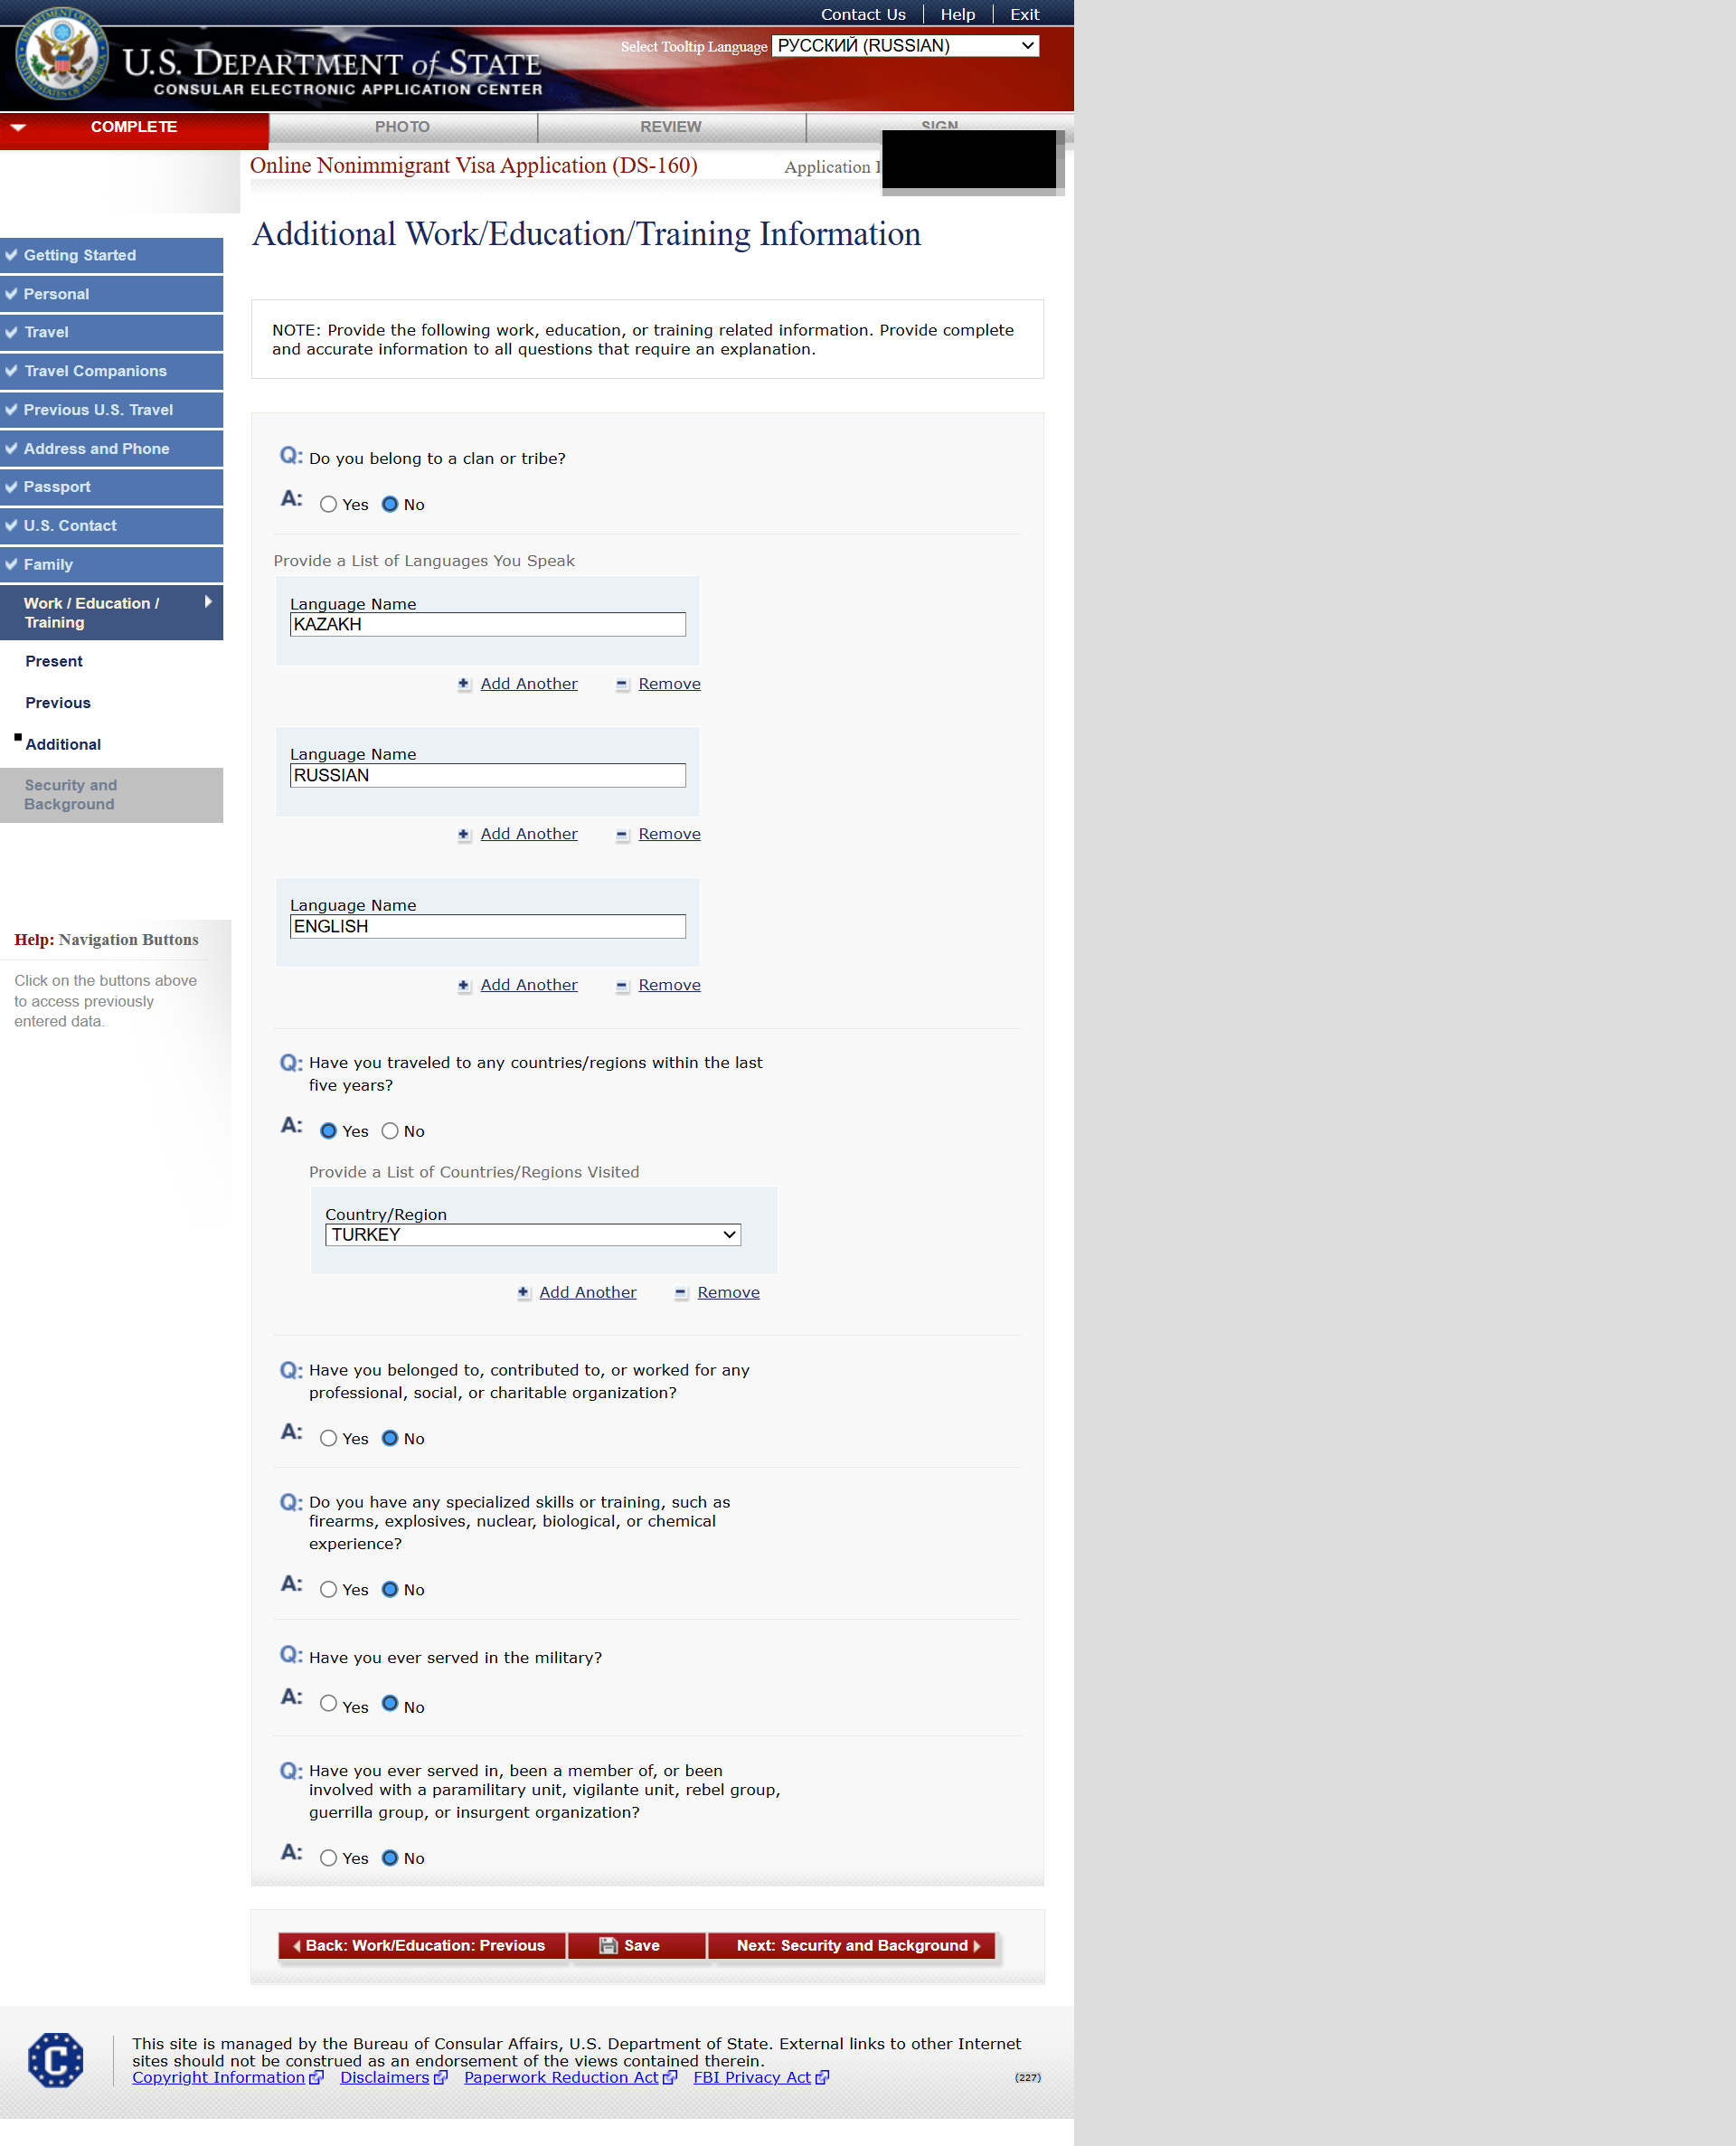
We had about 3-4 countries to mention, all with stamp proves in passport.
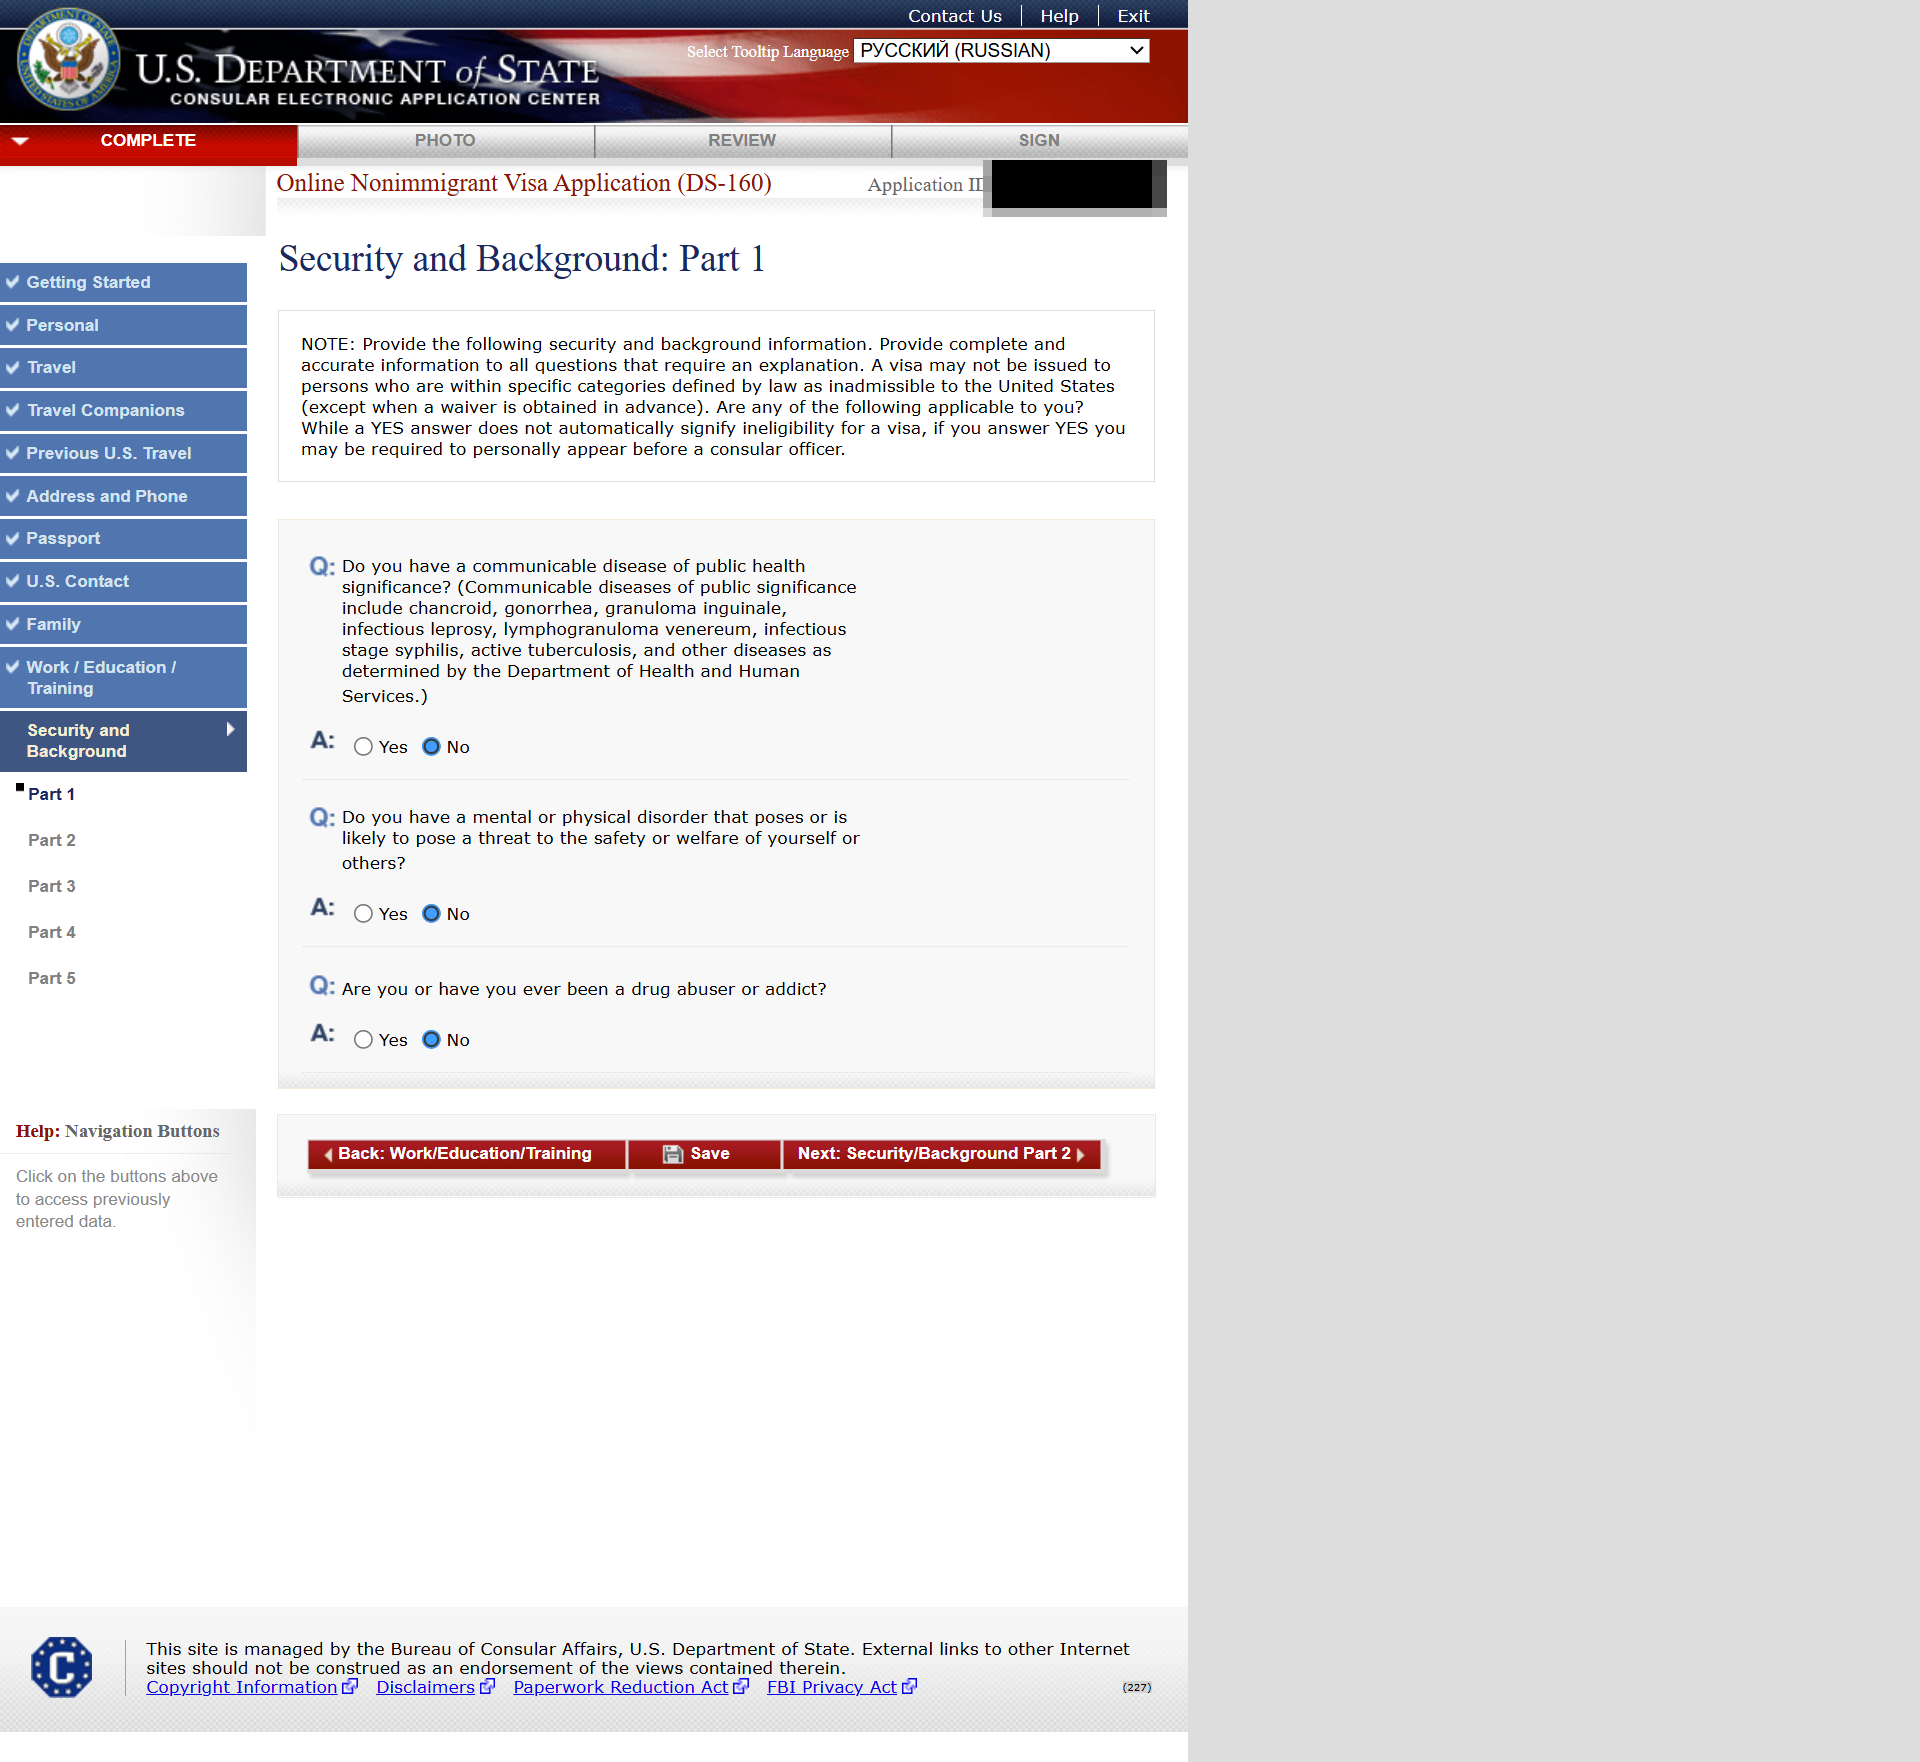
Step 16: Security and Background – Part 1
Step 17: Security and Background – Part 2

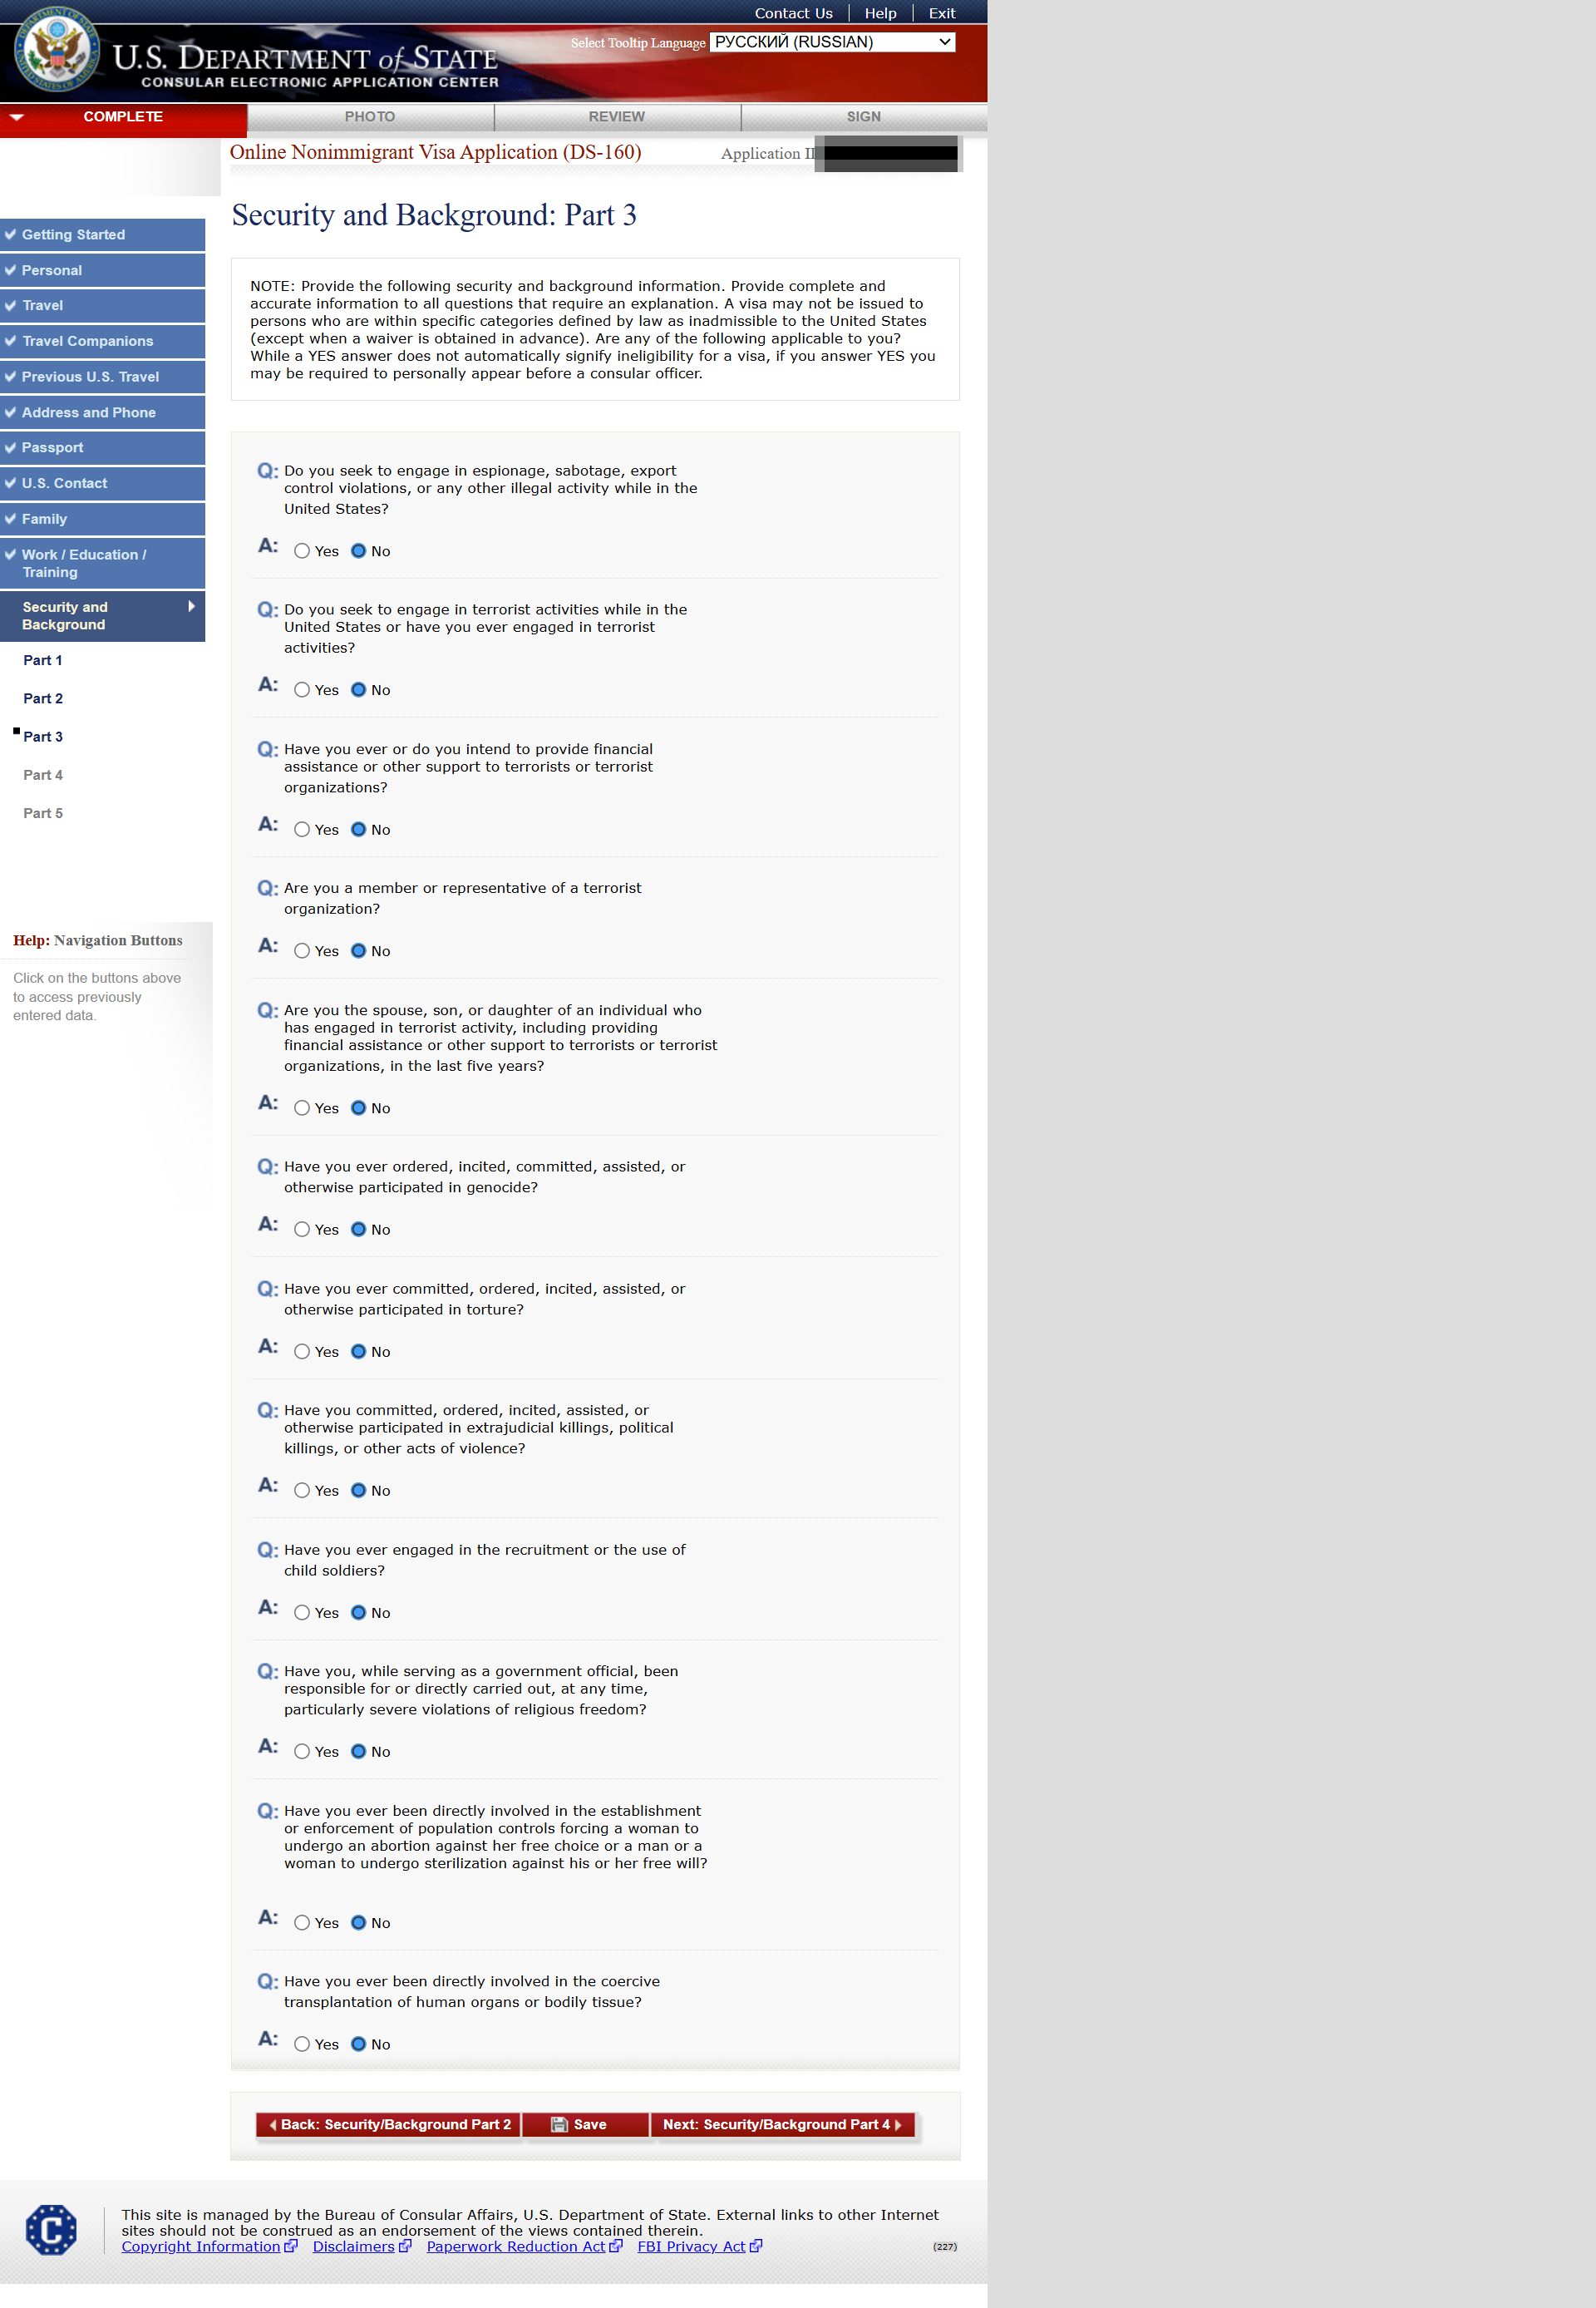
Step 18: Security and Background – Part 3
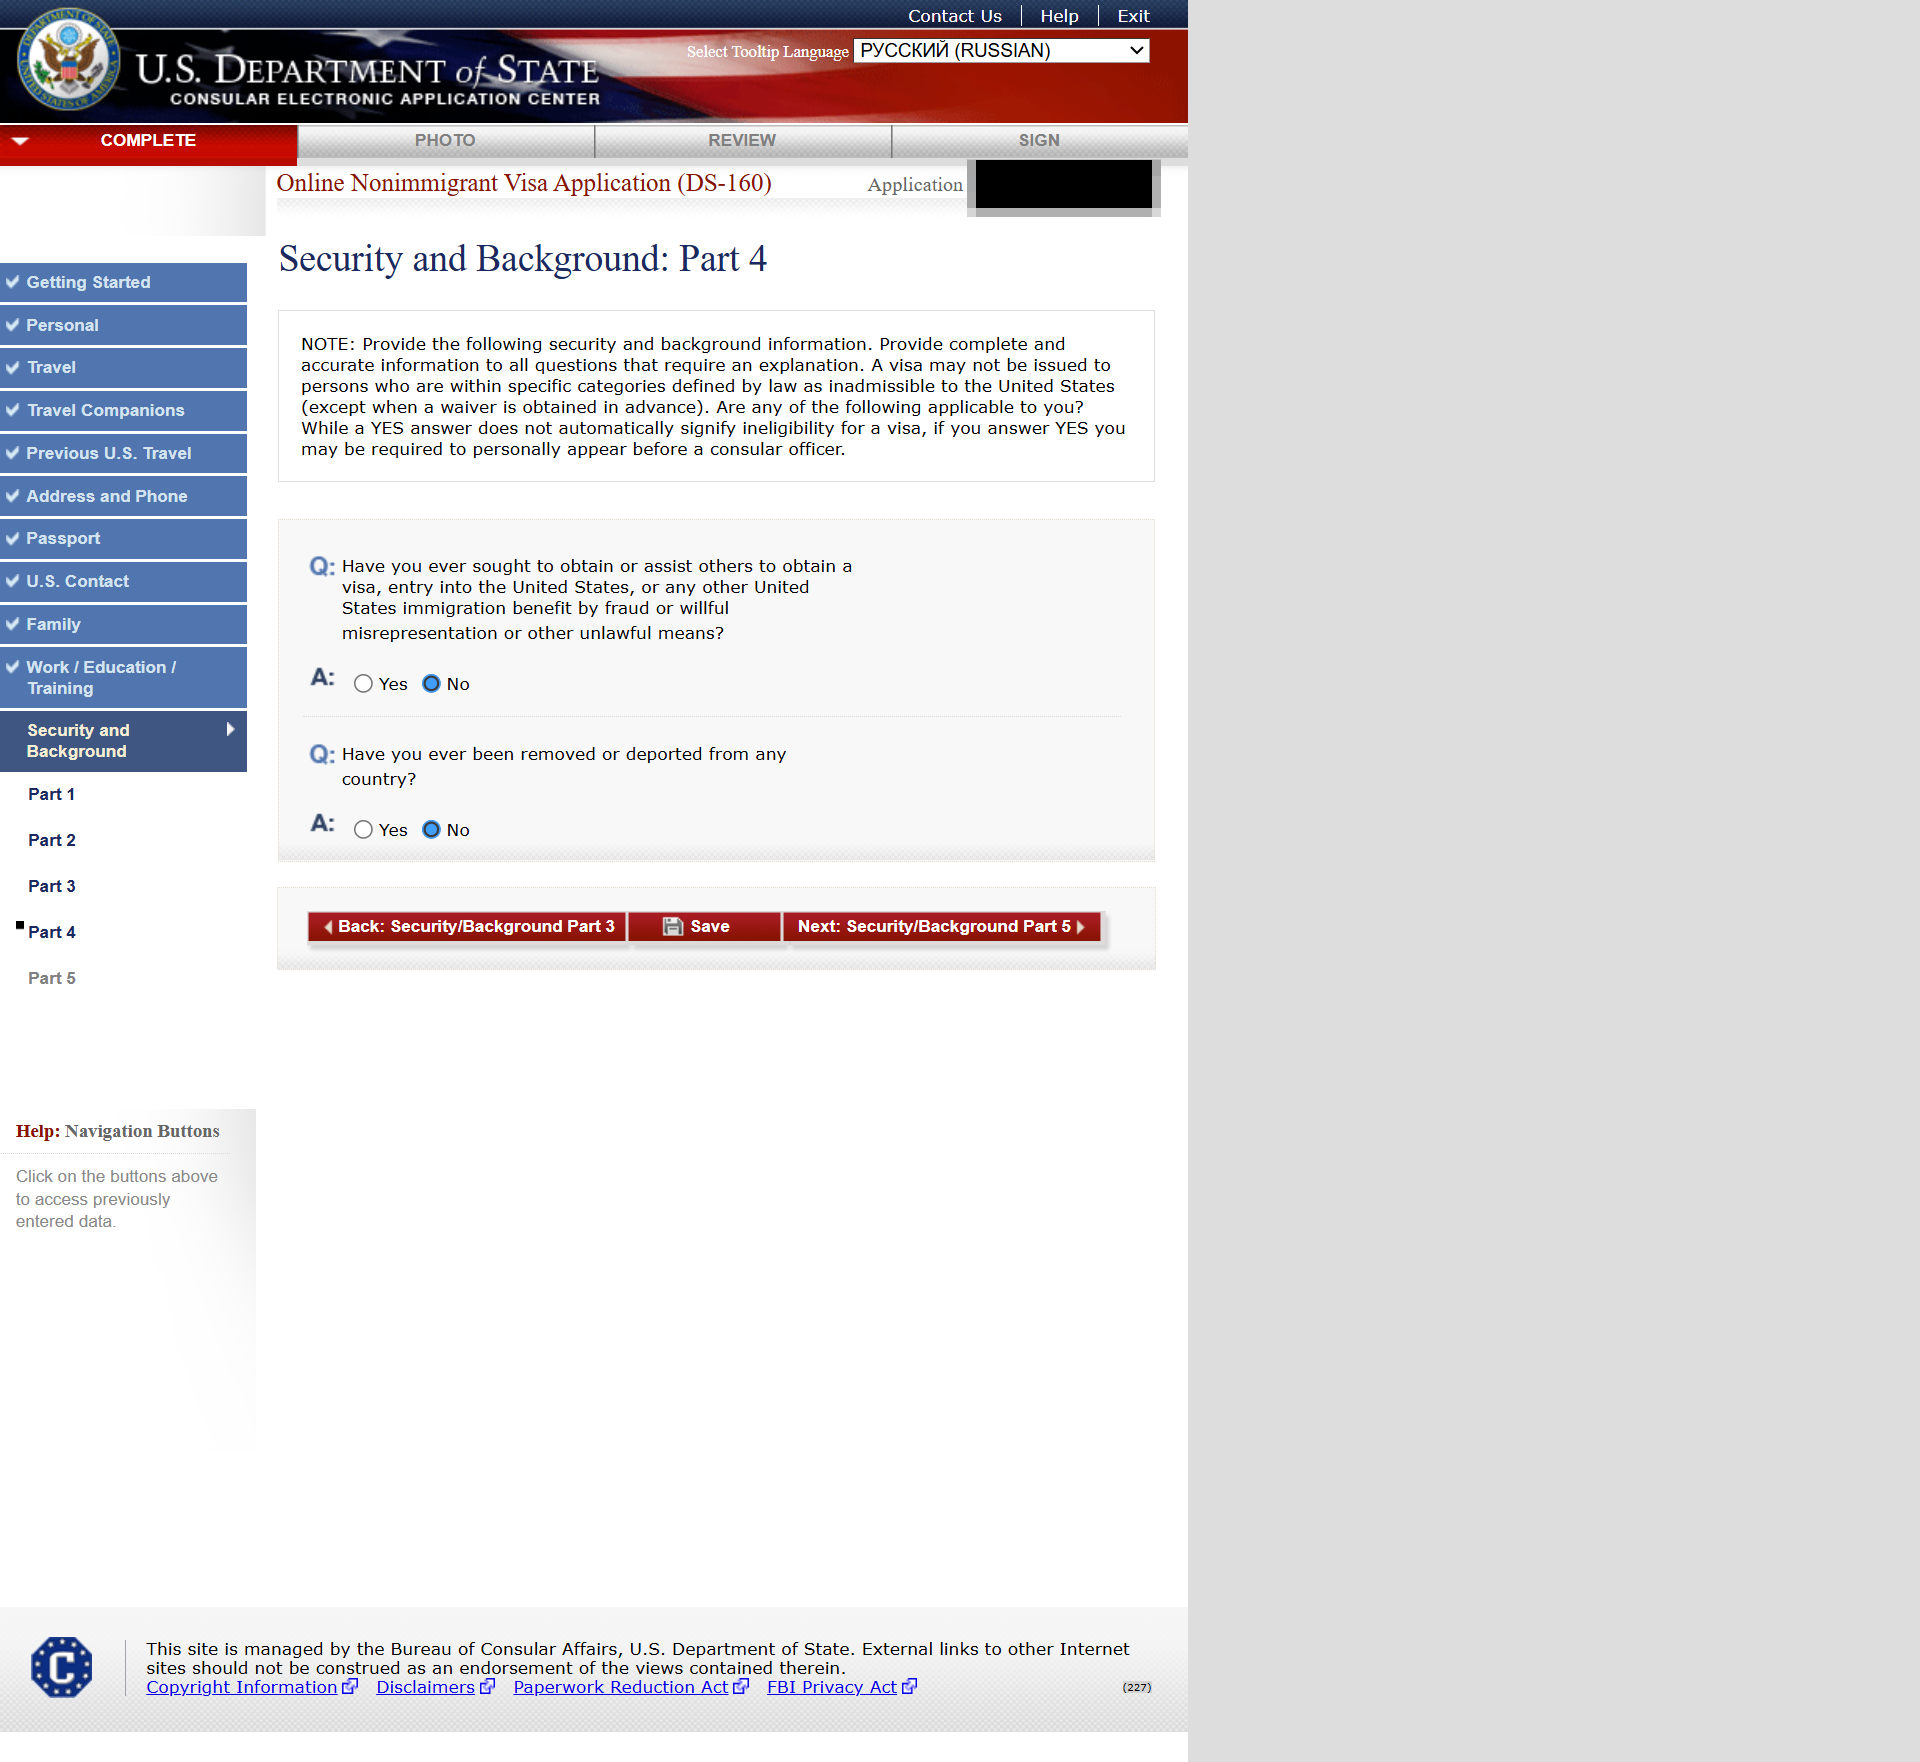
Step 19: Security and Background – Part 4
Step 20: Security and Background – Part 5

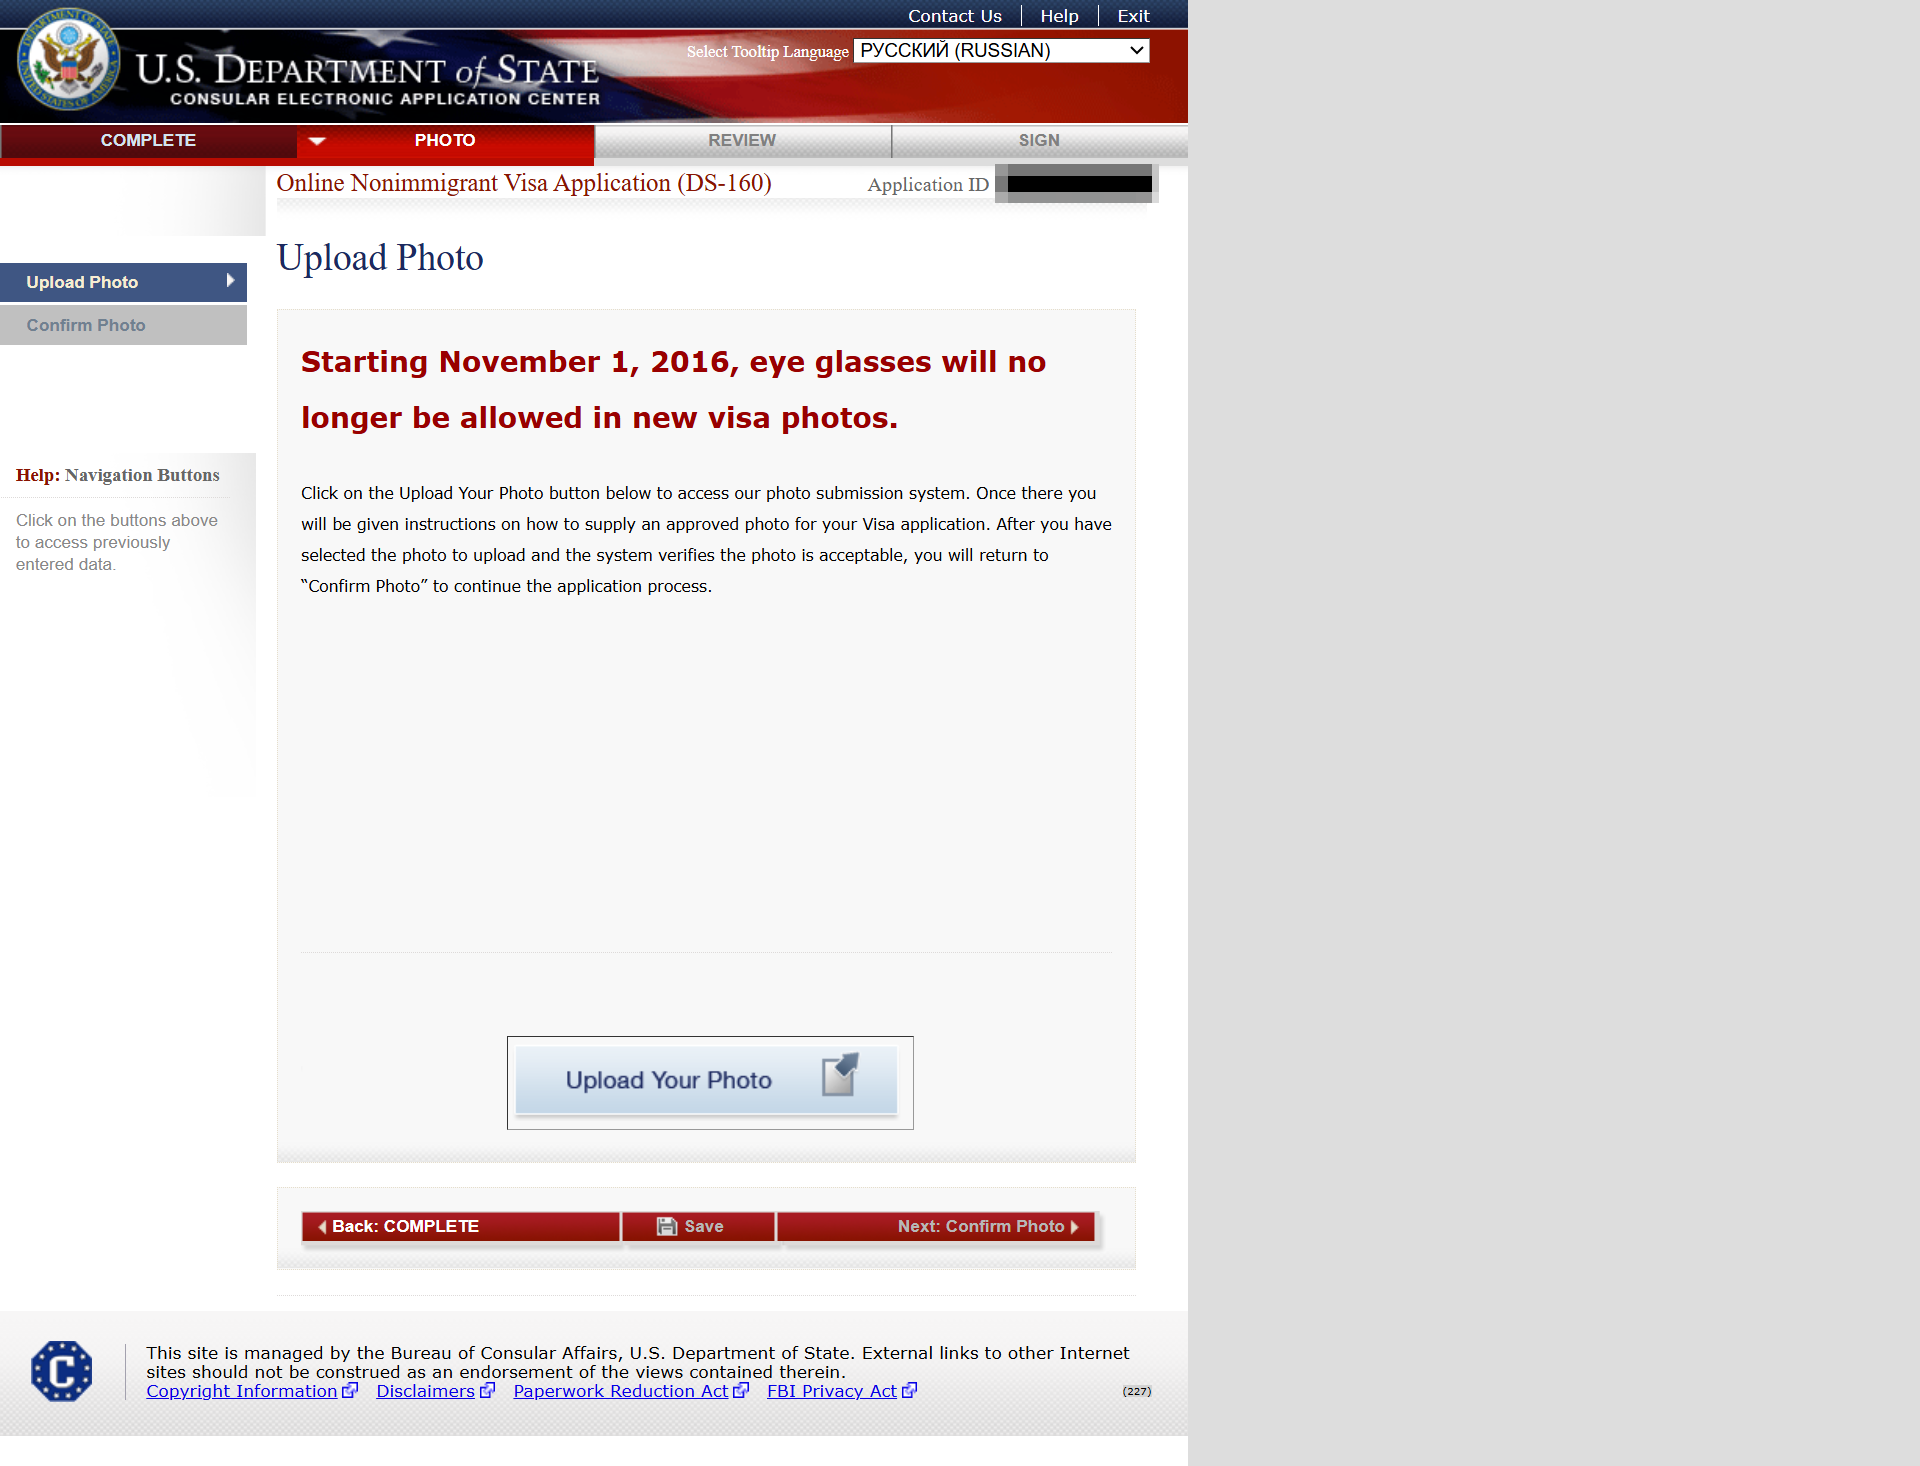
DS-160 Photo Requirements (Quick Guide)
- Official details: U.S. Visa Photo Requirements .
- Size: 2×2 inch (51×51 mm); square digital image.
- Background: plain white; no shadows.
- Face: centered, neutral expression; no glasses.
- Lighting: even, no harsh contrast; no filters.
- File: recent photo (last 6 months).
Step 21: Upload visa photo.
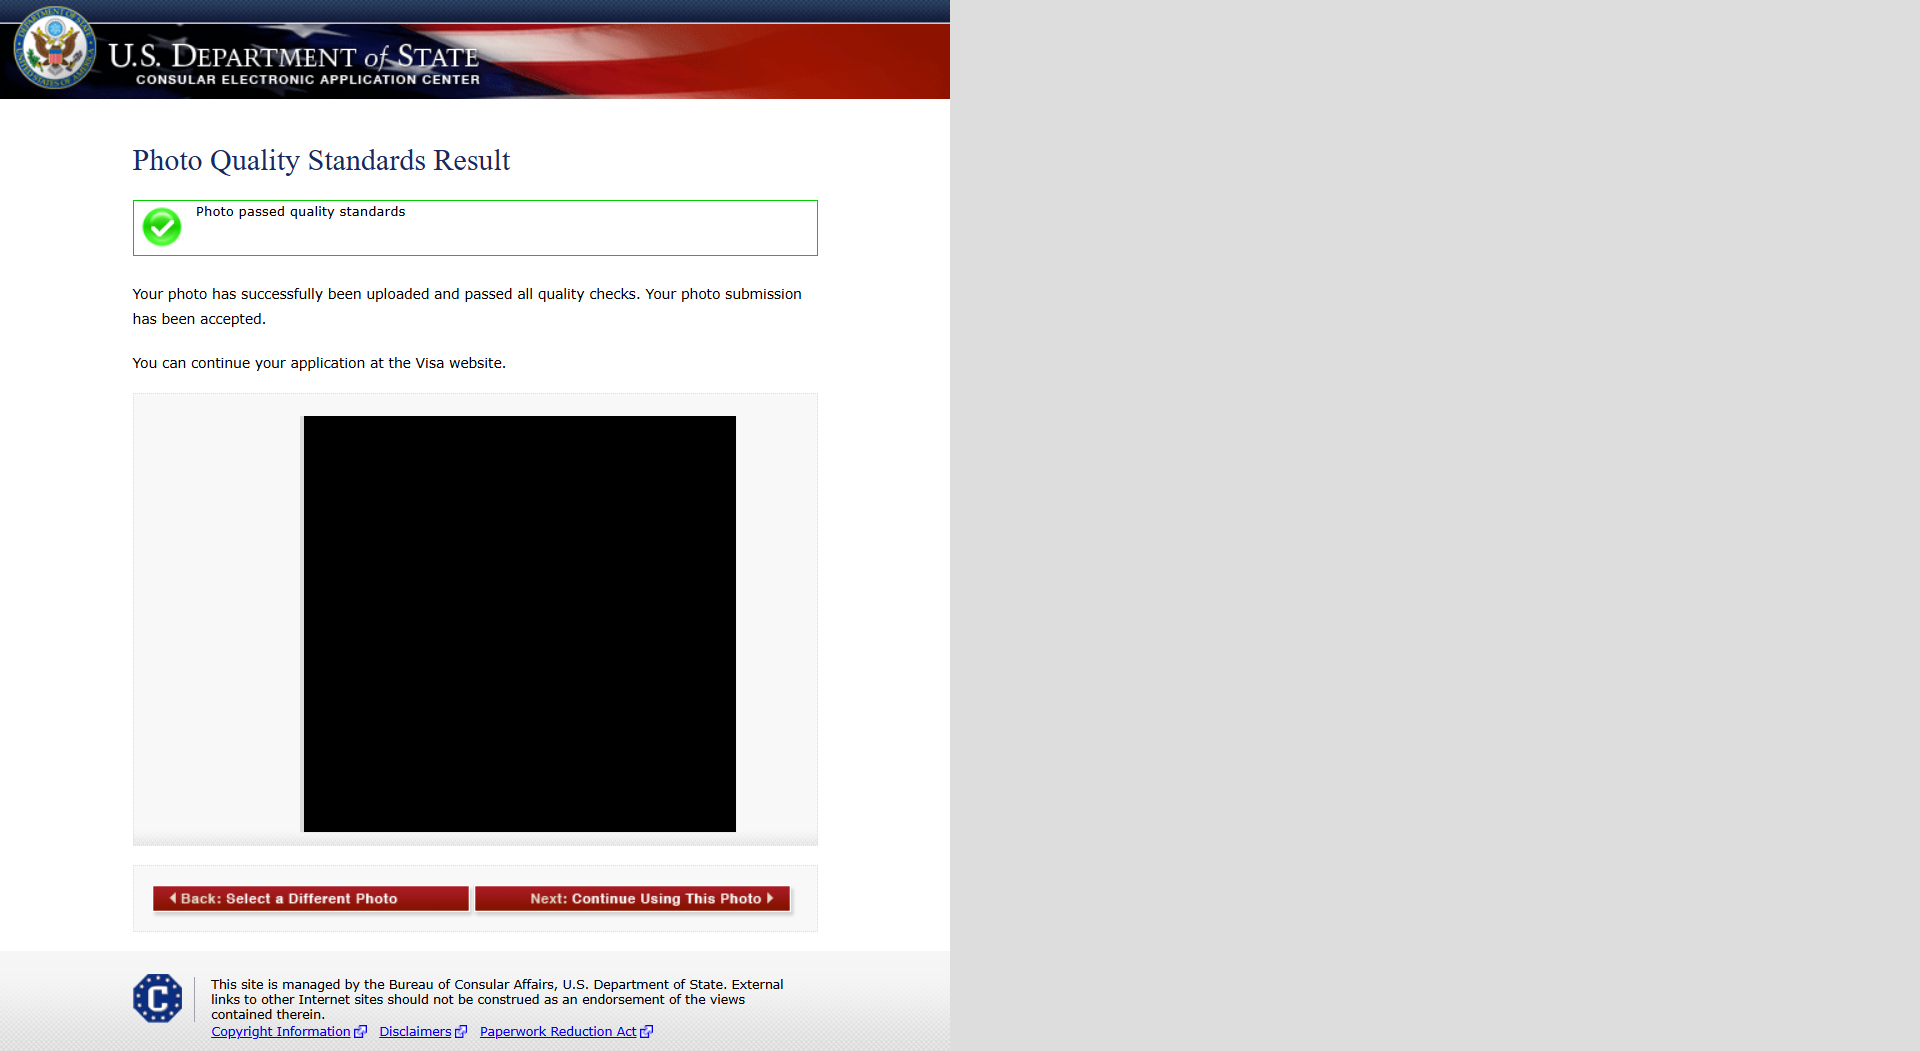
Step 22: Photo review
Step 23: Data review – Part 5
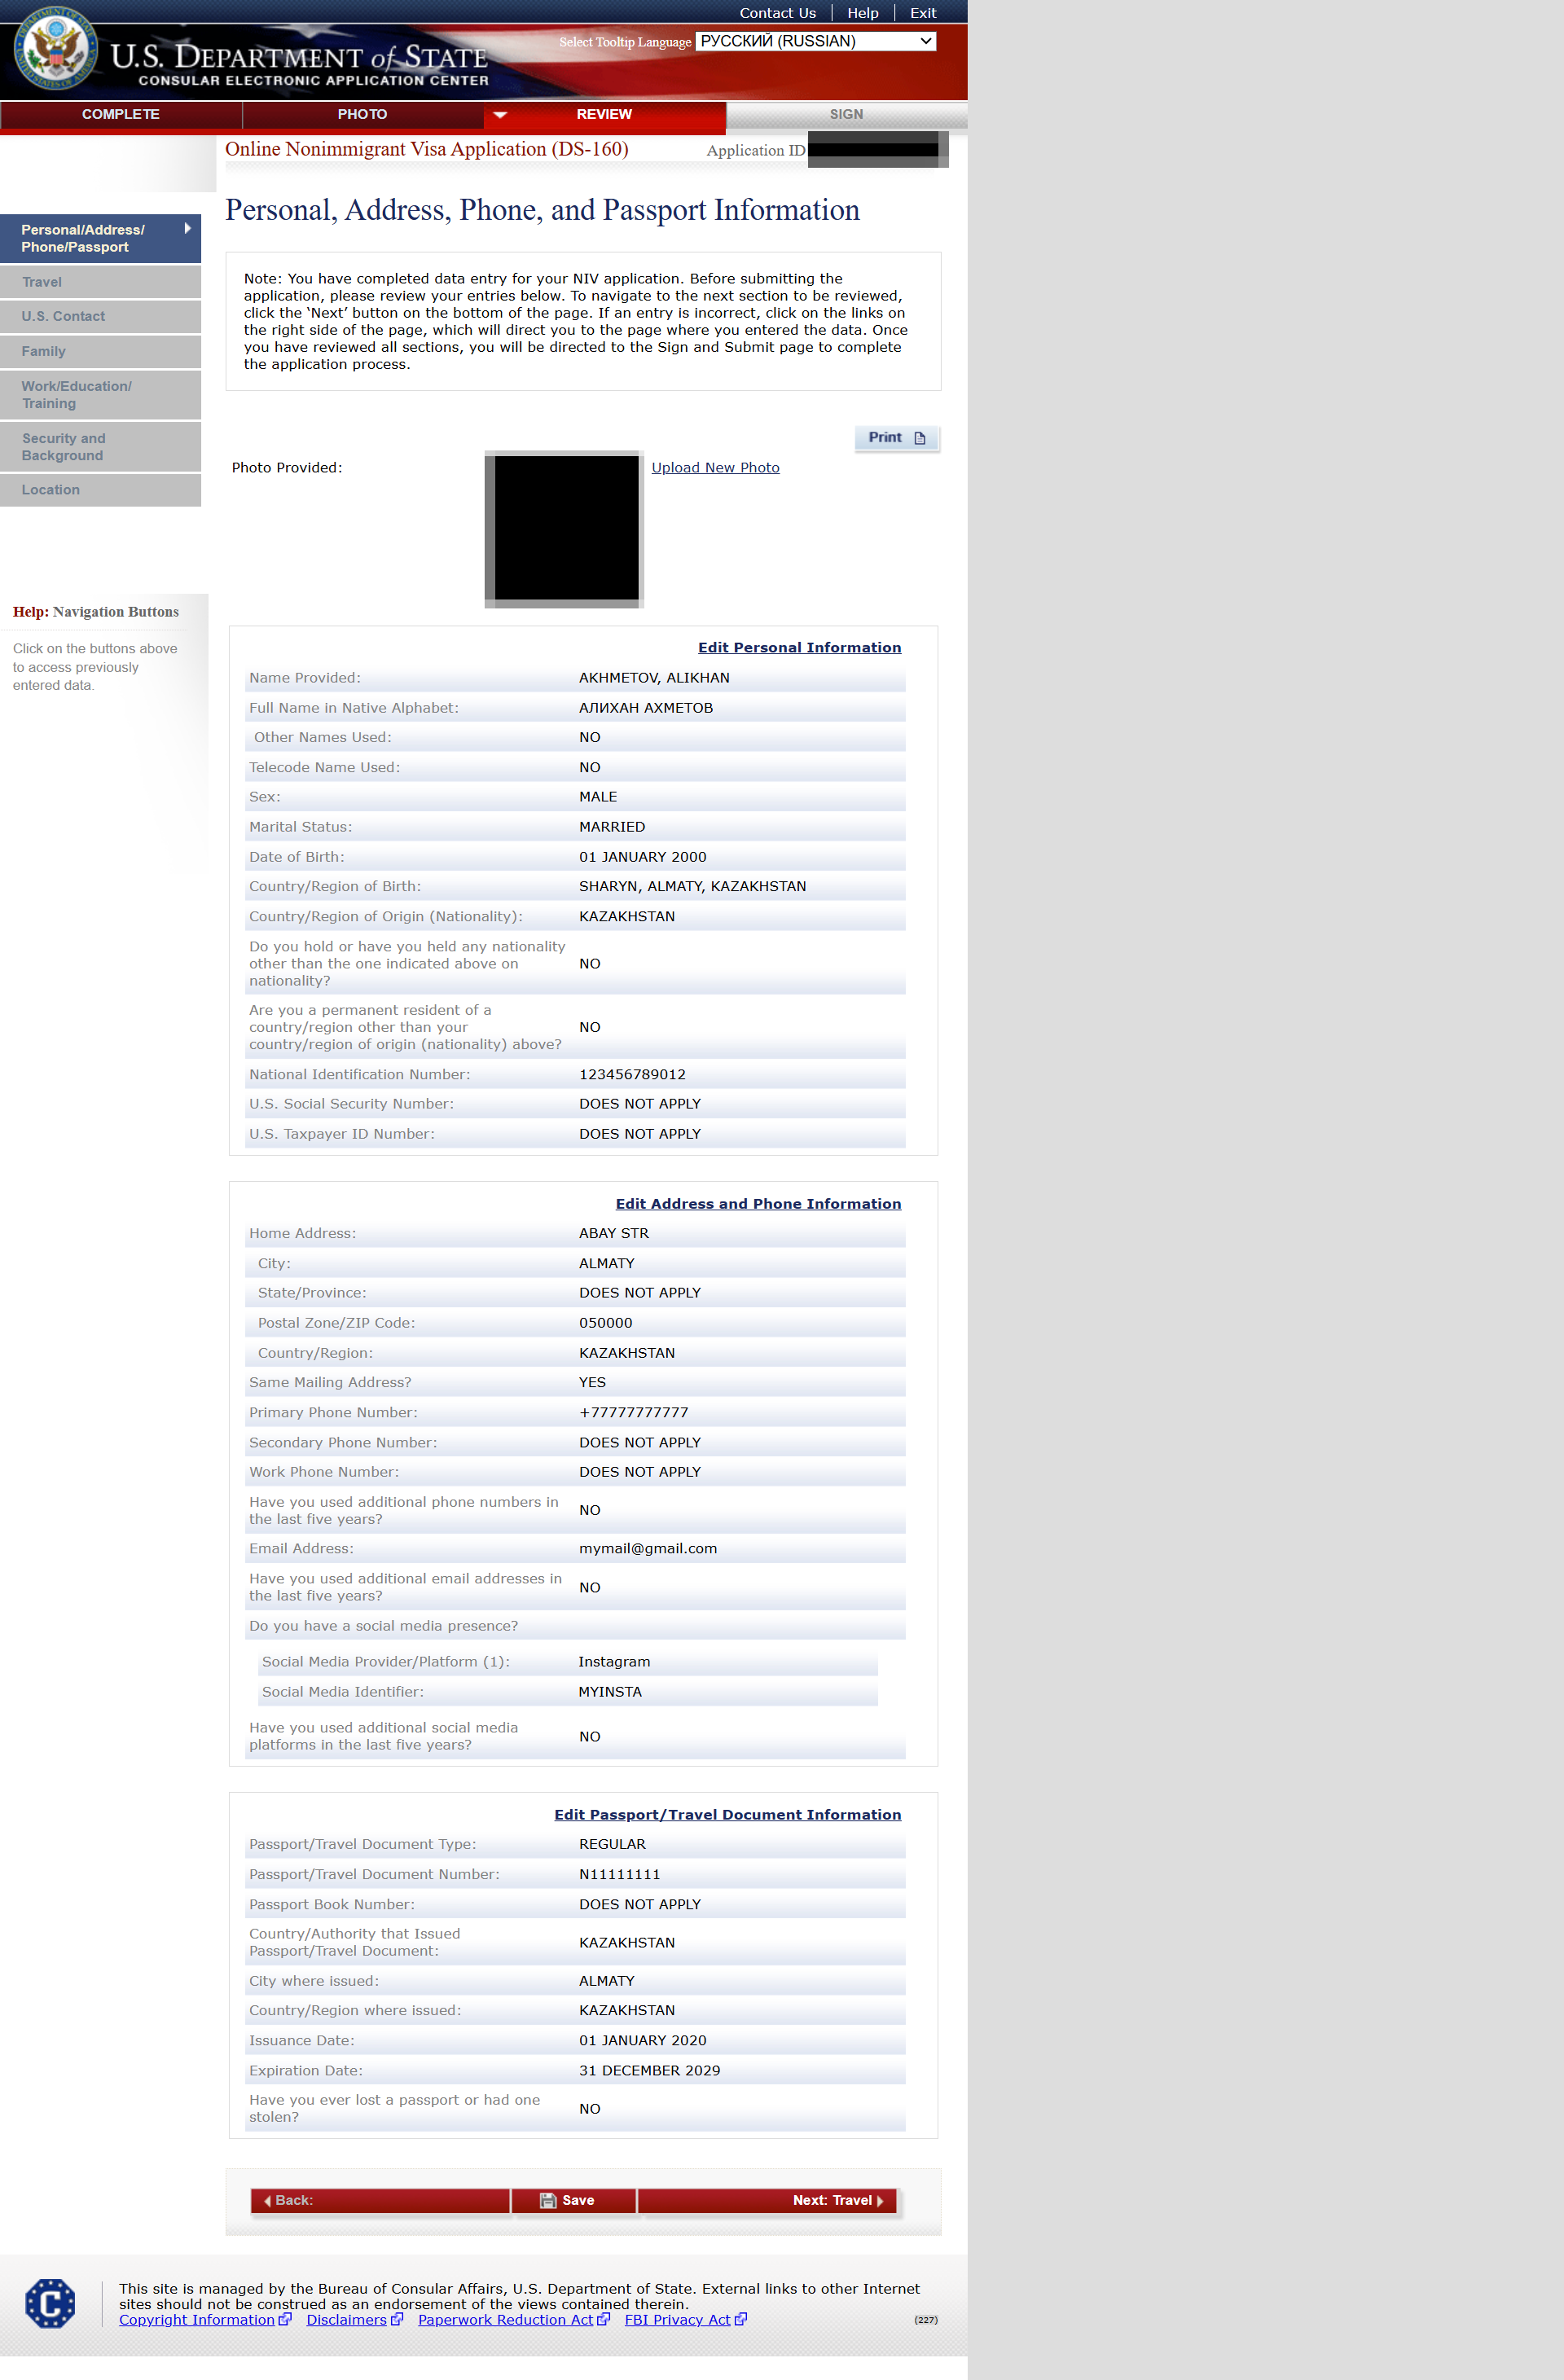
You will several pages to review your data.
Step 24: Location
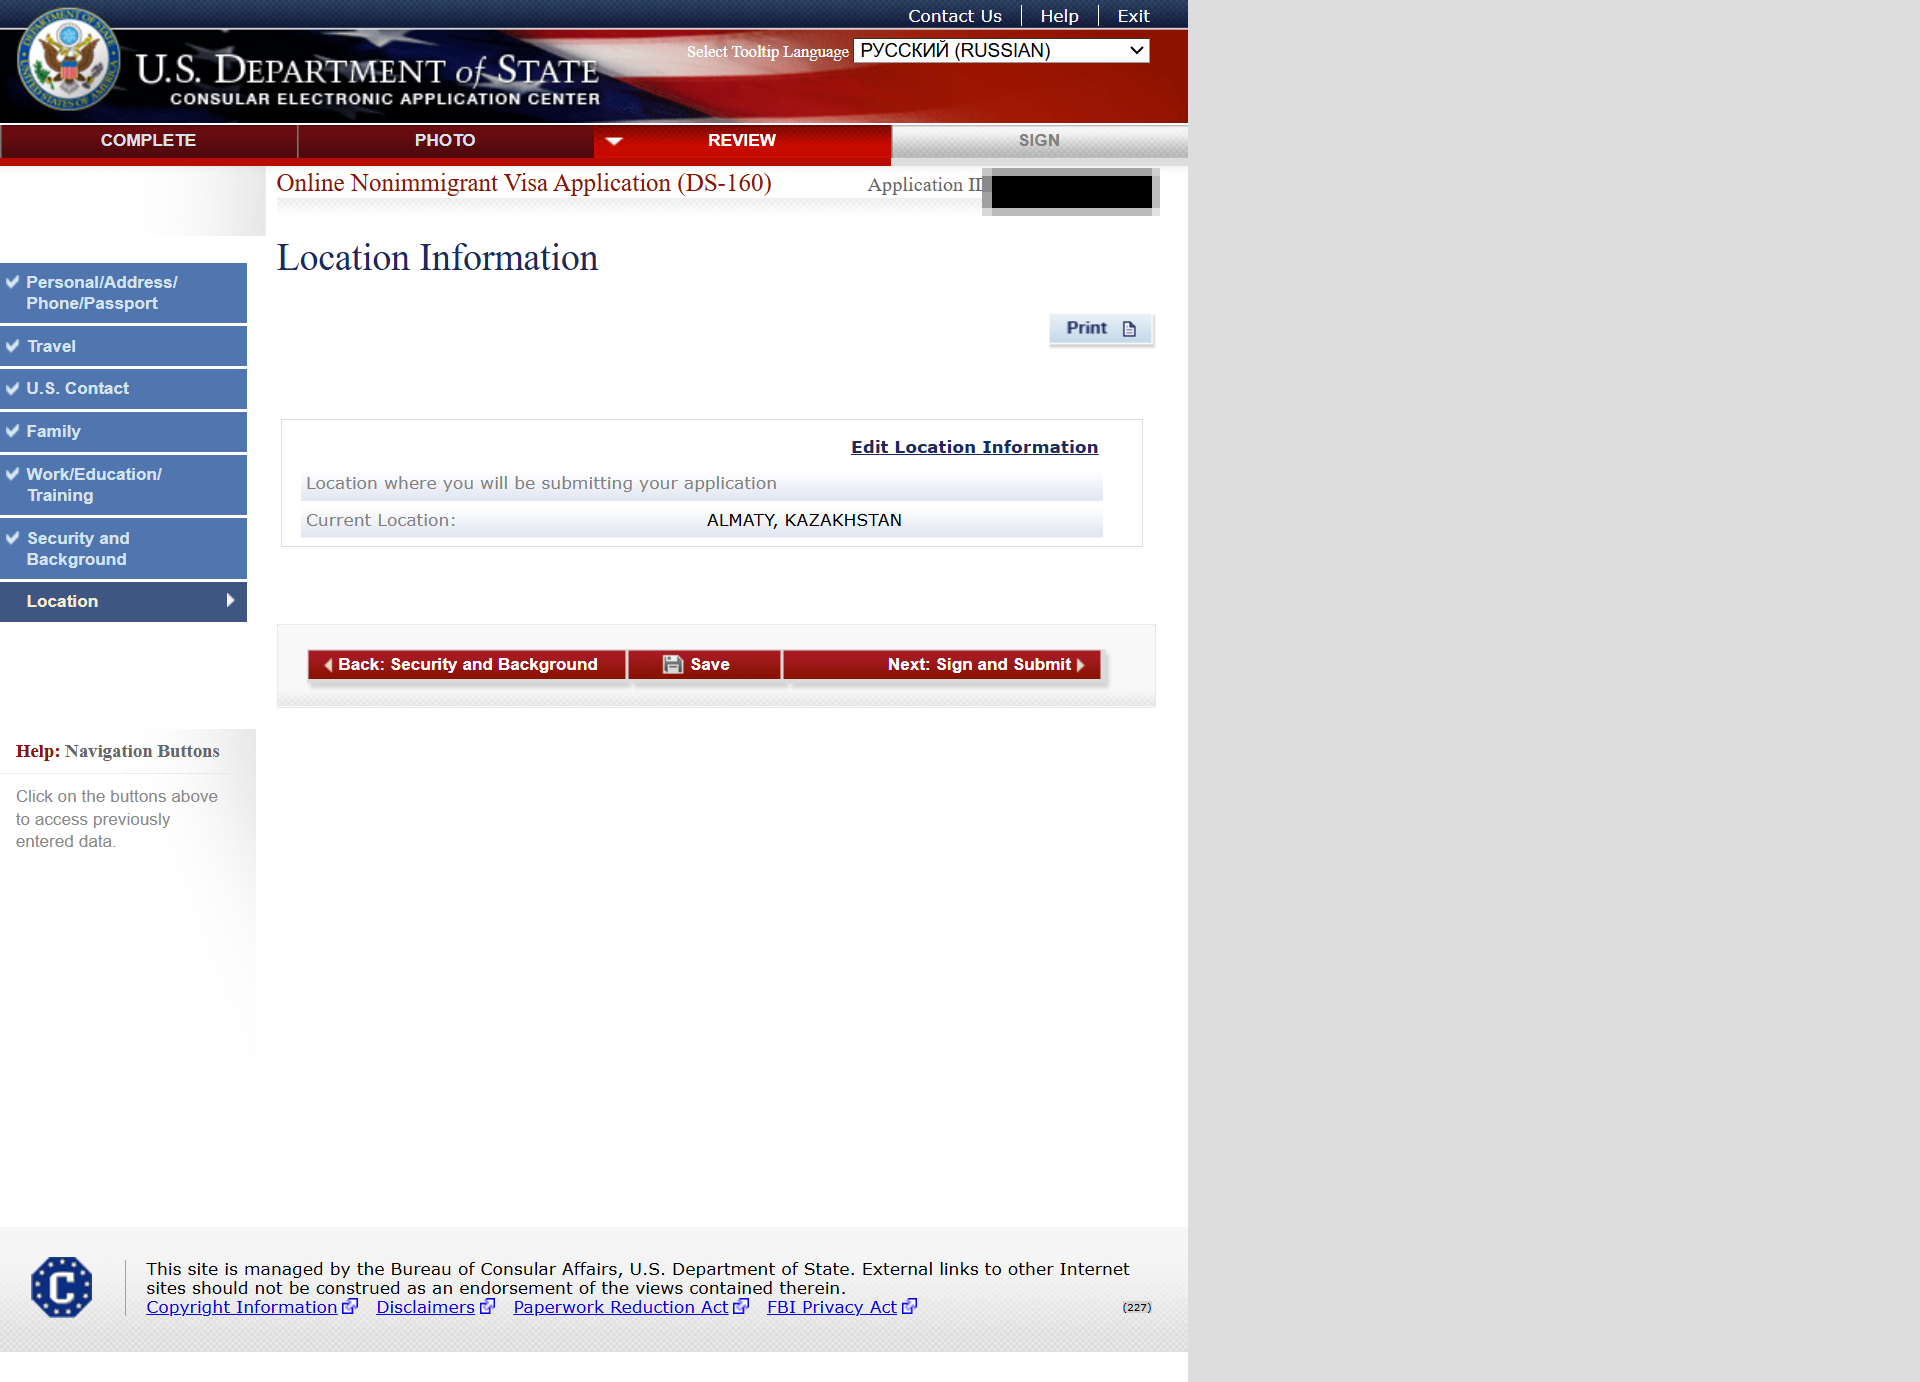
After this, only on embassy discretion.
Step 25: Sign and submit
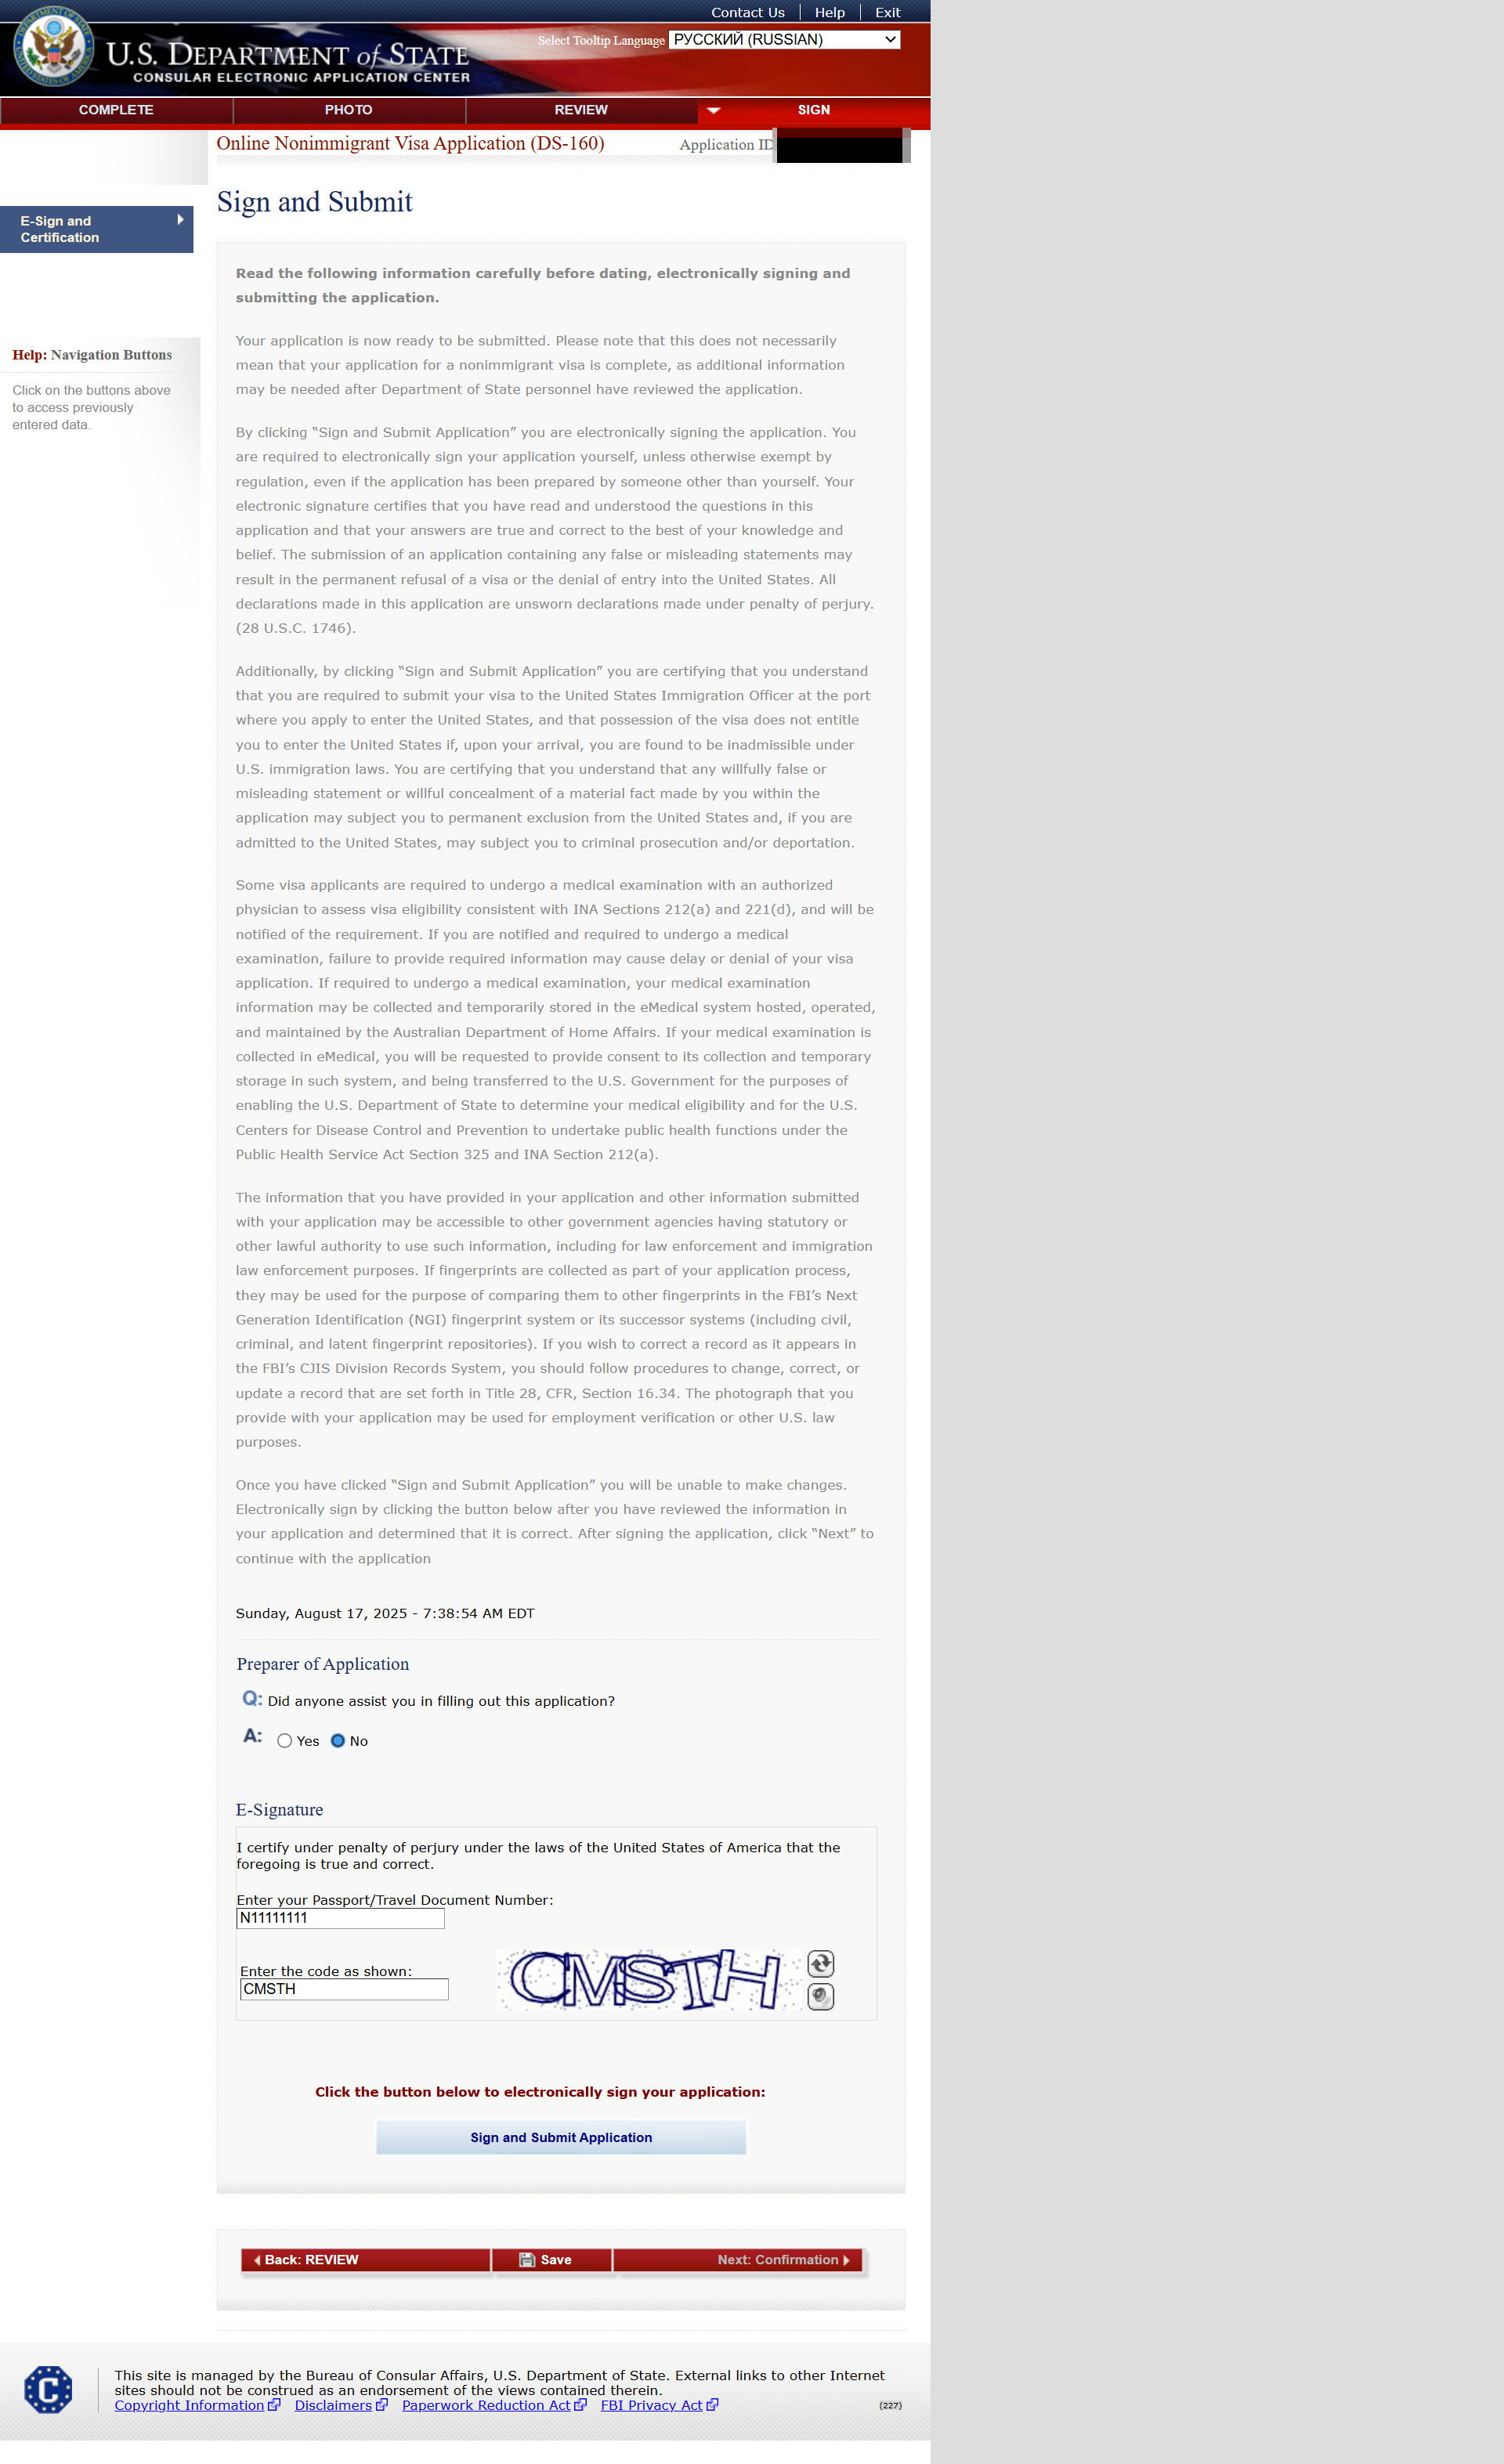
Good Luck!!!
After DS-160: Schedule Your Visa Interview
Create an account on your country’s U.S. visa scheduling site, pay the MRV fee, and enter your DS-160 confirmation number (barcode page). You can start here: Official U.S. Visa Interview Booking Portal .
- You can reschedule if needed (policies vary by location).
- If you create a new DS-160 later, update the number in your profile.
- Bring your confirmation page, passport, photo (if required), and supporting docs to the interview.
DS-160 FAQ
Do I need to submit the form online?
Yes. DS-160 must be submitted online before scheduling a visa interview.
Can I edit after submission?
No. You must create a new form if corrections are needed.
How can I retrieve my DS-160 application?
You can retrieve your DS-160 using your Application ID and the security question you set up. See Step 2.1
About This Guide
This is an independent, free DS-160 walkthrough based on personal experience, created to help applicants avoid simple mistakes. It is not affiliated with the U.S. government.